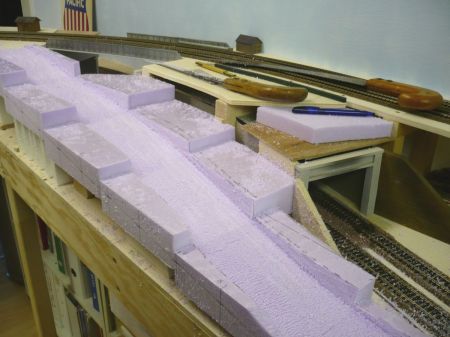
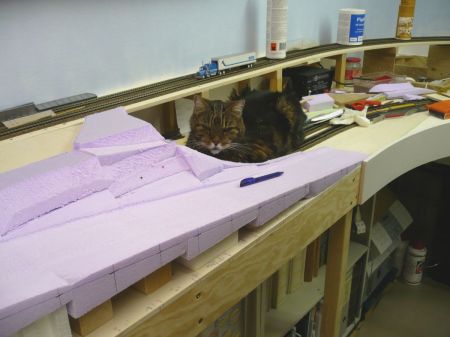
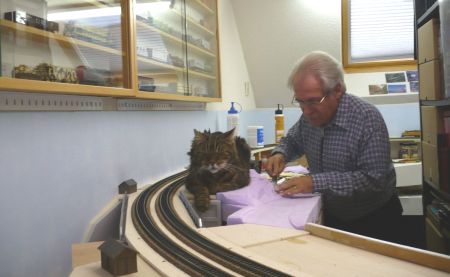
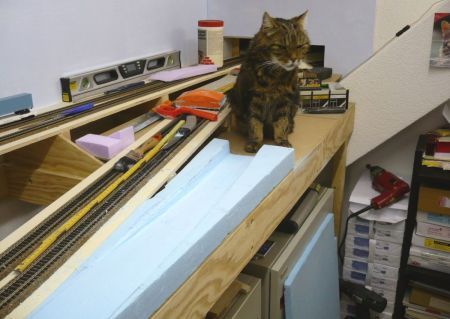
| 10/06/08: The styro-steps are being sanded down to create a street with a continous grade from the upper to the lower level. During the construction, Percy was always around to check the progress. I am sorry to show so many photos of Percy but he became part of the whole project and his participation cannot be omitted. Those who do not like it - just ignore him ! ! | |
 |
 |
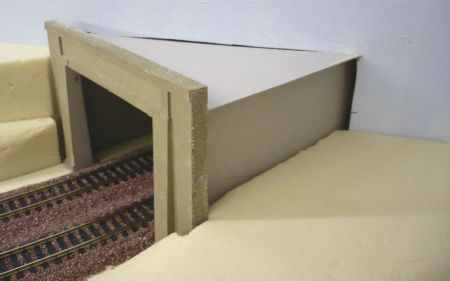
| 10/06/08 The cover board on the left was removed for easy access - 405 | Thru sanding, the street became visible - 406 |
 |
 |
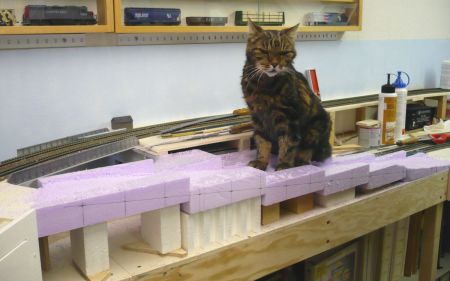
| 10/06/08 No matter how much saw dust, Percy is still coming - 407 | Sitting in the middle of the mess - 408 |
 |
 |
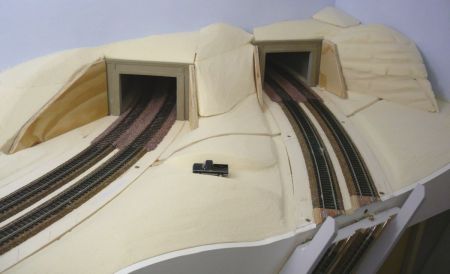
| 10/06/08 Nice over view of the ramp - 409 | It seems to be a warm and comfortable place to take a rest - 410 |
 |
 |
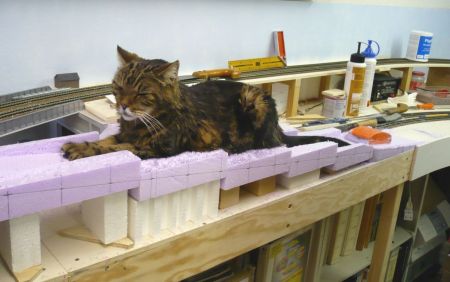
| 10/06/08 Sanding can only be done on the lower part - 411 | Why should I go away ? - 412 |
 |
 |
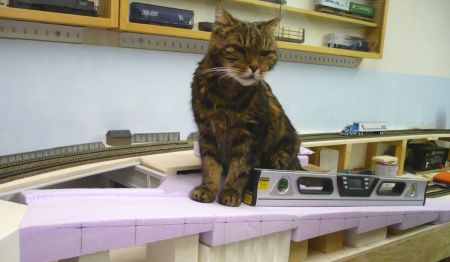
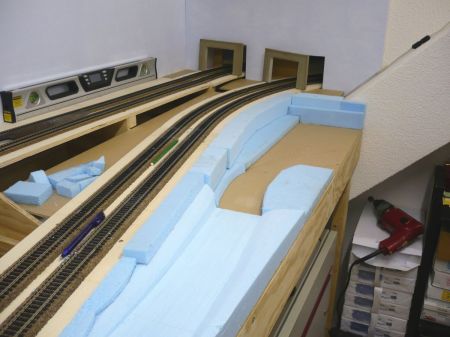
| 10/06/08 Even when checking the grade, he does not go away - 413 | The Digital Level tells me the exact grade of 12 % (quite steep) - 414 |
 |
 |
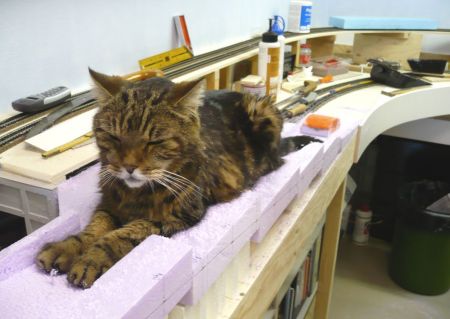
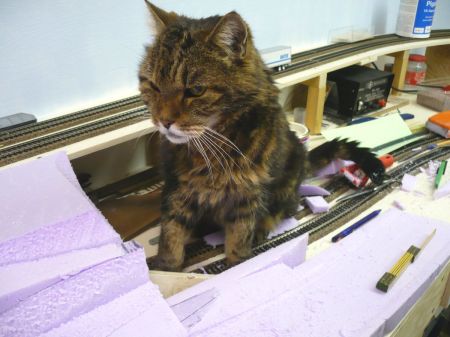
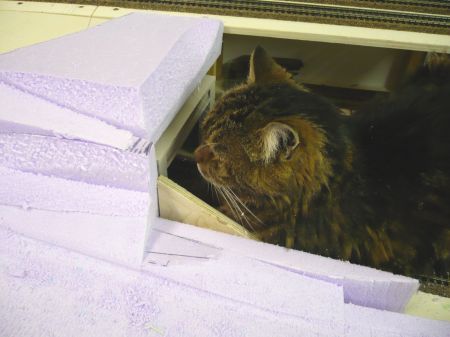
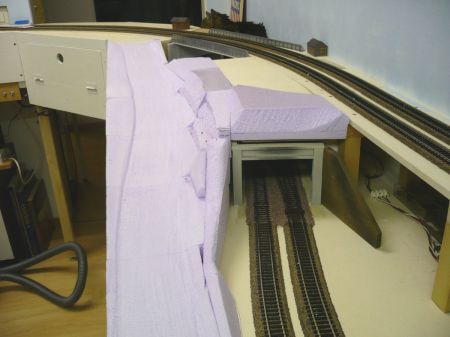
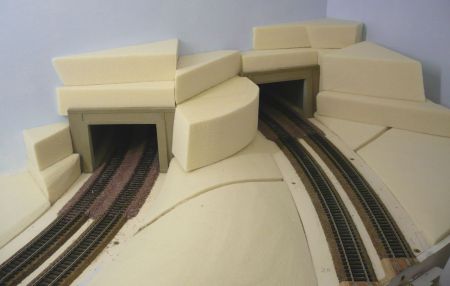
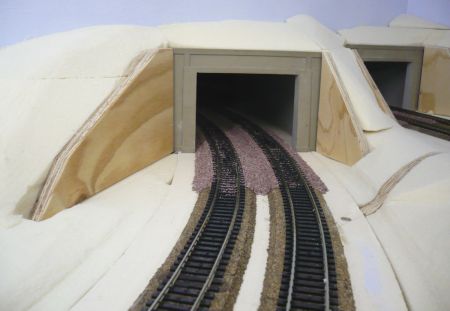
| 10/08/08 Sitting in front of the tunnel - 415 | He is checking the inside - 416 |
 |
 |
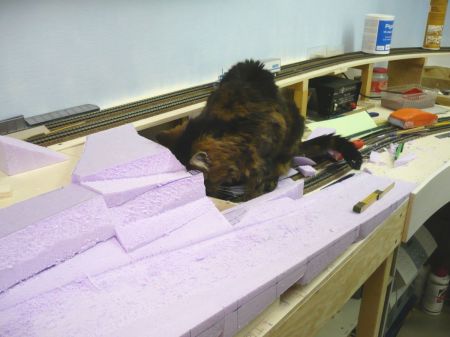
| 10/08/08 I wonder why he is just in front of the tunnel portal - 417 | Several styro pieces are glued together to get the slope - 418 |
 |
 |
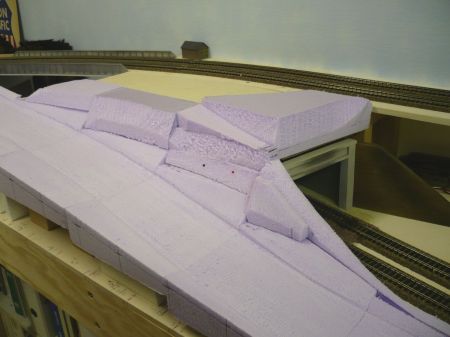
| 10/08/08 The outside of the steps are already sanded down - 419 | Styro is easy to shape and it is light weight - 420 |
 |
 |
| 10/08/08 Next step is sanding of the hill side - 421 | I can use a file and sanding paper to smooth it - 422 |
 |
 |
| 10/08/08 A new resting area for the UP cat - 423 | Train operations will be a serious problem - 424 |
 |
 |
| 10/08/08 Man at work and Percy on the new platform - 425 | He does note care about the noise of carving the styro - 426 |
 |
 |
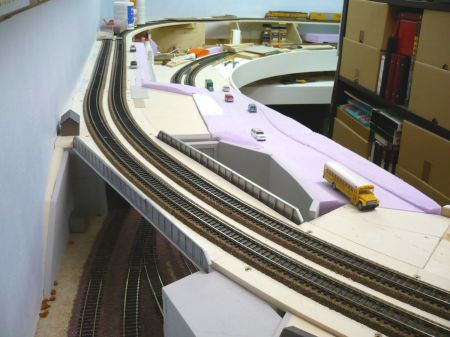
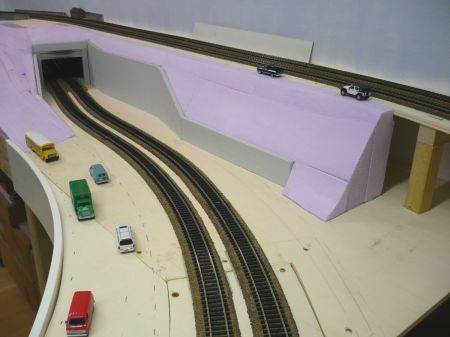
| 10/09/08 The first vehicles are placed on the new street - 427 | Retaining walls are protecting the street in the bridge area - 428 |
 |
 |
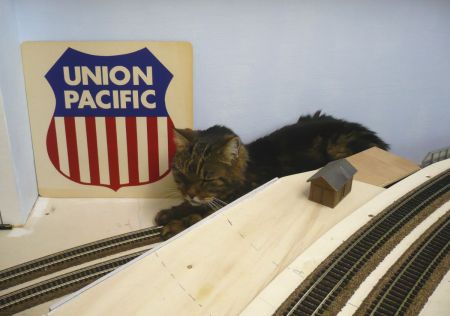
| 10/09/08 Percy's platform will become one day a Railfan spot - 429 | On the same platform will be a shed for the Railroad - 430 |
 |
 |
| 10/09/08 Still a long way to go - 431 | Along the upper track level will be a RR service road - 432 |
 |
 |
| 10/09/08 The outside cover board will be cut to the street grade - 433 | and it will close the gap between upper and lower level - 434 |
 |
 |
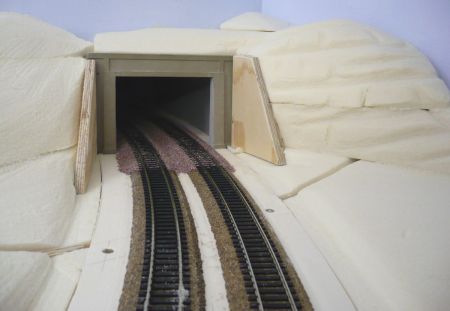
| 10/09/08 The service road will also be used by the Railfans - 435 | Tunnel entrance is protected by retaining walls - 436 |
 |
 |
| 10/22/08 The retaining walls had to be extended - 437 | because of the hight difference between the 2 levels - 438 |
 |
 |
| 10/22/08 The main street will be parallel to the double tracks - 439 | The service road is along the upper level tracks - 440 |
| 10/22/08: As I reached this point of basic landscaping in the bridge / tunnel area, I will continue on a different part of the layout. Sometimes we just need time to think the project over and over again how it could be done. On the right side will be a RR-X-ing on the lower level and the street will go under the upper level. I am sure to find the "perfect" solution in a while. One of the main problems is the limited space on a layout. We have to accept lots of compromises whether we like it or not. | |
| 10/25/08: As mentioned above, I made a break on the bridge / tunnel section. I am currently concentrating on the last part of the main street at the right side near the 2 tunnels. Once again, I am using styrofoam for the ramp. With a short curve, the street will leave the layout before the tunnels. Behind the building will be a steep dirt road for access of the tunnel portals and the service road along the upper tracks. | |
 |
 |
| 10/25/08 Nothing can be done without the inspector - 441 | He makes a first test walk on the fresh street - 442 |
 |
 |
| 10/25/08 Percy is waiting for me as I made a coffee break - 443 | Percy is checking if the styro was glued properly - 444 |
 |
 |
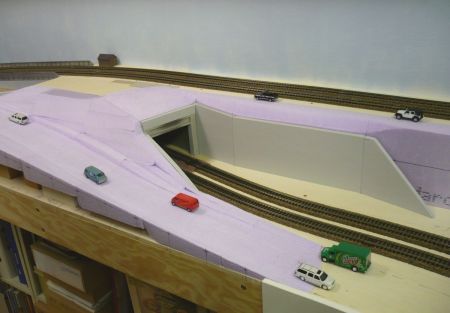
| 10/25/08 More styro was mounted along the tracks - 445 | The street makes a right turn and is leaving the layout - 446 |
 |
 |
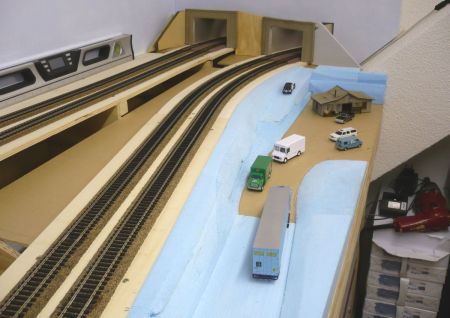
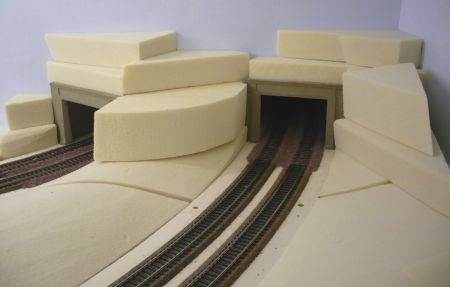
| 10/25/08 Basic sanding of the styro gives an idea how it looks one day - 447 | A different view toward the tunnels - 448 |
 |
 |
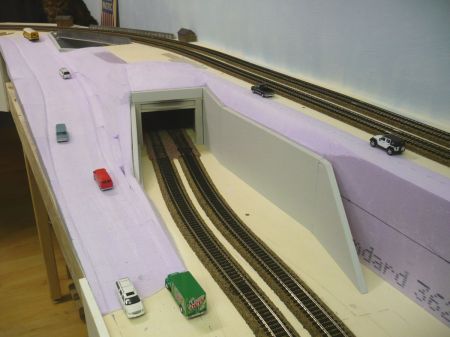
| 10/25/08 More photos of the street to the left you can see on page 4 - 449 | The retaining walls and the portals are not fixed yet - 450 |
 |
 |
| 10/25/08 A small business is located near the tunnel area - 451 | A Jeep is going up the steep dirt road for accessing the tunnels - 452 |
| 10/30/08
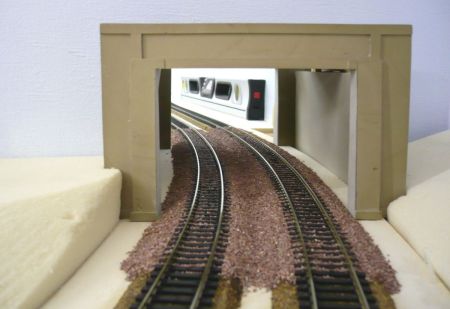
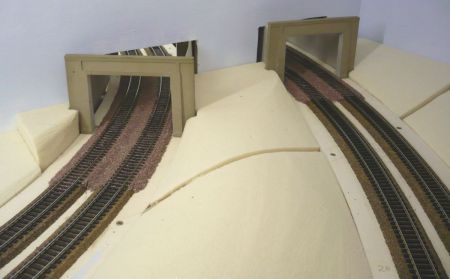
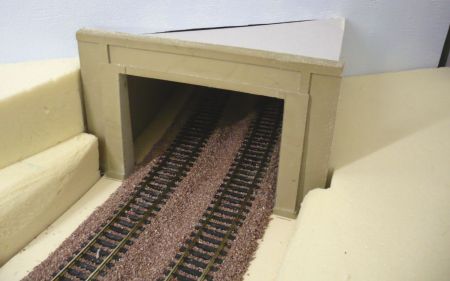
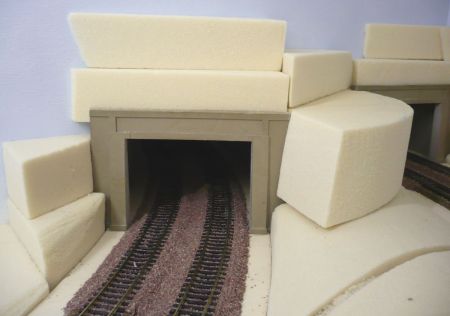
The above photos are inside office 2 and we call it the West Portals of
Tunnel 1 (lower tracks) and Tunnel 2 (upper tracks). I used Tunnel Portals
of CM Shops, Inc. item # 2012: Square Double Track Maxi Portals with full
clearance for Double Stacks. The only thing I needed to do, was to cut the
width on both sides by 10 mm because my double track distance is 60 mm (not
the ordinary 50 mm). Starting with photo 453, we are inside office 1, in
other words the East Portals. The first thing was to ballast the tunnel
sections. Afterwards I put cardboard inside the tunnel walls. Next step
place some styrofoam, glue it in place and start sanding it down to the
desired shape. It takes quite some time and I even took some photos of the
famous rock formations at Sullivan's Curve and Mormon Rocks in Cajon Pass.
I use the special styrofoam "MODUR" made by puren in Germany.
Take a look on their web site: http://www.puren.com/produkte/industrie/modellbau-modur/index.html By the way, it is fun working on the layout while outside the first snow hit the ground here in Switzerland. We are approx. 520 meters above sea level (1560 feet). |
|
 |
 |
| 10/30/08 Tunnel 1 EP - 453 | Tunnel 2 EP with ballasted tracks - 454 |
 |
 |
| 10/30/08 Tunnel 1 left and T 2 right w/o any cover - 455 | Tunnel 2 EP w/cardboard roof and inside walls - 456 |
 |
 |
| 10/30/08 Tunnel 1 EP with cardboard covers - 457 | Tunnel 1 EP as seen from the side with cardboard - 458 |
 |
 |
| 10/30/08 Putting some styrofoam around the portals - 459 | Thinking - deciding - cutting and finally glueing it together - 460 |
 |
 |
| 10/30/08 Tunnel1 EP before sanding and cutting - 461 | Tunnel 2 EP before carving - 462 |
 |
 |
| 10/30/08 Always have in mind to build access and service roads - 463 | Tunnel 2 EP pre-shaping of the styro gives an idea how it will look - 464 |
 |
 |
| 10/30/08 T 1 EP with custom made retaining walls - 465 | Tunnel 2 EP got different retaining walls - 466 |
 |
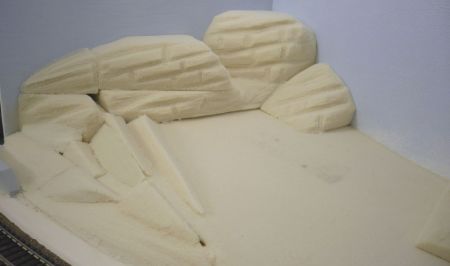 |
| 10/30/08 To the left of T 1 we have some strange rock formations - 467 | These rocks need a lot of more details to become a realistic look - 468 |
| 12/12/08
Because of being busy in taking care of endless paperwork,
accounting, orders, shipments, updates of the web site (incl. Cajon Pass
site),
x-mas cards, x-mas sale etc., there was no time to do any work on my layout for
the last 3 months. Next step will be taxes and already start with the
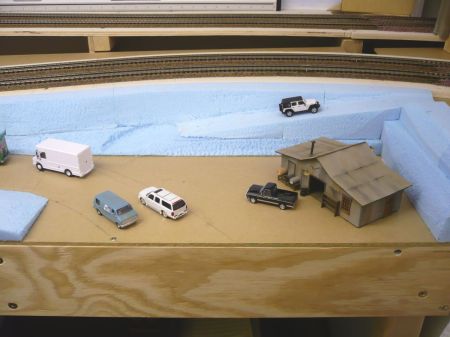
organization of our 14th Convention. 1/28/09 In early January, I suddenly realized, that my Inspector, Percy became blind. He cannot jump on the layout anymore and therefore, I lost my best worker and controller of every step. Of course, he is still alive and doing quite well (he is almost 19 years old). Well, to be honest, there is also an advantage as I can put cars, trucks, models and buildings on the layout without being scared that Percy is going to move or push it away. So, I placed all buildings on my High Desert Town. It is not the final arrangement yet because I am waiting for a modern Car Dealer building (this will become High Desert Cadillac). In addition, I built the second Werner Enterprises structure. I used a Great West Models Kit but built it in a "L" shaped style to fit my space. One track is going thru the building and there are two truck loading ramps. The new WE building fits perect to the existing one. |
|
 |
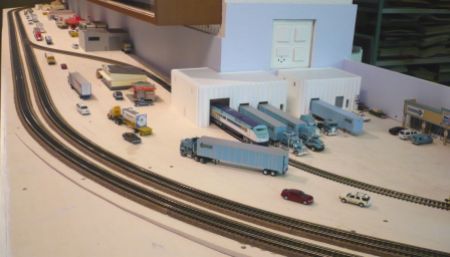 |
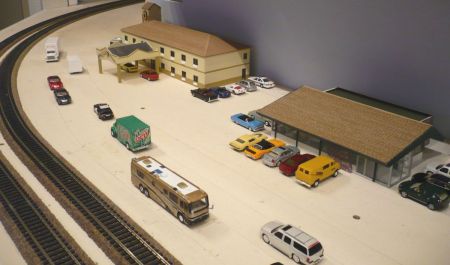
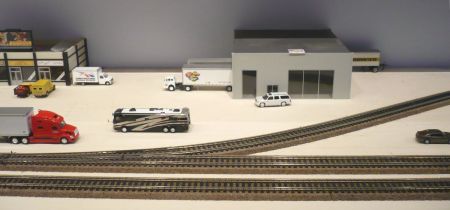
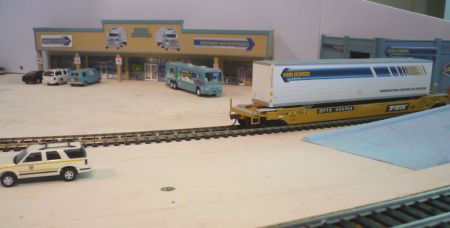
| 1/28/09 High Desert Town looking West - 469 | 1/28/09 - Looking the other way with Werner Enterprises at right - 470 |
 |
 |
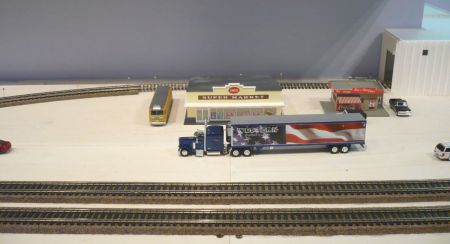
| 1/28/09 Denny's and Super 8 Motel are next to each other - 471 | 1/28/09 The only siding is serving Werner Enterprises - 472 |
 |
 |
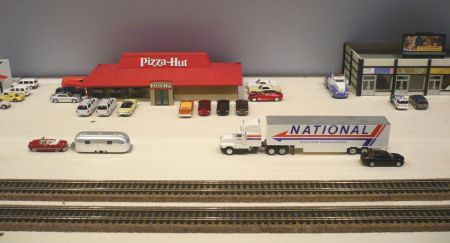
| 1/28/09 Pizza Hut, Domino's Pizza, Taco Bell, Denny's - 473 | 1/28/09 Main street is between the tracks and the town - 474 |
 |
 |
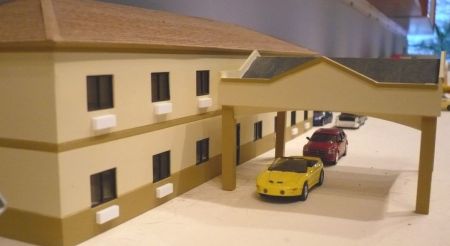
| 1/28/09 Super 8 Motel (Kit by Summit USA) - 475 | 1/28/09 Denny's Restaurant (Kit by Summit USA) - 476 |
 |
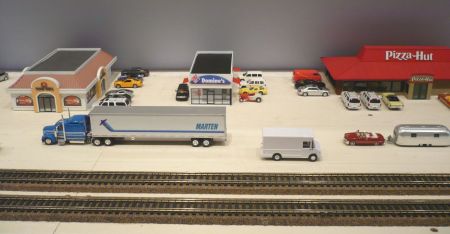 |
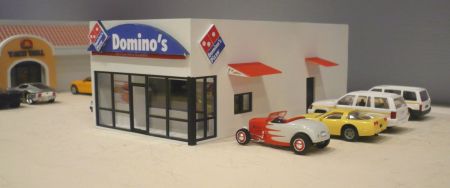
| 1/28/09 Taco Bell (Kit by Summit USA) - 477 | 1/28/09 Domino's Pizza (Kit by Summit USA) - 478 |
 |
 |
| 1/28/09 Pizza Hut (Kit made in Germany) - 479 | 1/28/09 West End Shopping Center (Built up by Model Power) - 480 |
 |
 |
| 1/28/09 Dealership Building (Kit by Herpa) - 481 | 1/28/09 Vacant space around WE siding - 482 |
 |
 |
| 1/28/09 Supermarket (Built up by Imex) - 483 | 1/28/09 Industrial Building (Kit by Great West Models) - 484 |
 |
 |
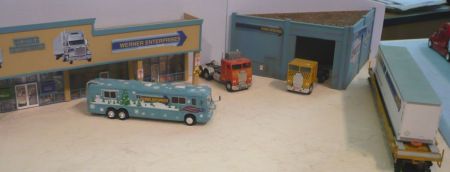
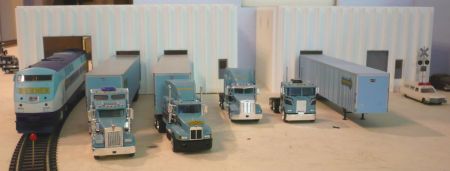
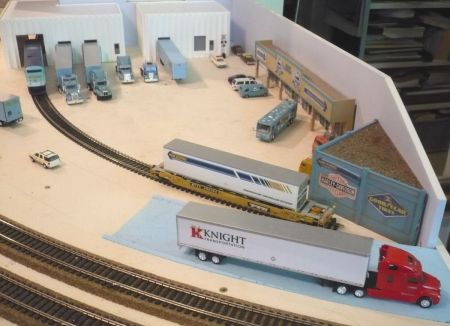
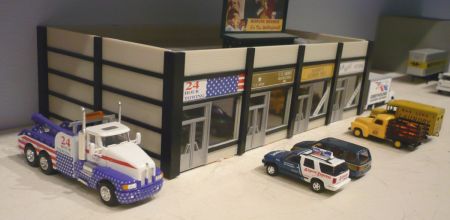
| 1/28/09 Werner Enterprises Facility - 485 | 1/28/09 WE Warehouses (Kits by Great West Models) - 486 |
 |
 |
| 1/28/09 WE's Christmas Tour Bus made by Pitsch Allneider - 487 | 1/28/09 WE Facility is always busy - 488 |
 |
 |
| 1/28/09 WE Office (Strip Mall Kit by Summit USA) - 489 | 1/28/09 WE warehouses seen from main street - 490 |
 |
 |
| 1/28/09 WE Facilities over view - 491 | 1/28/09 WE Office and Corner Building made by Pitsch Allneider - 492 |
 |
 |
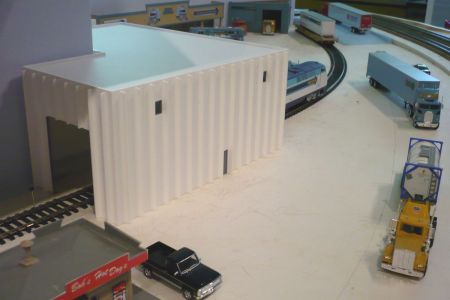
| 1/28/09 L shaped warehouse was made from a square kit - 493 | 1/28/09 The smaller warehouse was made several years ago - 494 |
 |
 |
| 1/28/09 WE siding goes thru the warehouse - 495 | 1/28/09 No pavement yet to cover the wooden surface - 496 |
 |
 |
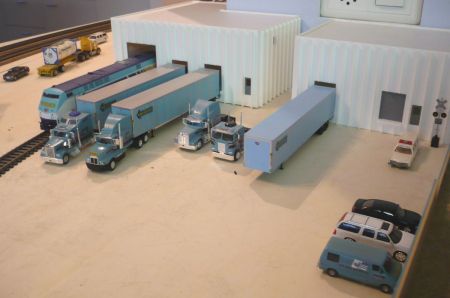
| 1/28/09 A WE sign will be added on top of the first warehouse - 497 | 1/28/09 All WE trucks made by Pitsch Allneider - 498 |
 |
 |
| 1/28/09 Super 8 Motel (Kit by Summit USA) - 499 | 1/28/09 Not sure, if this is the final location of the Super 8 - 500 |
 |
 |
| 1/28/09 Denny's Restaurant (Kit by Summit USA) - 501 | 1/28/09 Taco Bell with pick-up window on the side - 502 |
 |
 |
| 1/28/09 Domino's Pizza with pick-up window on the side - 503 | 1/28/09 Pizza Hut (Kit by Modellbahn-Atelier Berlin) - 504 |
 |
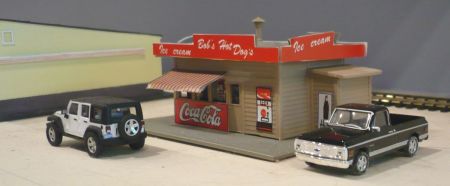 |
| 1/28/09 Another view of Domino's Pizza - 505 | 1/28/09 Bob's Hot Dog Stand (Built up by Model Power) - 506 |
 |
 |
| 1/28/09 West End Shopping Center (Built up by Model Power) - 507 | 1/28/09 Dealership Building (Kit by Herpa) - 508 |
