|
|
TRAINMASTER
BY WERNER MEER US-RAILROAD-SHOP KILCHBERG |
|
|
|
TRAINMASTER
BY WERNER MEER US-RAILROAD-SHOP KILCHBERG |
|
| 44 Years Trainmaster - the source for American Model Railroading (1977 - 2021) |
added / updated: November 2, 2021
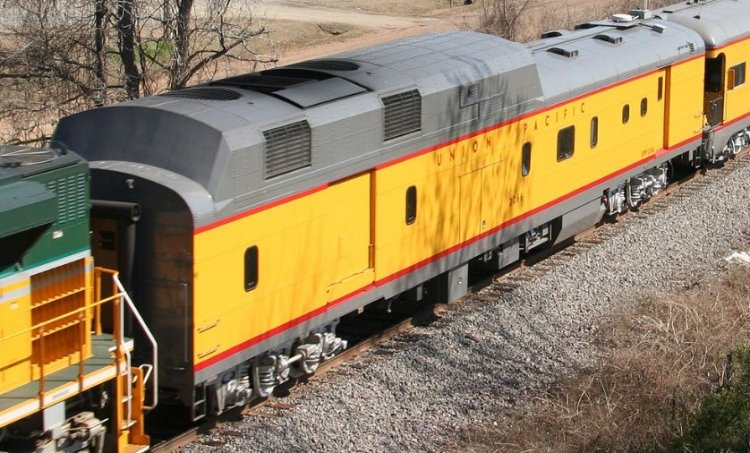
| HO Scale: UP Power Car for Excursion Train (not for sale) | |
|
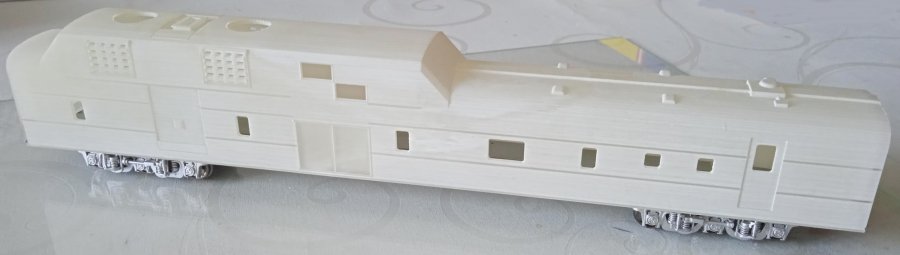
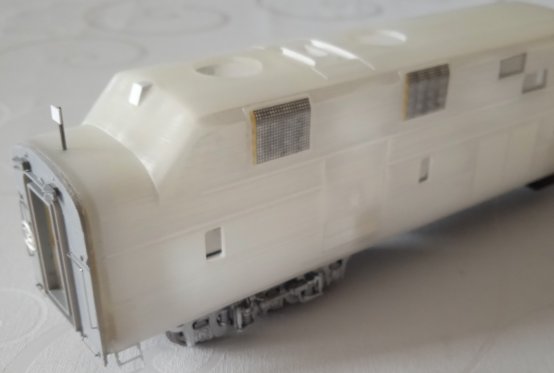
Markus Zöschg (Italy) was building a model which is not
available on the market (even not in brass) The body shell was 3D printed in the USA. (just scroll down to see the finished model) |
|
 |
|
| Original Power Car. Copyright by Frank Greene (RRPictureArchives.net) | |
 |
|
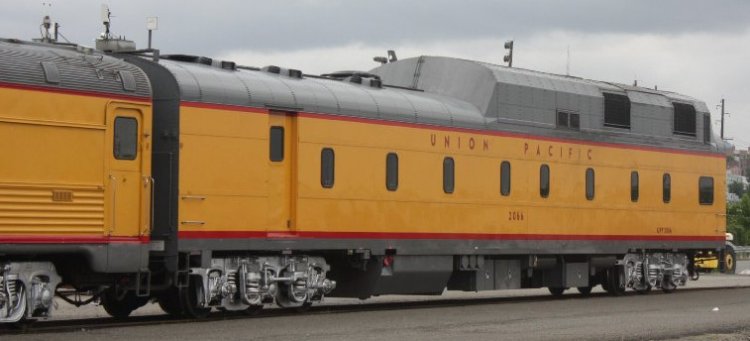
| Original Power Car. Copyright by Robert Mungenast (RRPictureArchives.net) | |
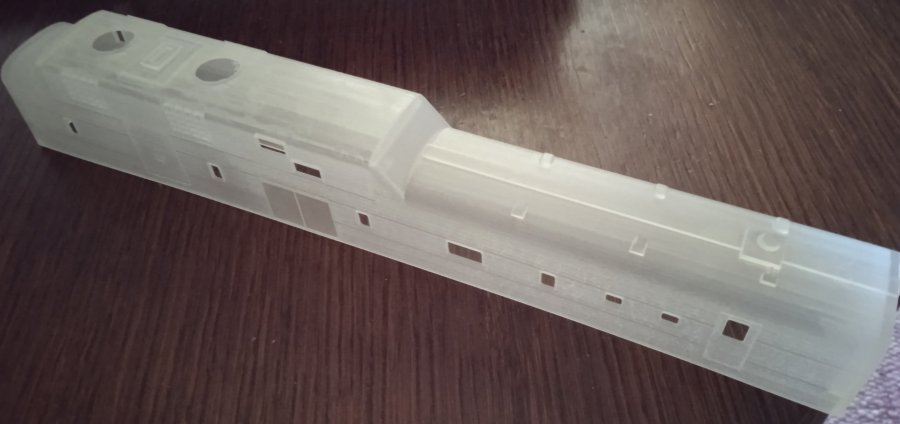
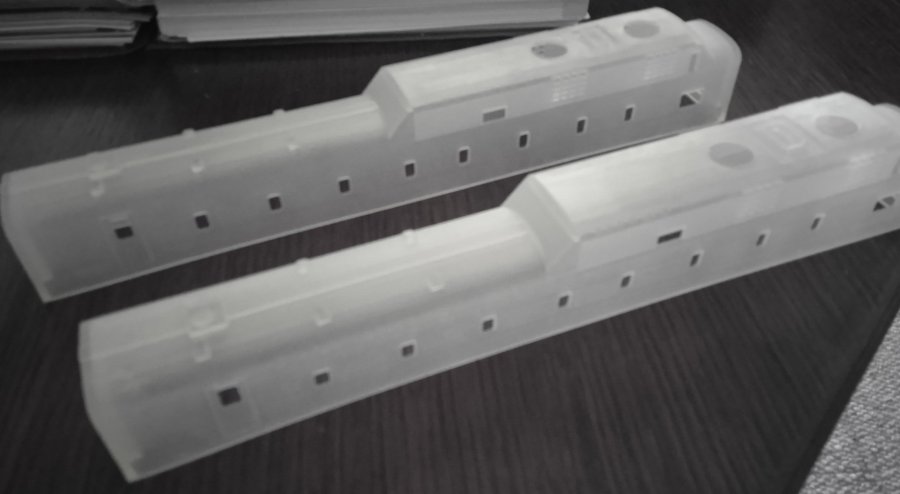
| These Power Car shells are 3D printed in the USA and each piece costs (as is) $ 200.-. | |
 |
|
 |
|
 |
|
 |
|
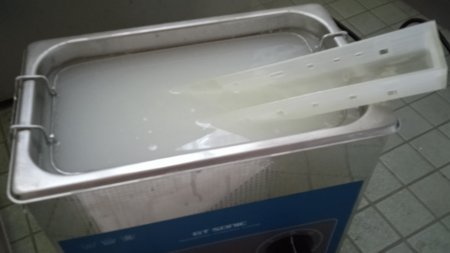
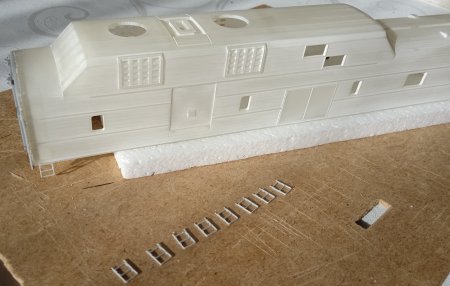
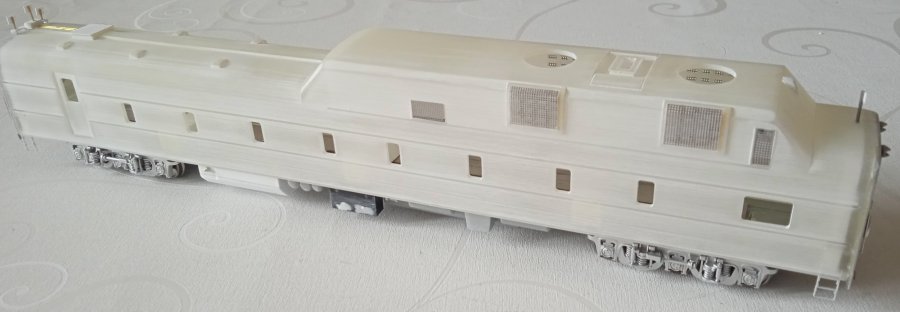
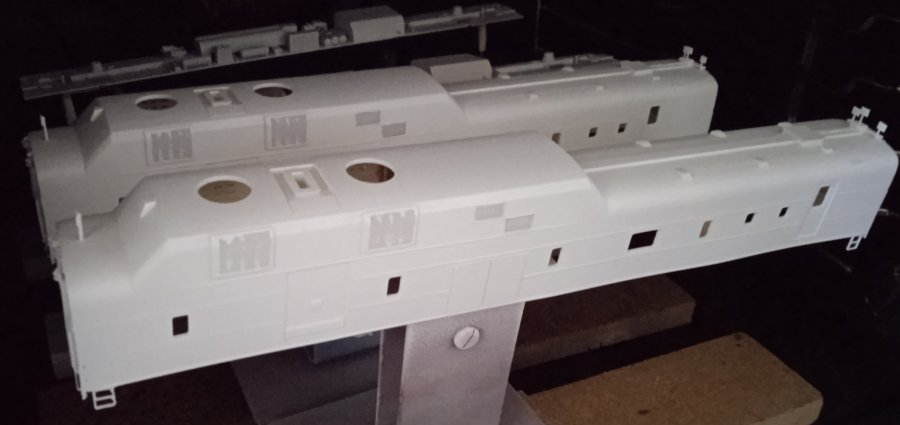
| (left photo) These sheels have to be cleaned with an ultrasound machine. Afterwards, they need to be sanded smooth. Next step: detailing will be applied before the primer can be painted. | |
 |
|
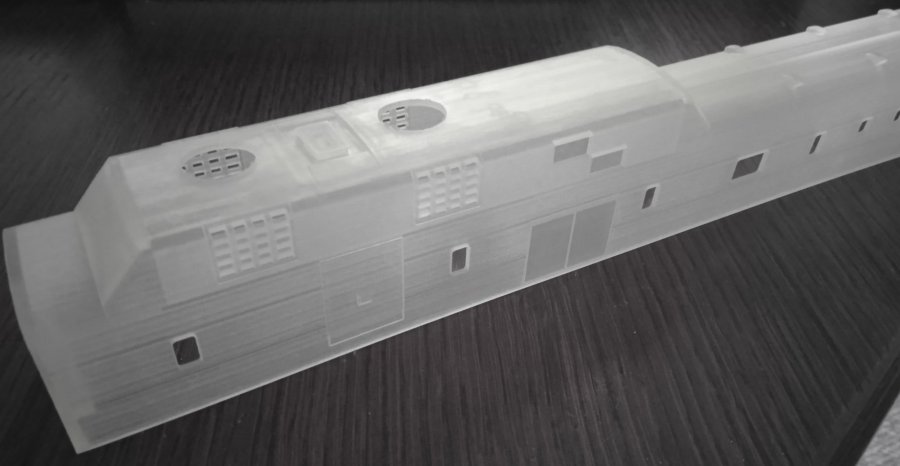
| That's the way the shells look after 2 hours coming out of the ultrasound machine. They are getting white and the details can bee seen. | |
 |
|
|
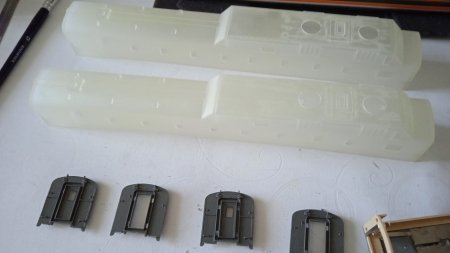
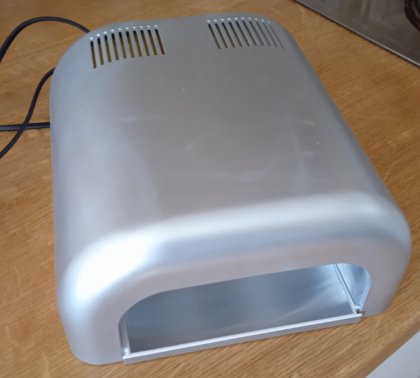
left: afterwards, the shells will be under a
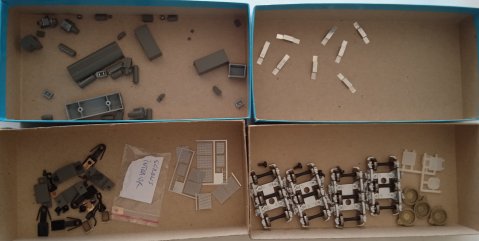
UV-light for hardening (approx. 20 Min). right: all Walthers parts will be dipped in 90 % alcohol to remove the paint and are ready for building up and rebuilding if necessary. |
|
 |
|
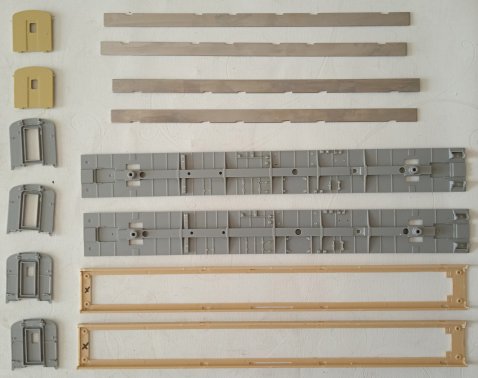
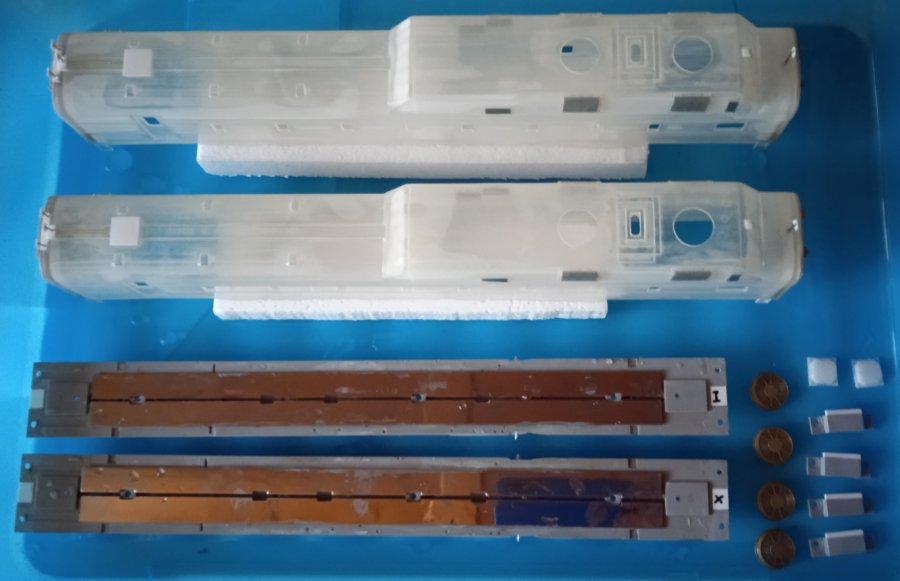
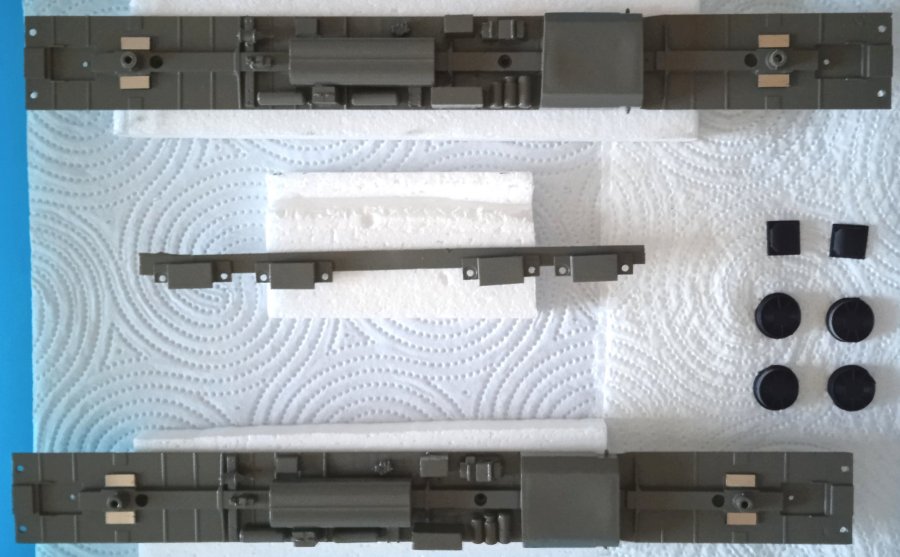
| underframes will be used from a Walthers 44-seat car, but it has to be modified. | |
 |
|
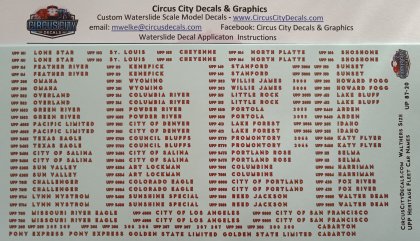
| Circus City Decals is producing the correct decals for this UP Power Car. Different parts w/trucks and underframe details | |
 |
|
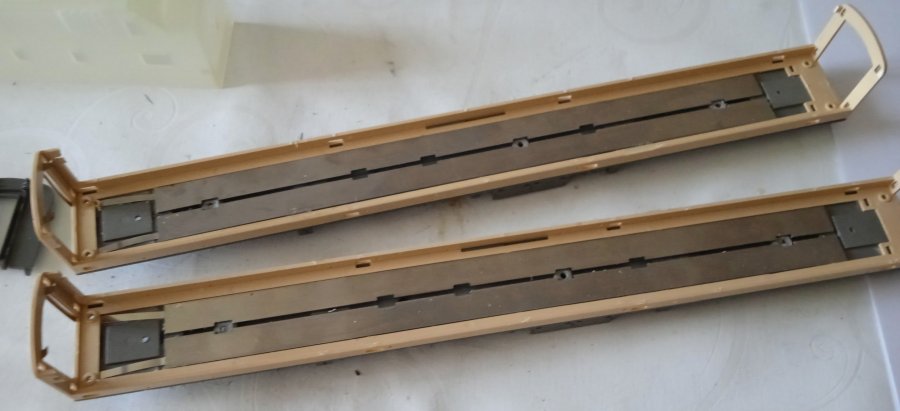
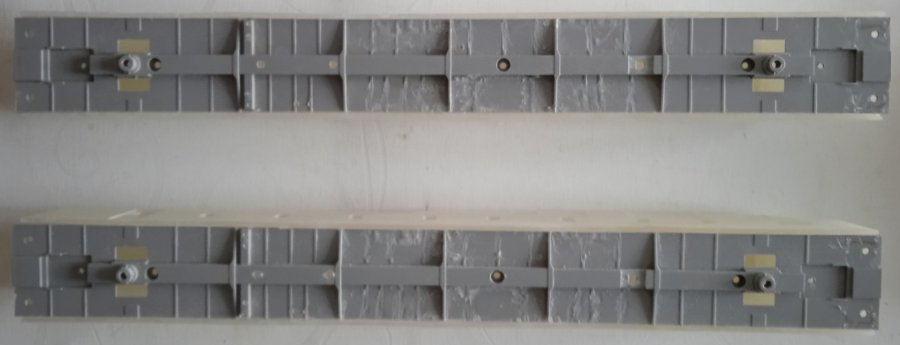
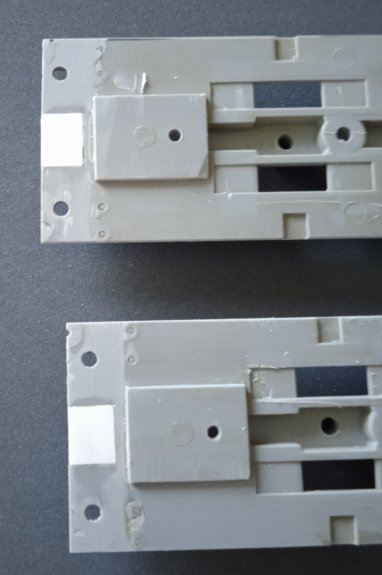
| The floors of the Walthers cars had to be sanded down on each side by 0,5 mm to fit on the 3D Shells. In addition, at the end they needed a little cut and they fit perfect. On both ends, the Walthers endpieces will be used. | |
 |
|
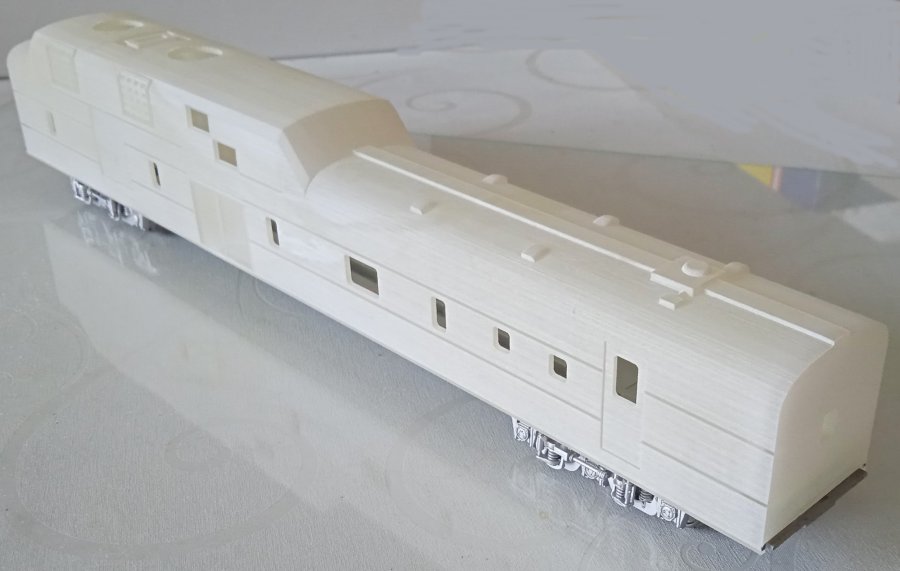
| To get an idea how it looks, I quickly mounted the trucks on the floors and put the shell over it. | |
 |
|
 |
|
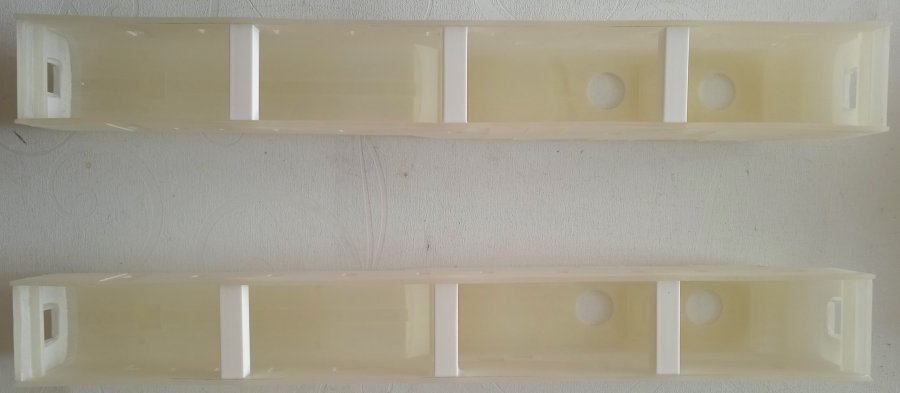
| For stabilization, 3 spacers (7,9 x 7,9 mm) made out of Evergreen Styrene have been glued inside the shells. | |
 |
|
| Now, the Walthers floors fit perfect and underbody details may be added. | |
 |
|
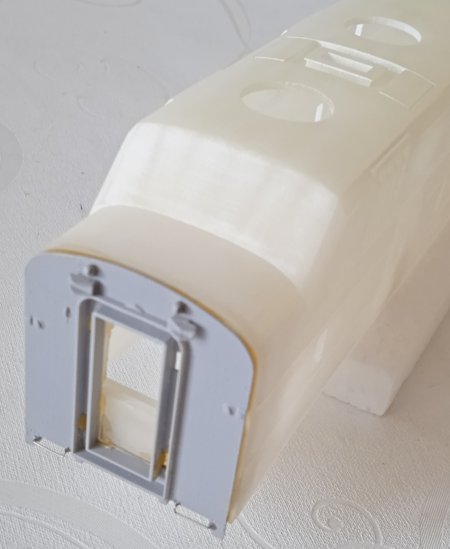
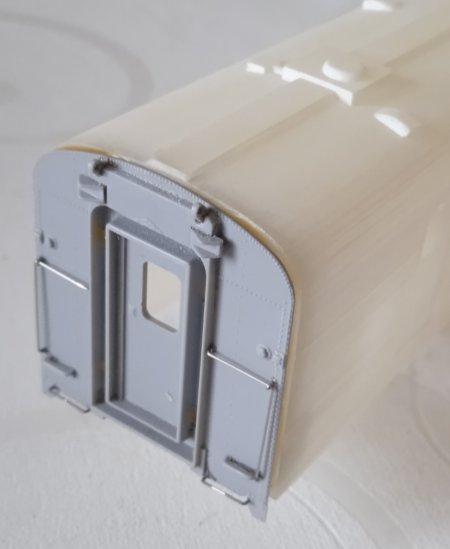
| End panels are attached on both sides with 2 component glue. | |
 |
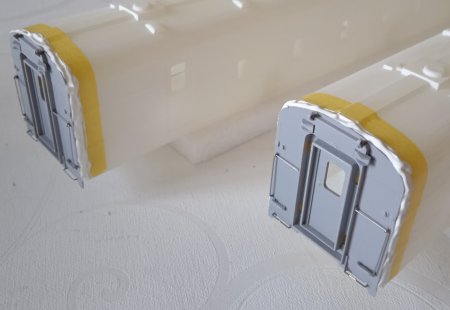 |
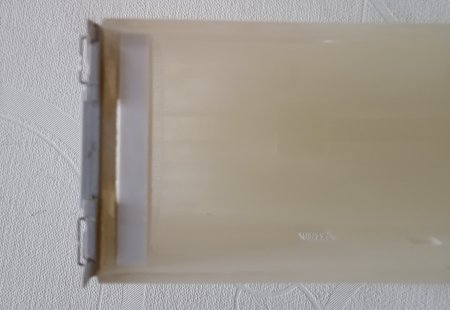
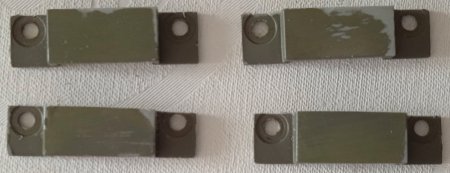
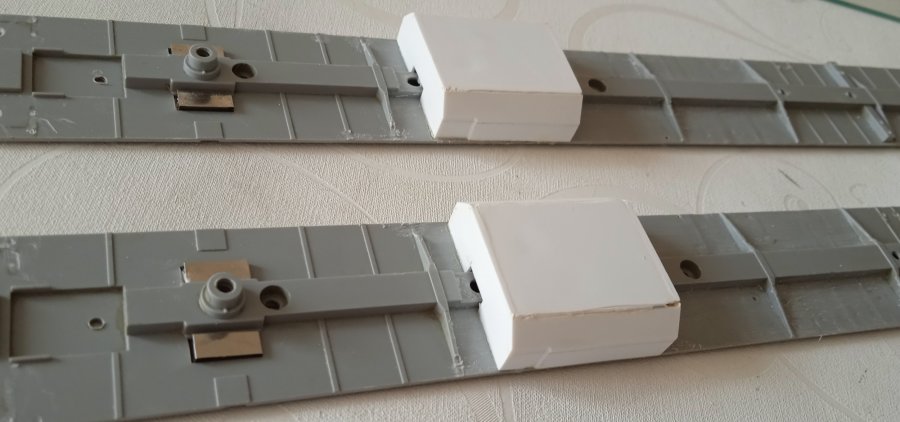
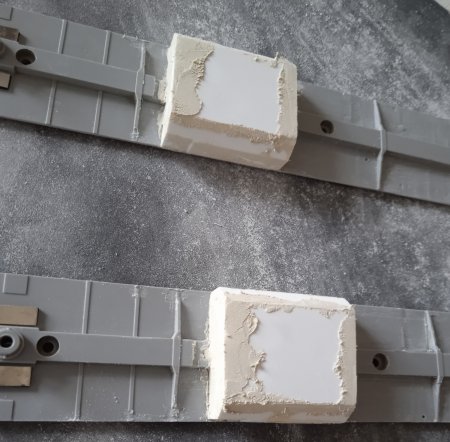
| Evergreen blocks are glued in at the ends for fastening the floor to the shell with screws. | The ends are covered with a plastic filler that now has to dry overnight. Afterwards, they are sanded down (smooth). |
 |
|
 |
|
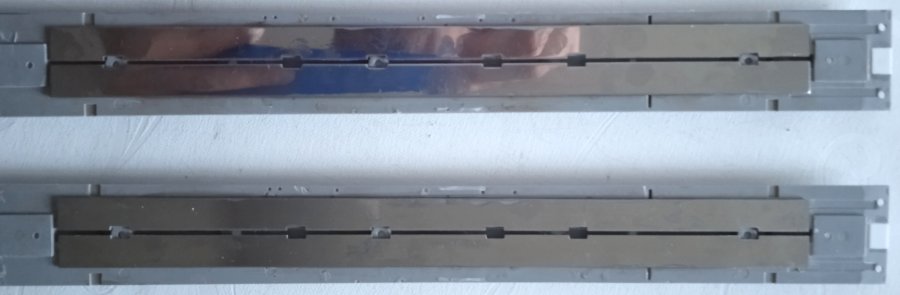
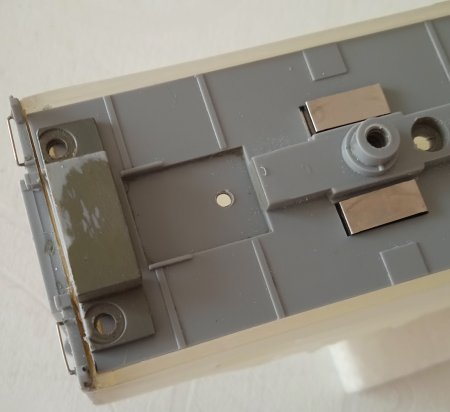
| The ends of the Walther floors have been cut to size and filled with evergreen. I also reinstalled the original electrical power supply because it will be needed to serve a decoder with sound. | |
 |
|
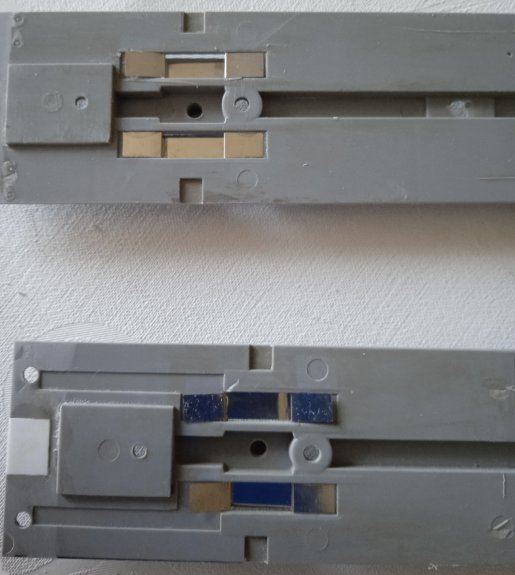
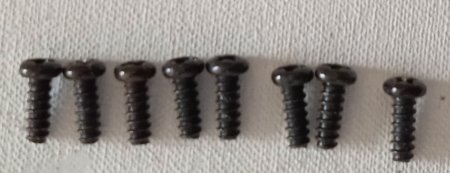
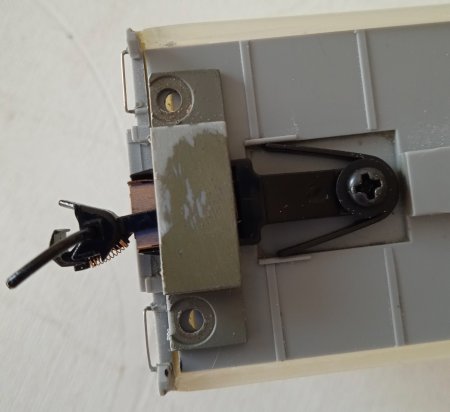
| The Walthers coupling receptacles had to be modified accordingly. Since the underbody will later be attached or held to the chassis via this, I had to use longer screws that grip through the coupling housing into the block of the chassis. This ensures that the entire sub-floor is securely fastened using these 4 screws. | |
 |
|
 |
|
| The fuel tank had to be completely scratch built. It is already installed to see if it fts properly. | |
 |
 |
| Edges and spaces are still sanded, filled and detailed with fuel fillers. | Now all the other underbody details follow ……. |
 |
|
 |
|
 |
|
| all underbody details are now installed. | |
 |
|
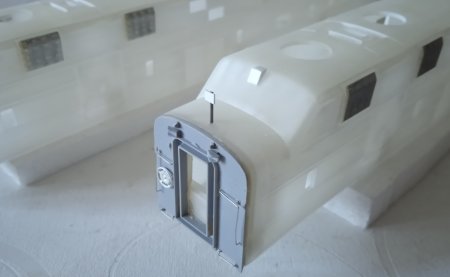
| end details are done, grab irons and brake wheel was mounted … | |
 |
|
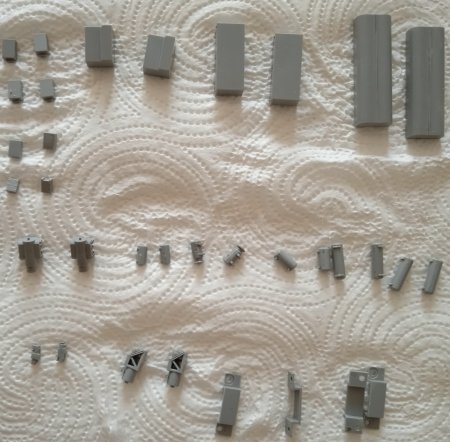
| Detail Associartes steps …. / Holes drilled using jig .… / etched grills by Detail Associates Dash 8-40C parts …. | |
 |
|
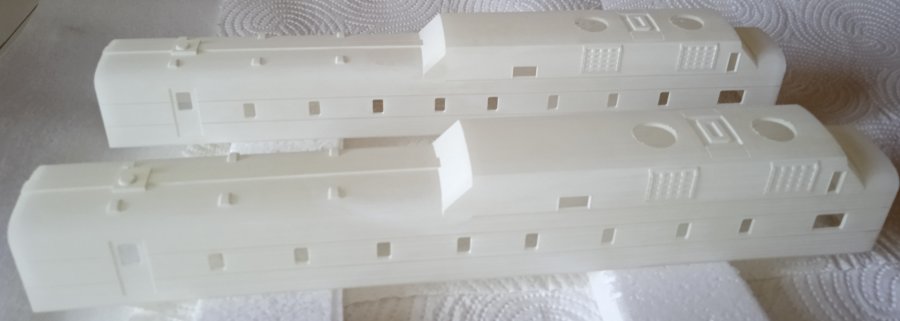
| Before all the details can be attached to the shell, it is necessary to prepare the surface (the 3D printing lines). That means sanding for a few hours starting with sandpaper grit 400, then 600, then 800 and fine sanding with 1000. This gives a nice smooth surface for the paint. | |
 |
|
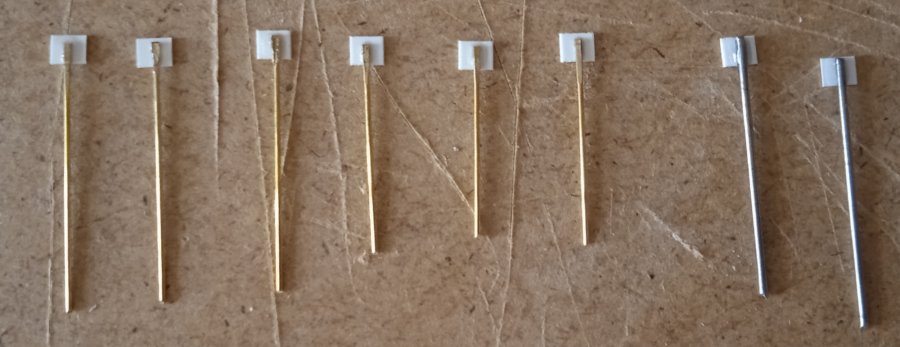
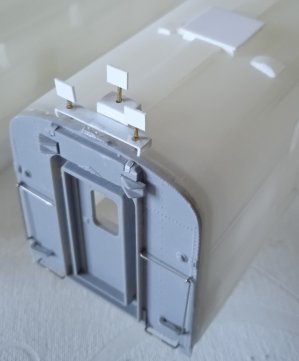
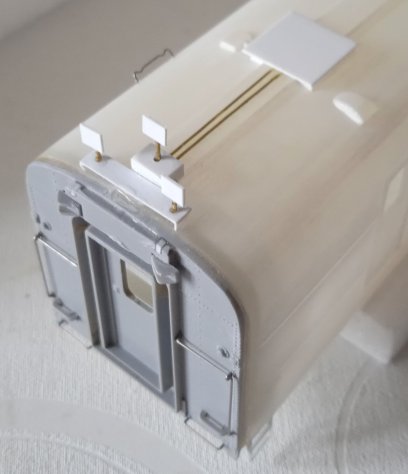
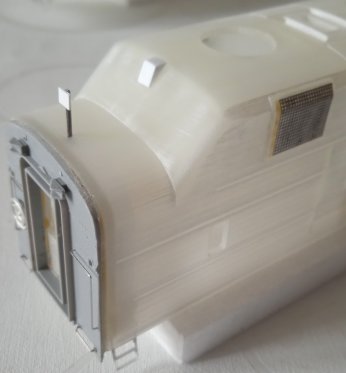
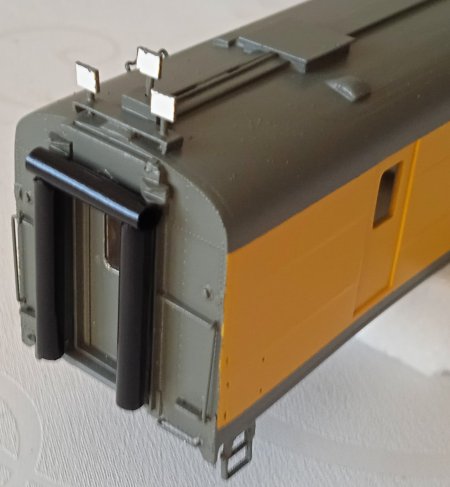
| After hours of sanding, I have now started the detailed work. The different antennas have to be scratch built as there are none on the market. | |
 |
|
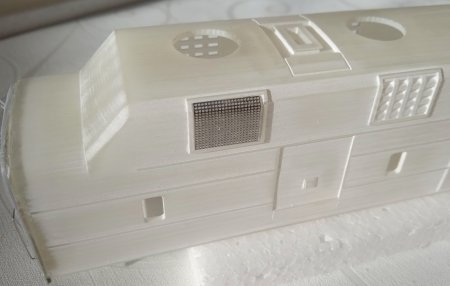
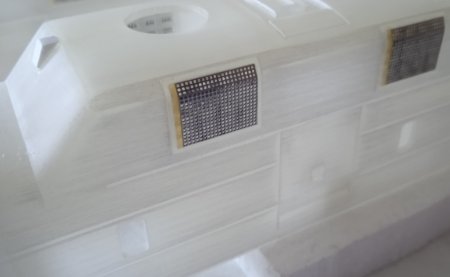
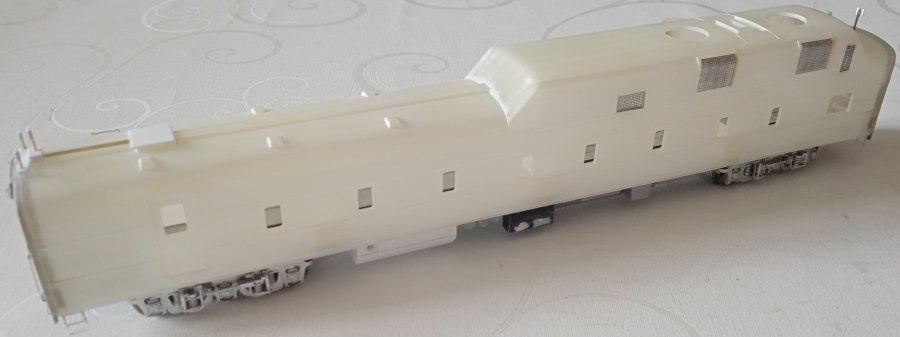
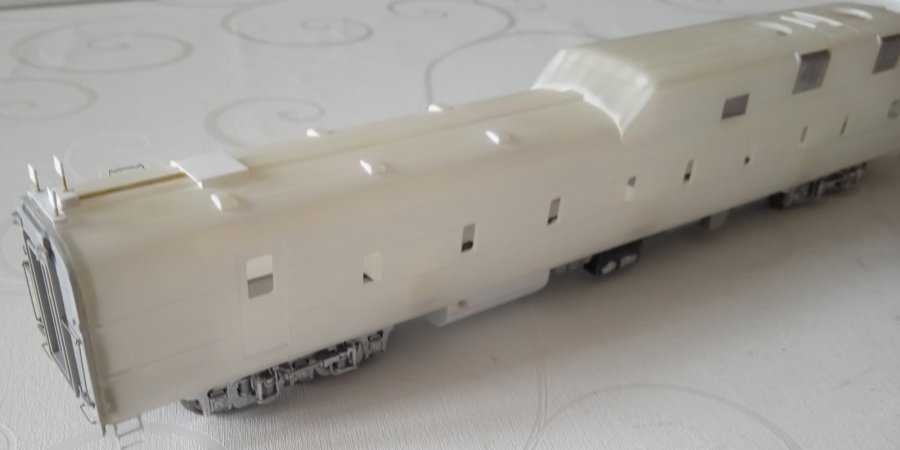
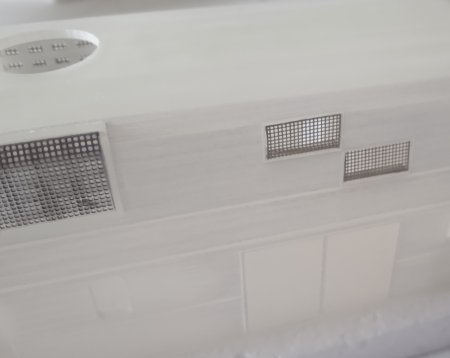
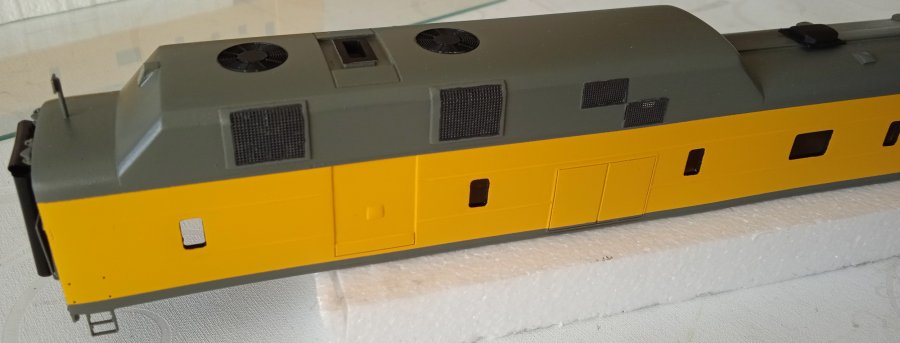
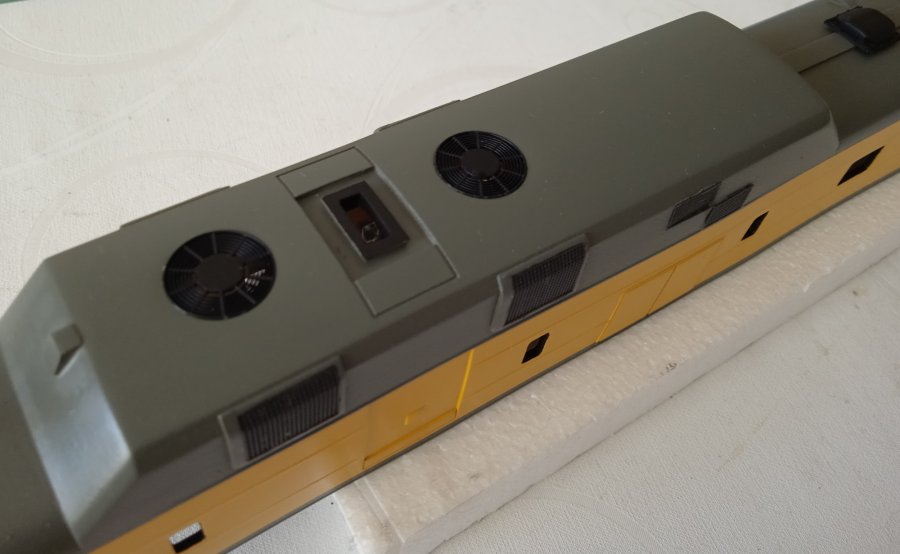
| Now, after hours of grinding, I could start detailing on the shells. All antennas at the front and rear of the car are now installed. The ventilation grilles are also inserted flush. | |
 |
|
| Only a few parts are still missing, then the painting process can start. | |
 |
|
 |
|
 |
|
 |
|
 |
|
 |
|
 |
|
|
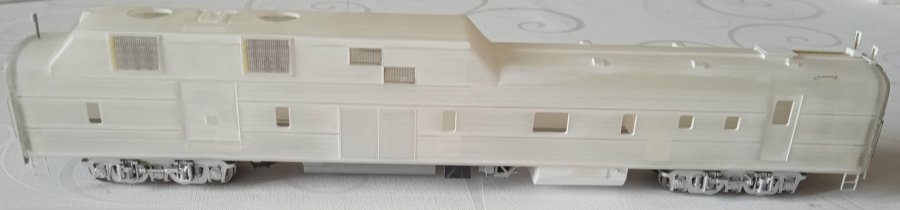
now all the details are assembled. All grids
are flush - Antennas and connecting cables and steps installed. Next step: washing - ready for the paint shop - to start with white primer. |
|
 |
|
|
Now, all parts are cleaned with lukewarm
water and soap, rinsed with cold shower and have to dry out for a few days. The next updates will be done weekly, since after primer 5 days to dry, after yellow paint another 5 days and gray paint the same way. |
|
 |
|
 |
|
 |
|
| The shells, floors and parts are now all painted with white primer and are in the oven at 30 degrees to dry. | |
 |
|
|
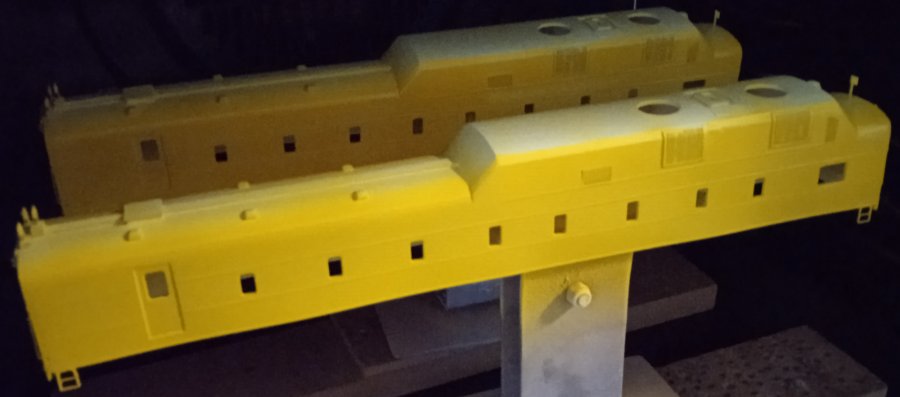
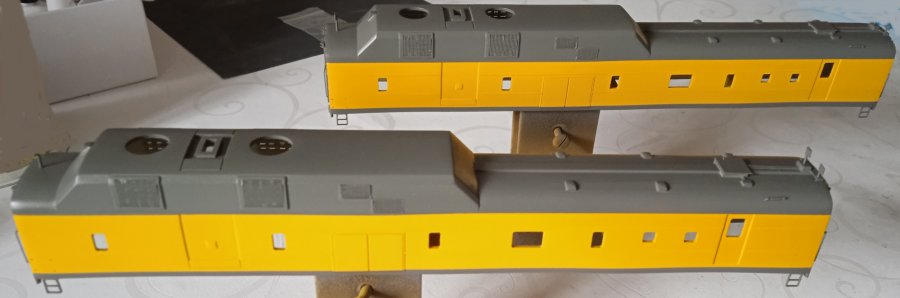
UP-yellow paint has been applied. Now we have to wait another 5 days for drying. Afterwards masking and UP-grey paint to be done. |
|
 |
|
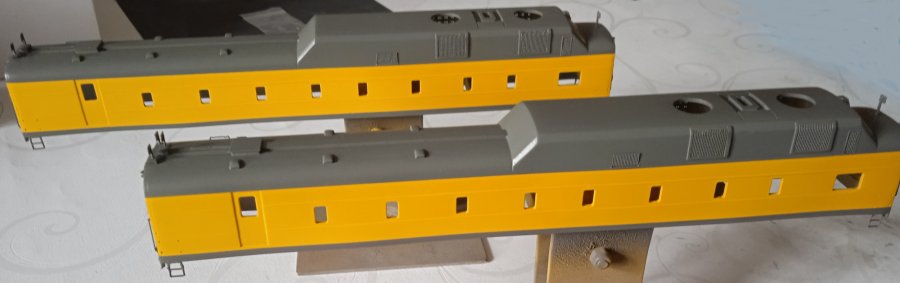
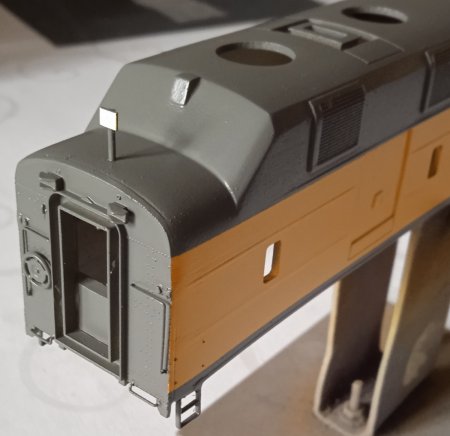
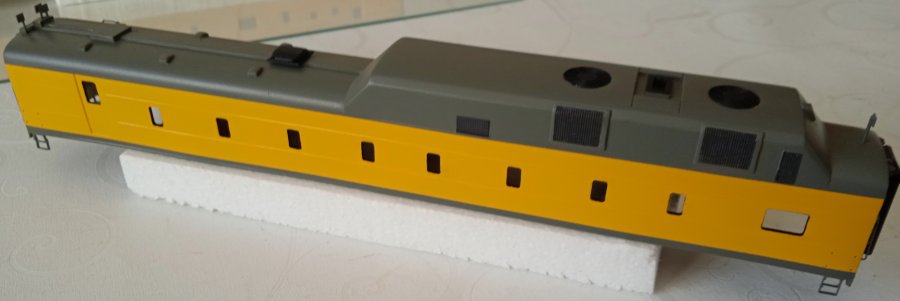
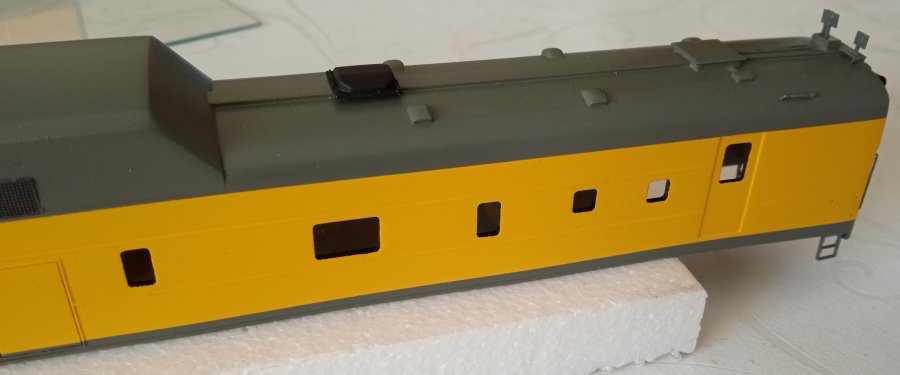
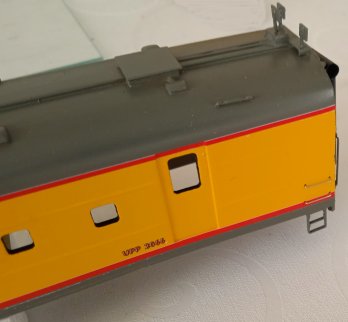
| Underbody, coupler boxes and shell masked and painted in UP harbor mist gray. | |
 |
|
 |
|
 |
|
|
After masking the yellow shells, they were
painted in UP harbor mist gray color. Now
I let the parts dry for a few more days. Then the diaphragms, antennas in black, radiators will be installed. Afterwards the decals will be applied. |
|
 |
|
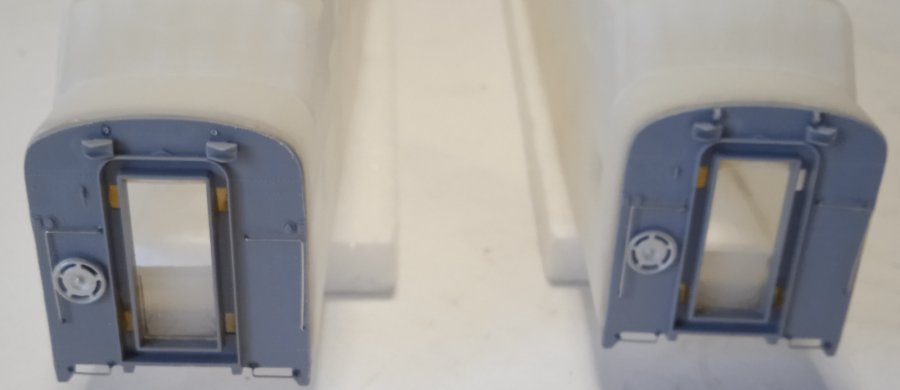
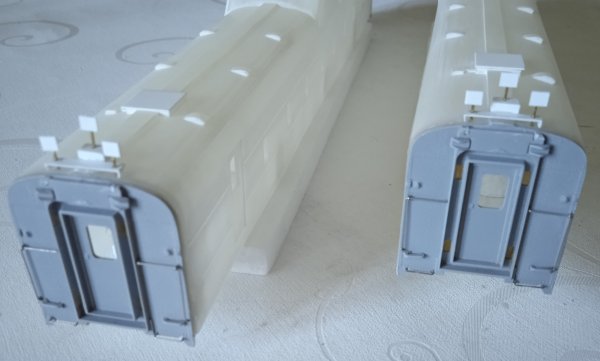
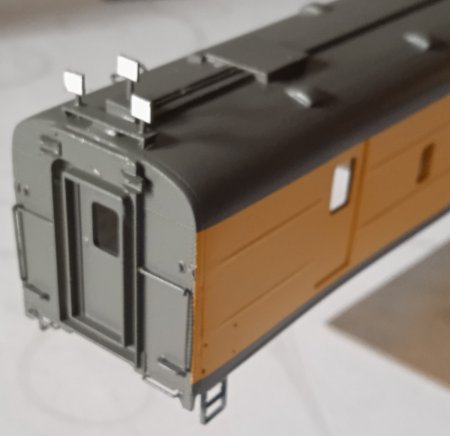
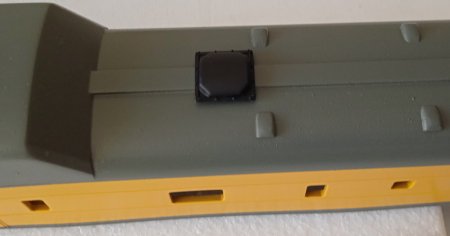
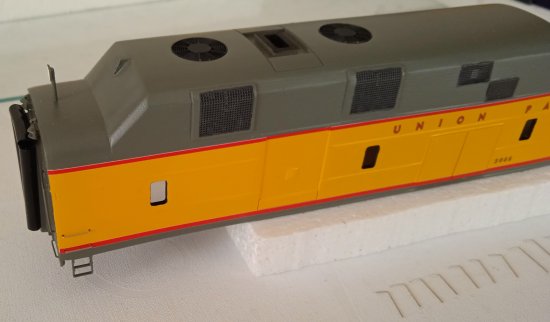
| It is still too early to apply the decals (the paint has to dry) but the attaching of the antennas, radiators, diaphragms and end doors went well. | |
 |
|
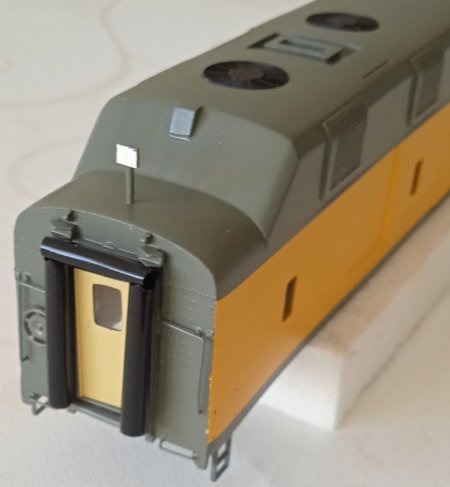
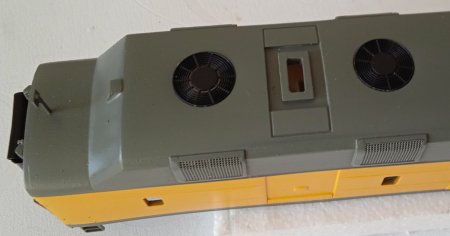
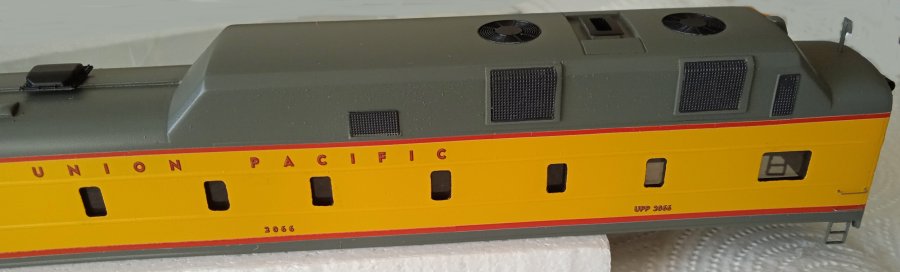
| The radiators on the roof have been mounted. | |
 |
|
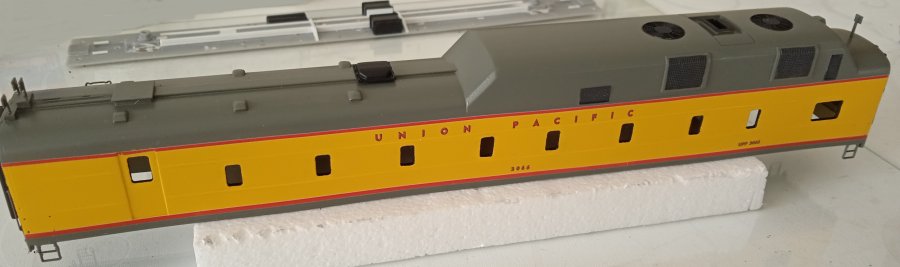
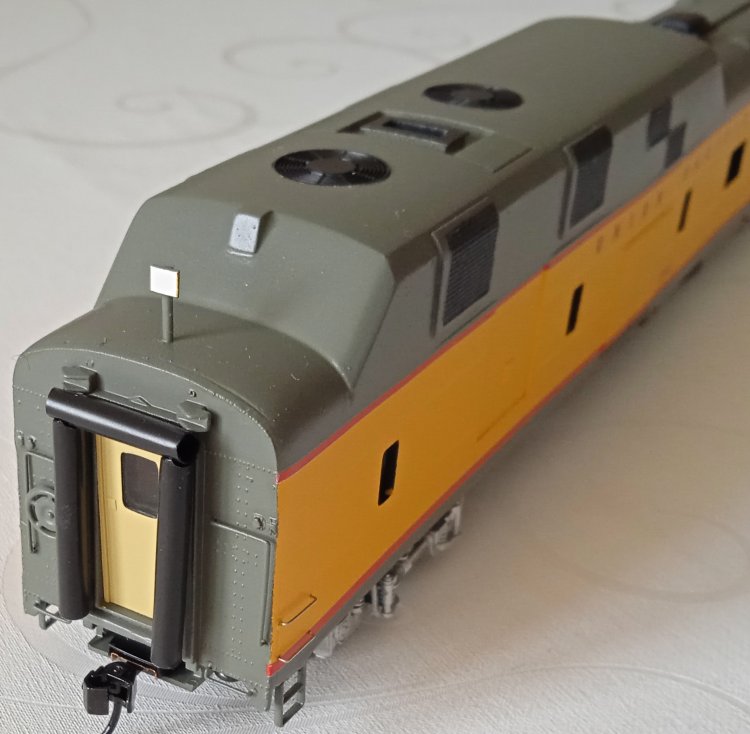
| Before I start with the decals tomorrow, I made an improvement by painting all the window frames black to hide the thickness of the walls. That looks a lot better. The side grills were also brought out in color with Floquil grimy black. The result is satifactory. | |
 |
|
 |
|
 |
|
| Next step will be the decals. | |
 |
|
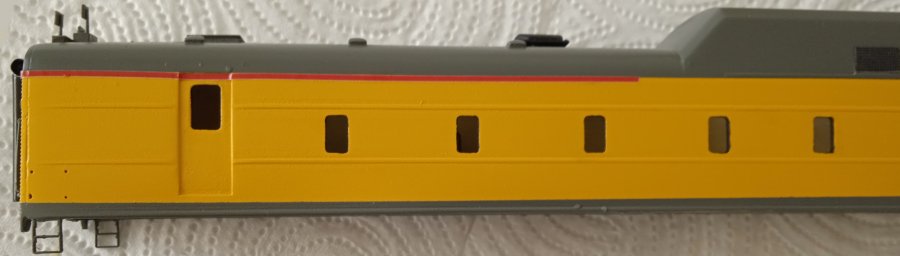
| starting with the red stripes | |
 |
|
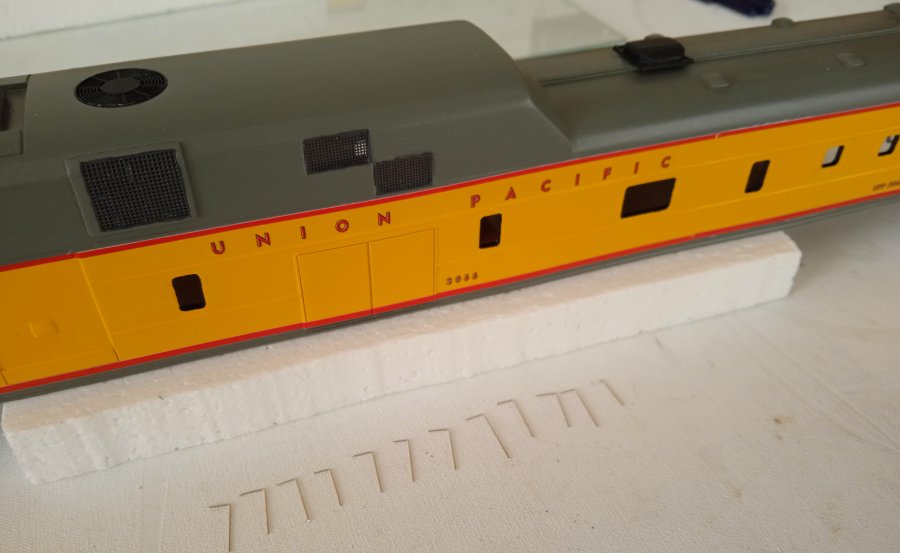
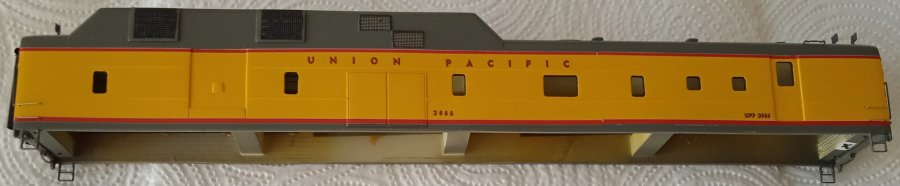
| upper and lower stripes, UP lettering and numbers have been applied. | |
 |
|
| One side is finished and it looks great. After properly drying the other side will be done. | |
 |
|
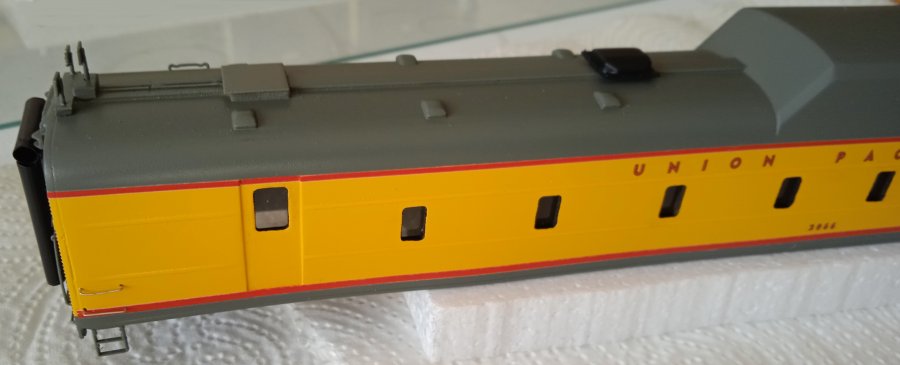
| Now, the other side has been done as well. | |
 |
|
| Today's work: bending and mounting of the stainless steel grab irons. | |
 |
|
| left side grab irons mounted right side grab irons mounted | |
  |
|
| After I applied the protective clear coat yesterday, the tinted windows have been mounted today. | |
 |
|
 |
|
| Tomorrow the final assembly will follow... | |
 |
|
 |
|
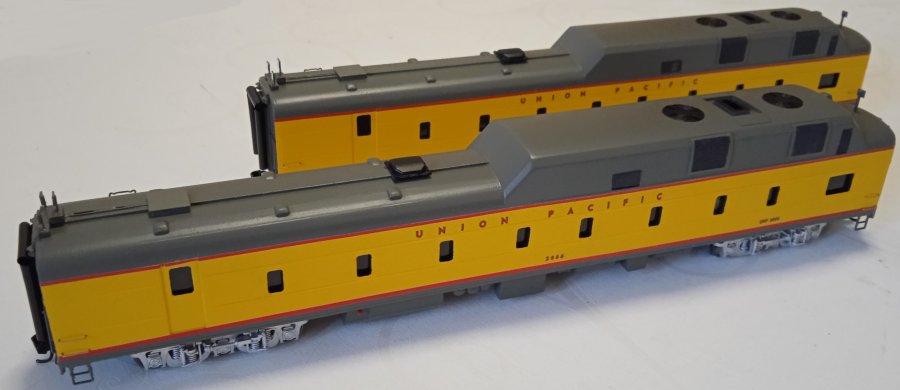
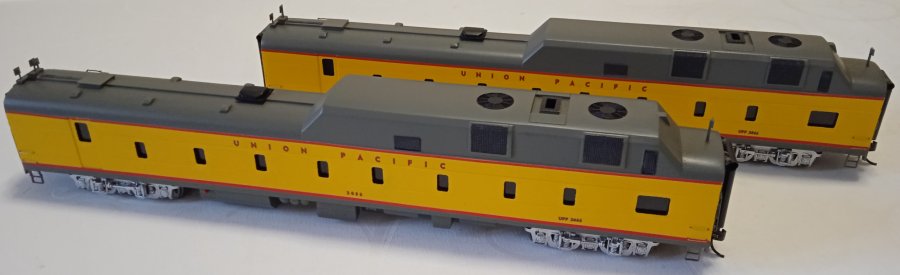
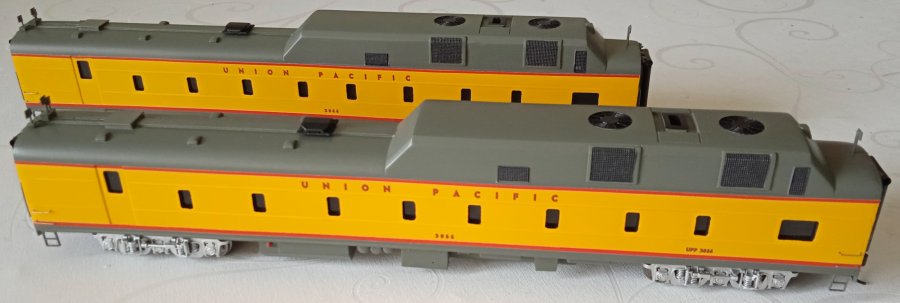
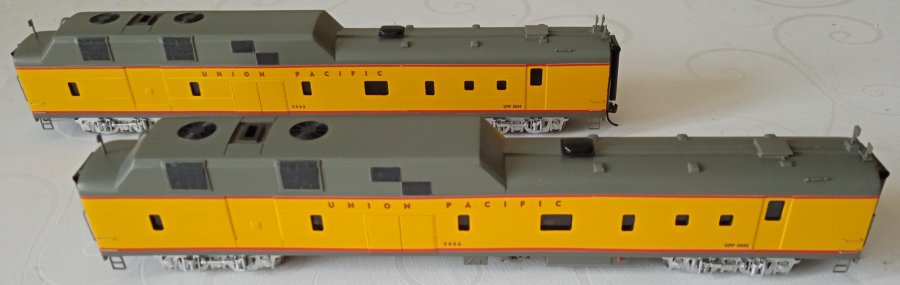
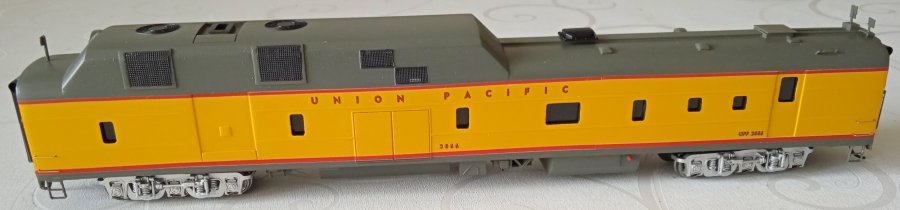
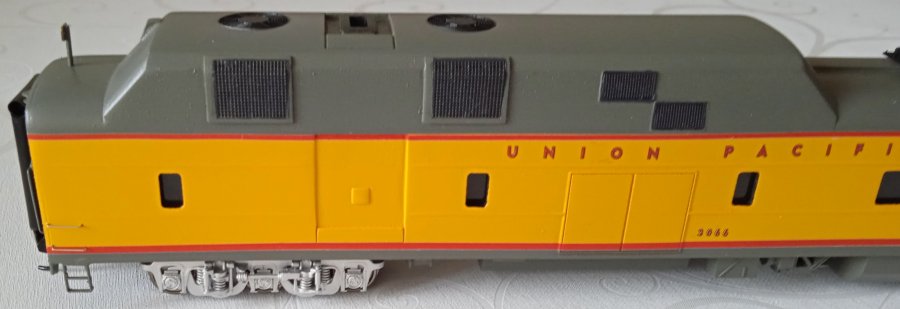
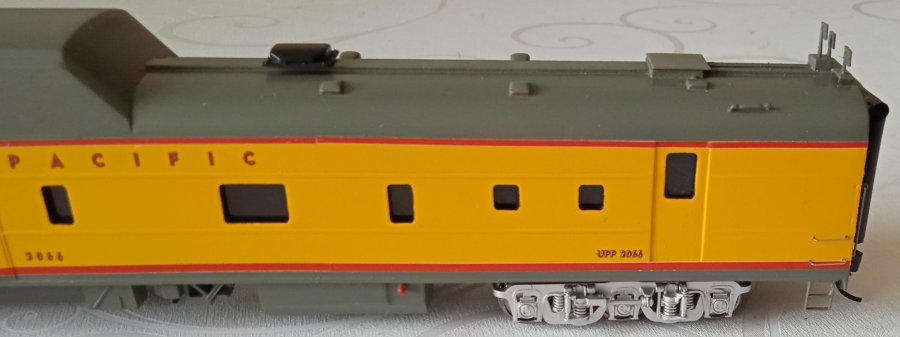
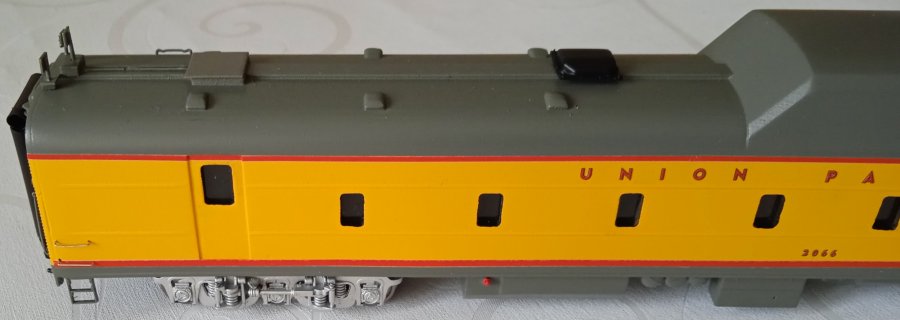
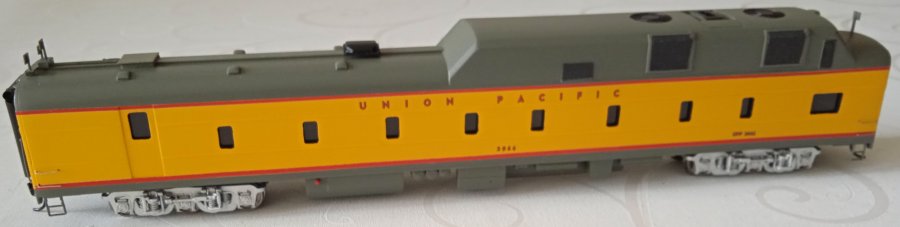
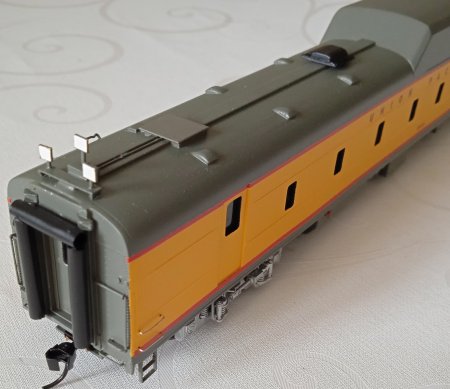
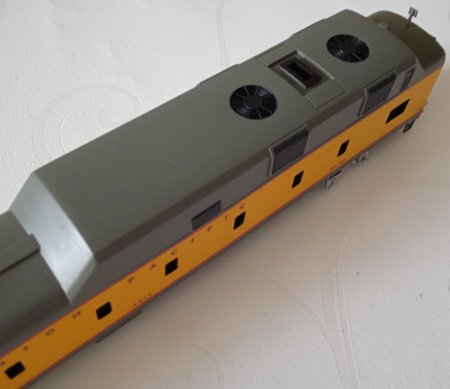
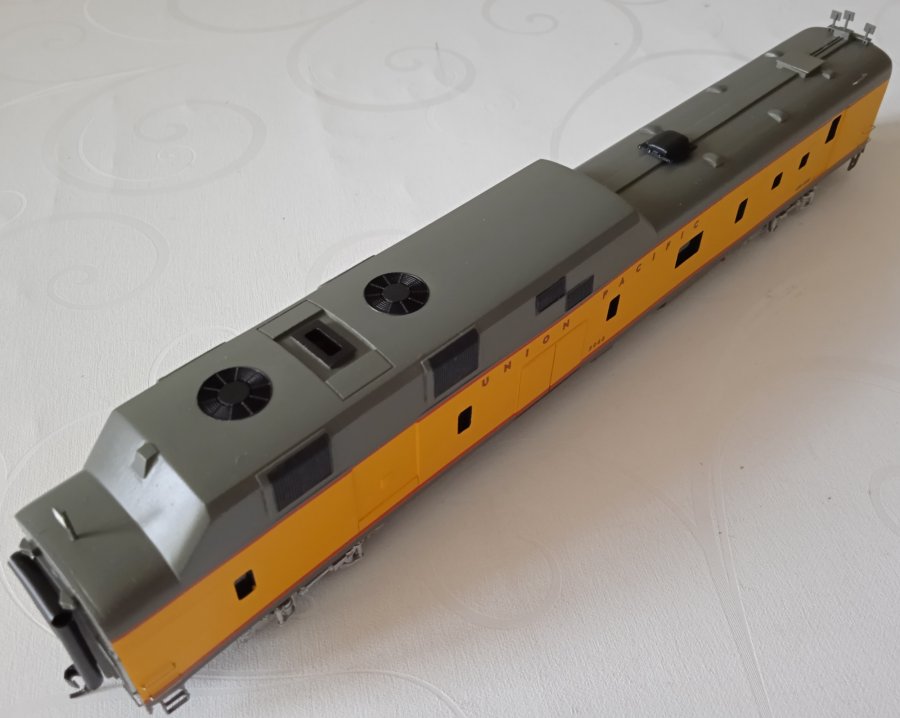
| The cars have been assembled and look great. Some more photos will follow, soon. | |
| Here are the finished UP Power Cars after many hours of work. | |
 |
|
 |
|
 |
|
 |
|
 |
|
 |
|
 |
|
 |
|
 |
|
 |
|
 |
|
|
U/P = Un Painted, C/P = Custom
Painted, F/P = Factory Painted, P/P = Pro Painted,
TA = Tarnished, WEA = Weathered, |
Zwischenverkauf vorbehalten - Preisänderungen sind jederzeit
möglich
Please ask for availability - Prices may change anytime