|
Part 2: Tehachapi |
 |
 |
|
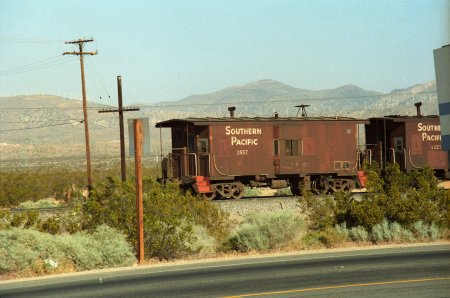
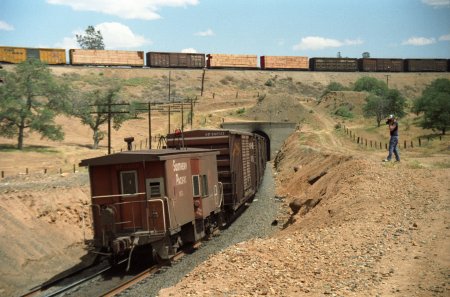
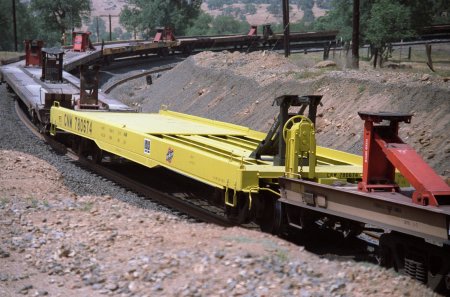
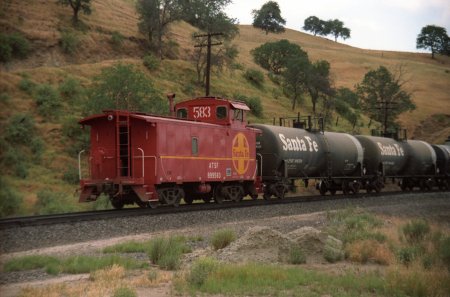
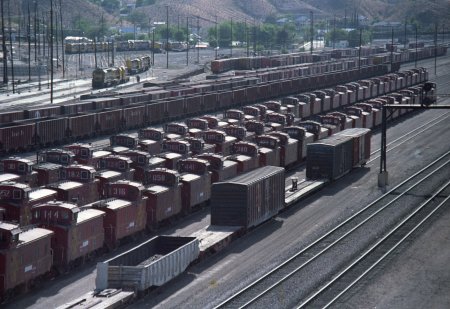
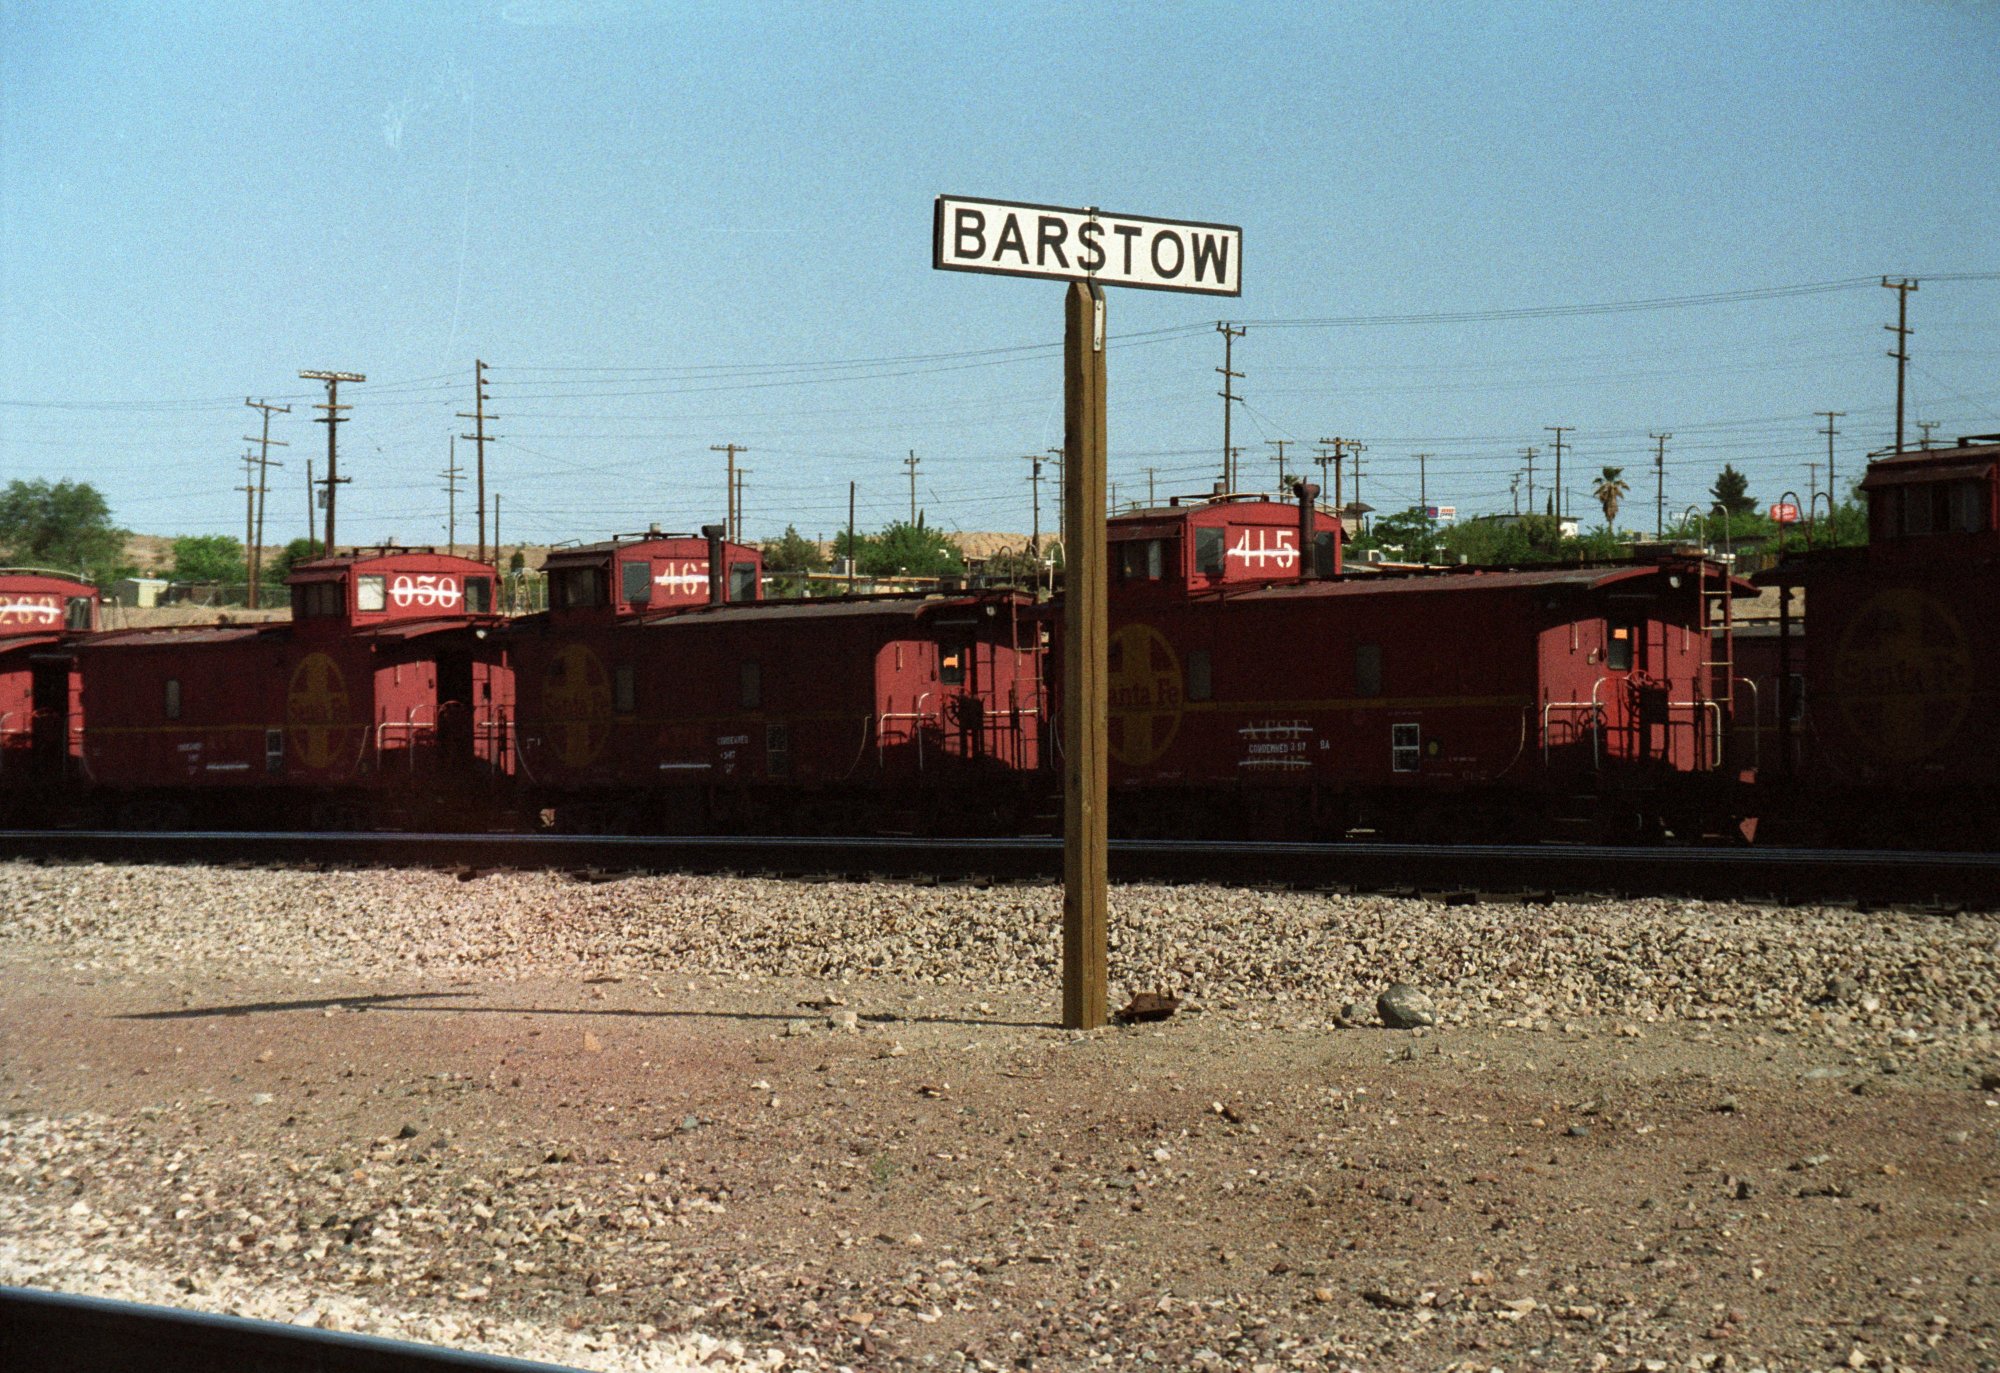
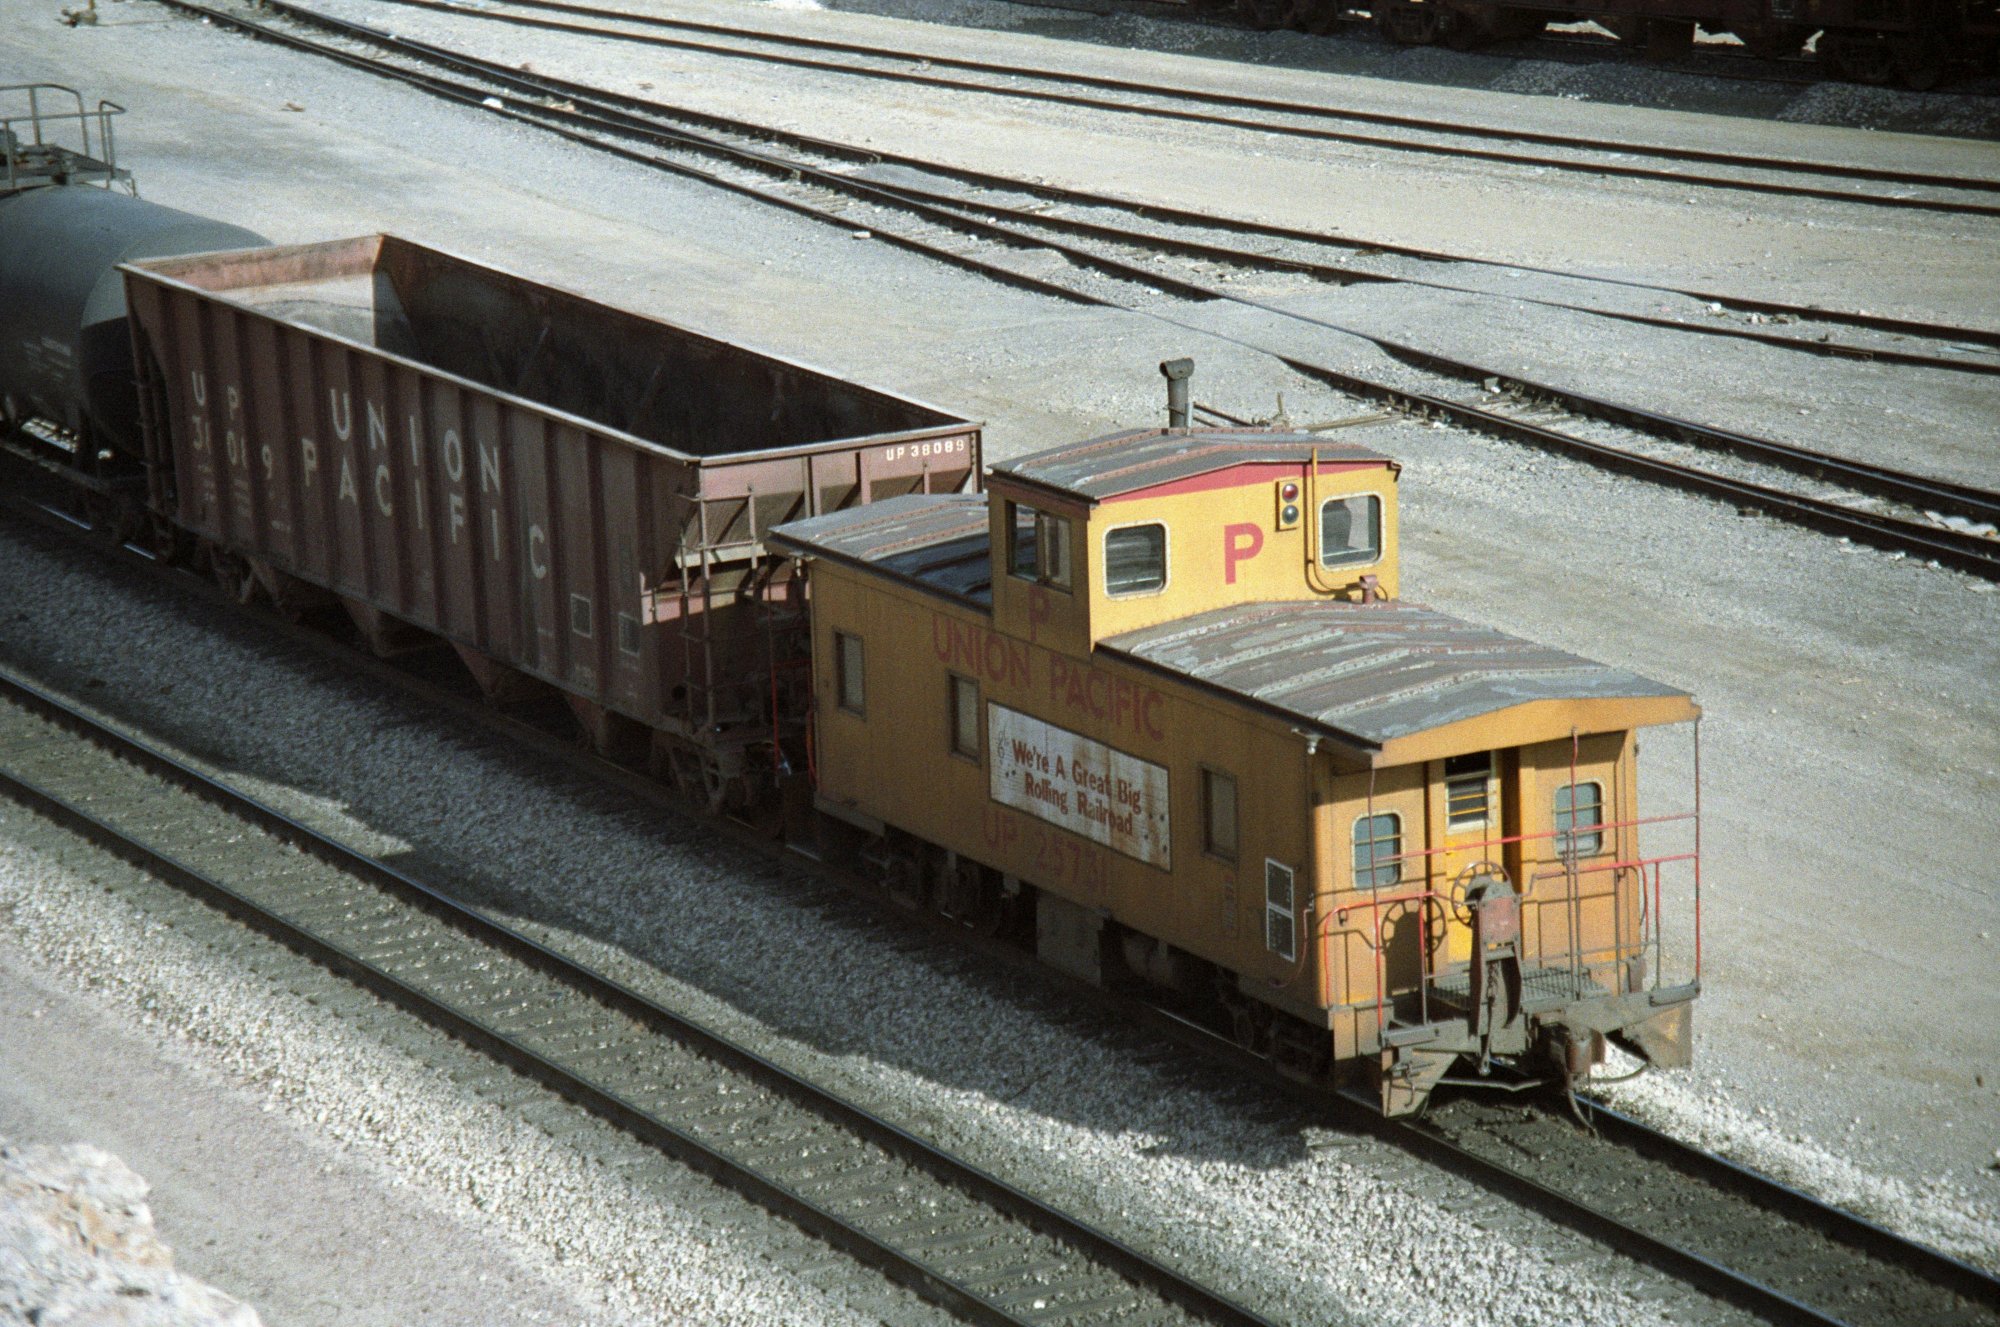
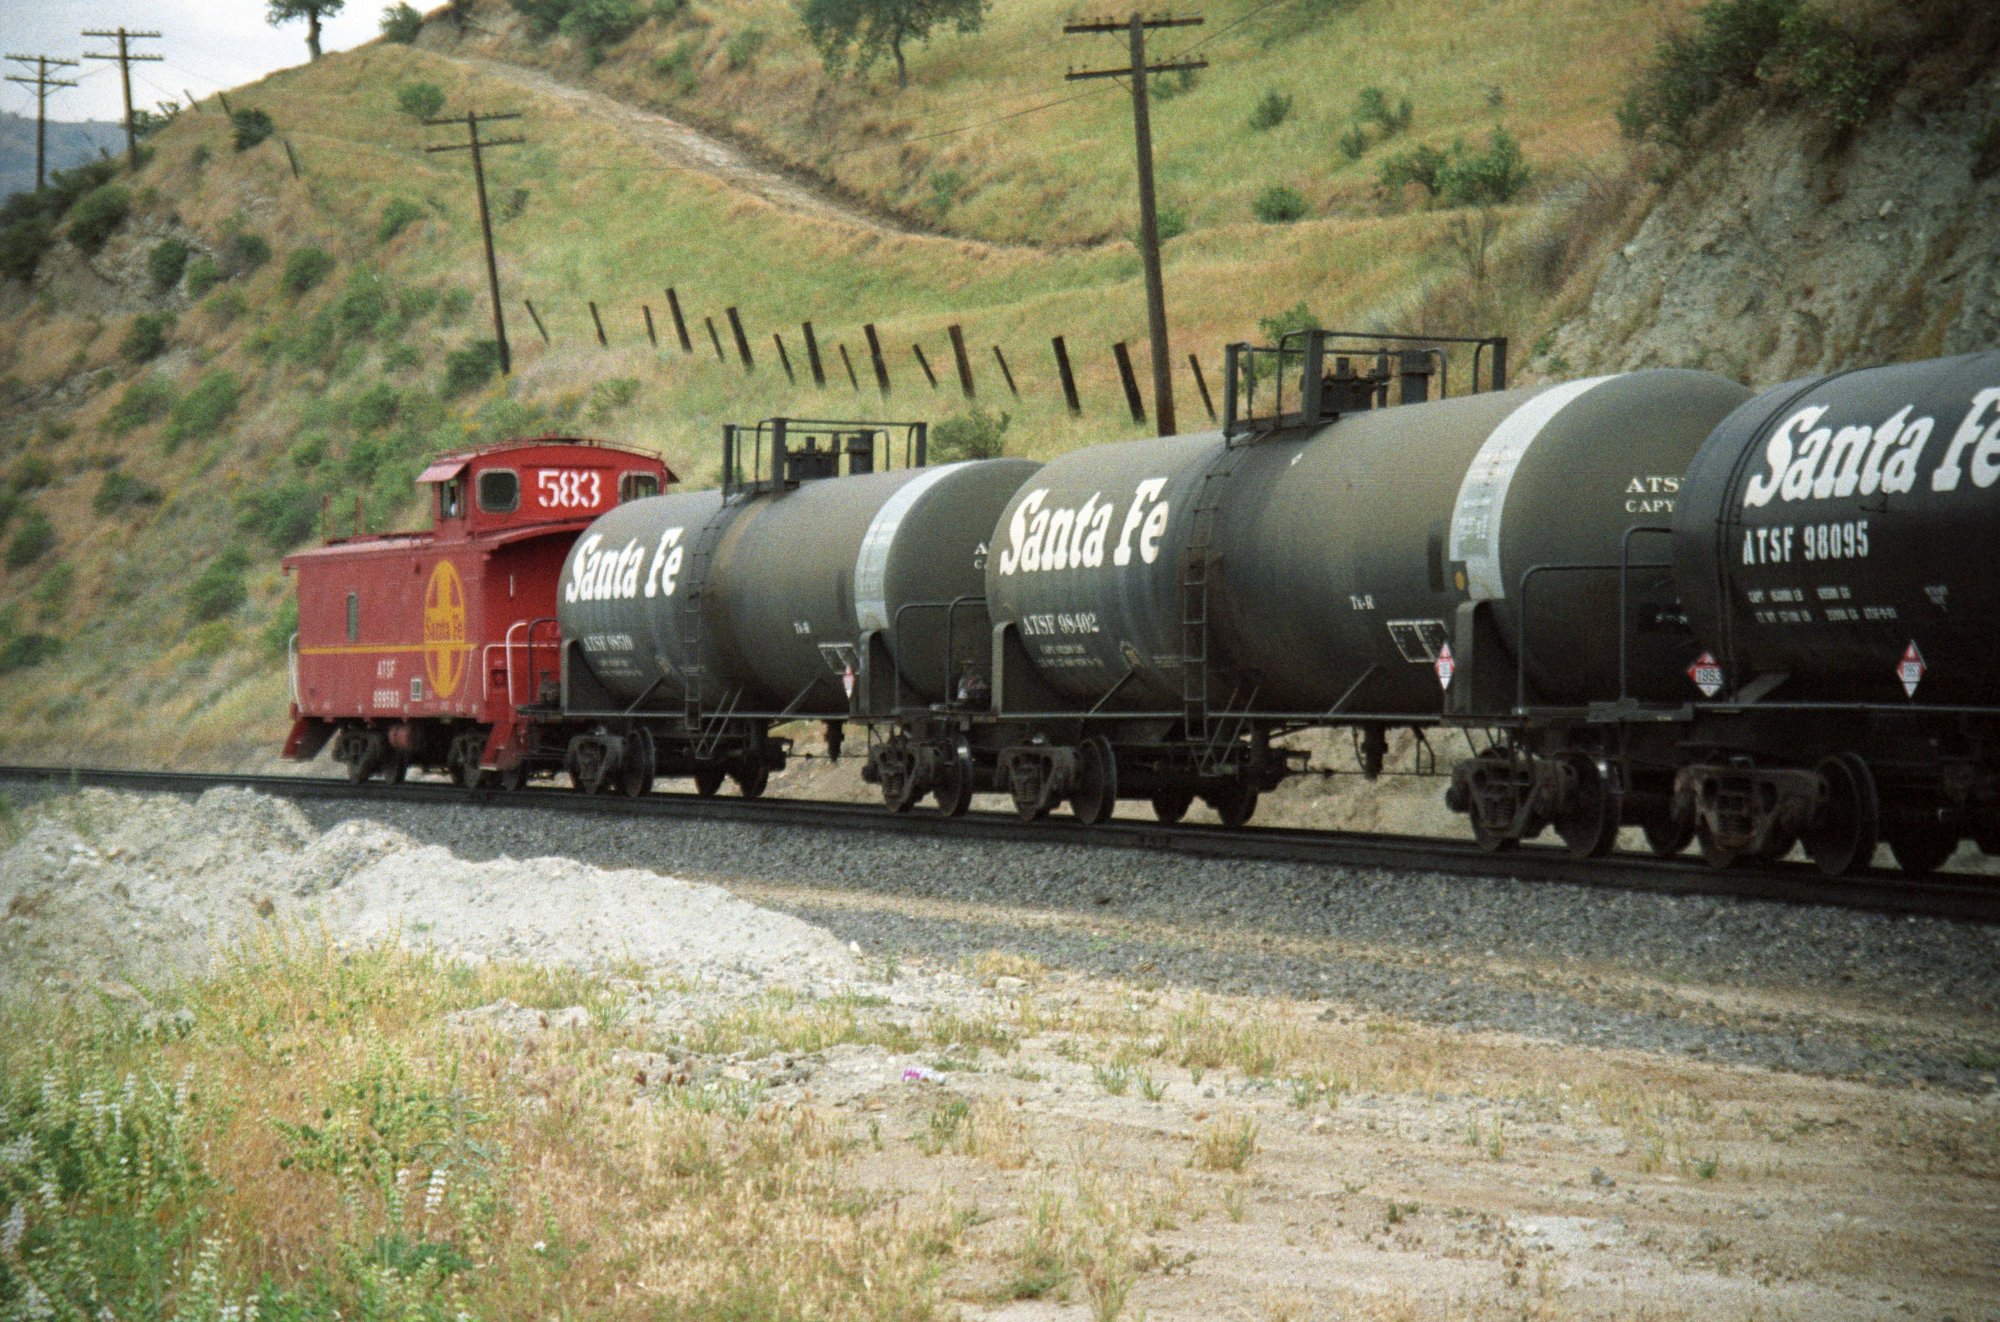
WM-119 -
on the way to Tehachapi we found 3 SP Cabooses |
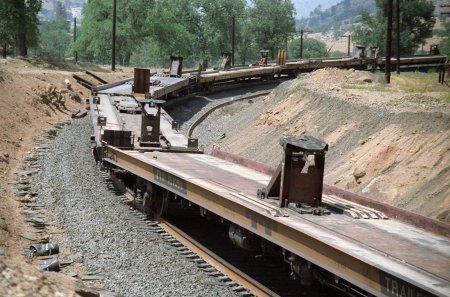
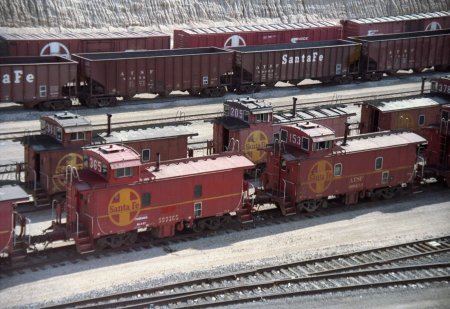
WM-120 |
 |
 |
|
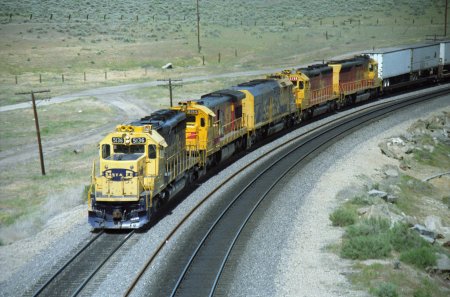
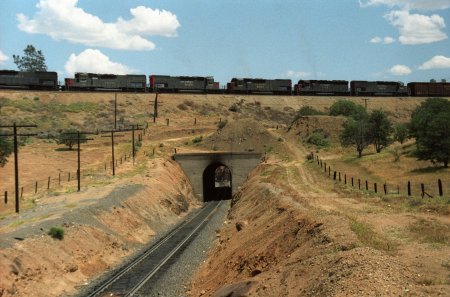
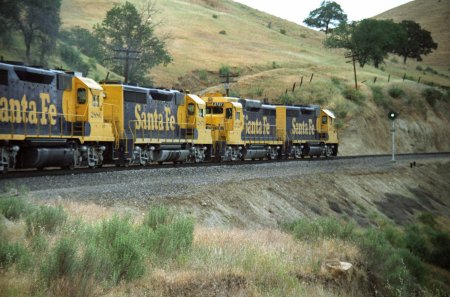
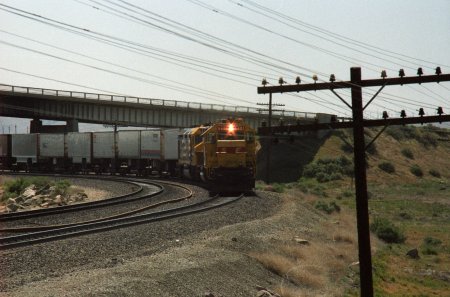
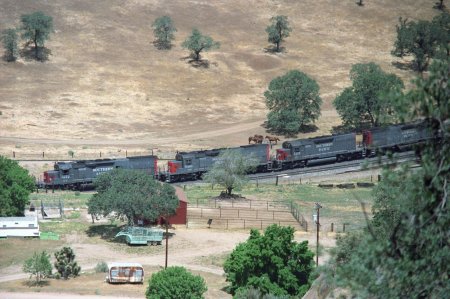
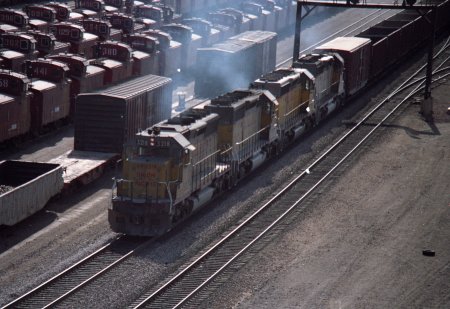
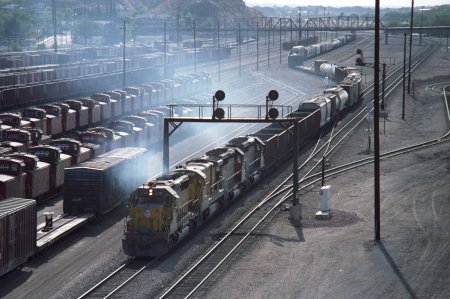
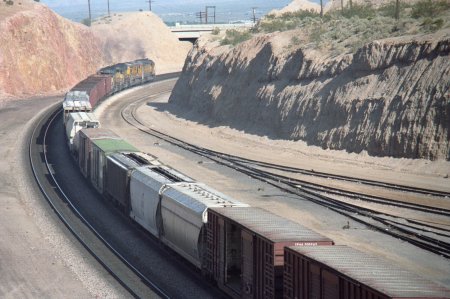
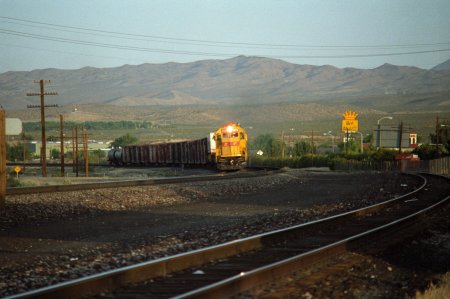
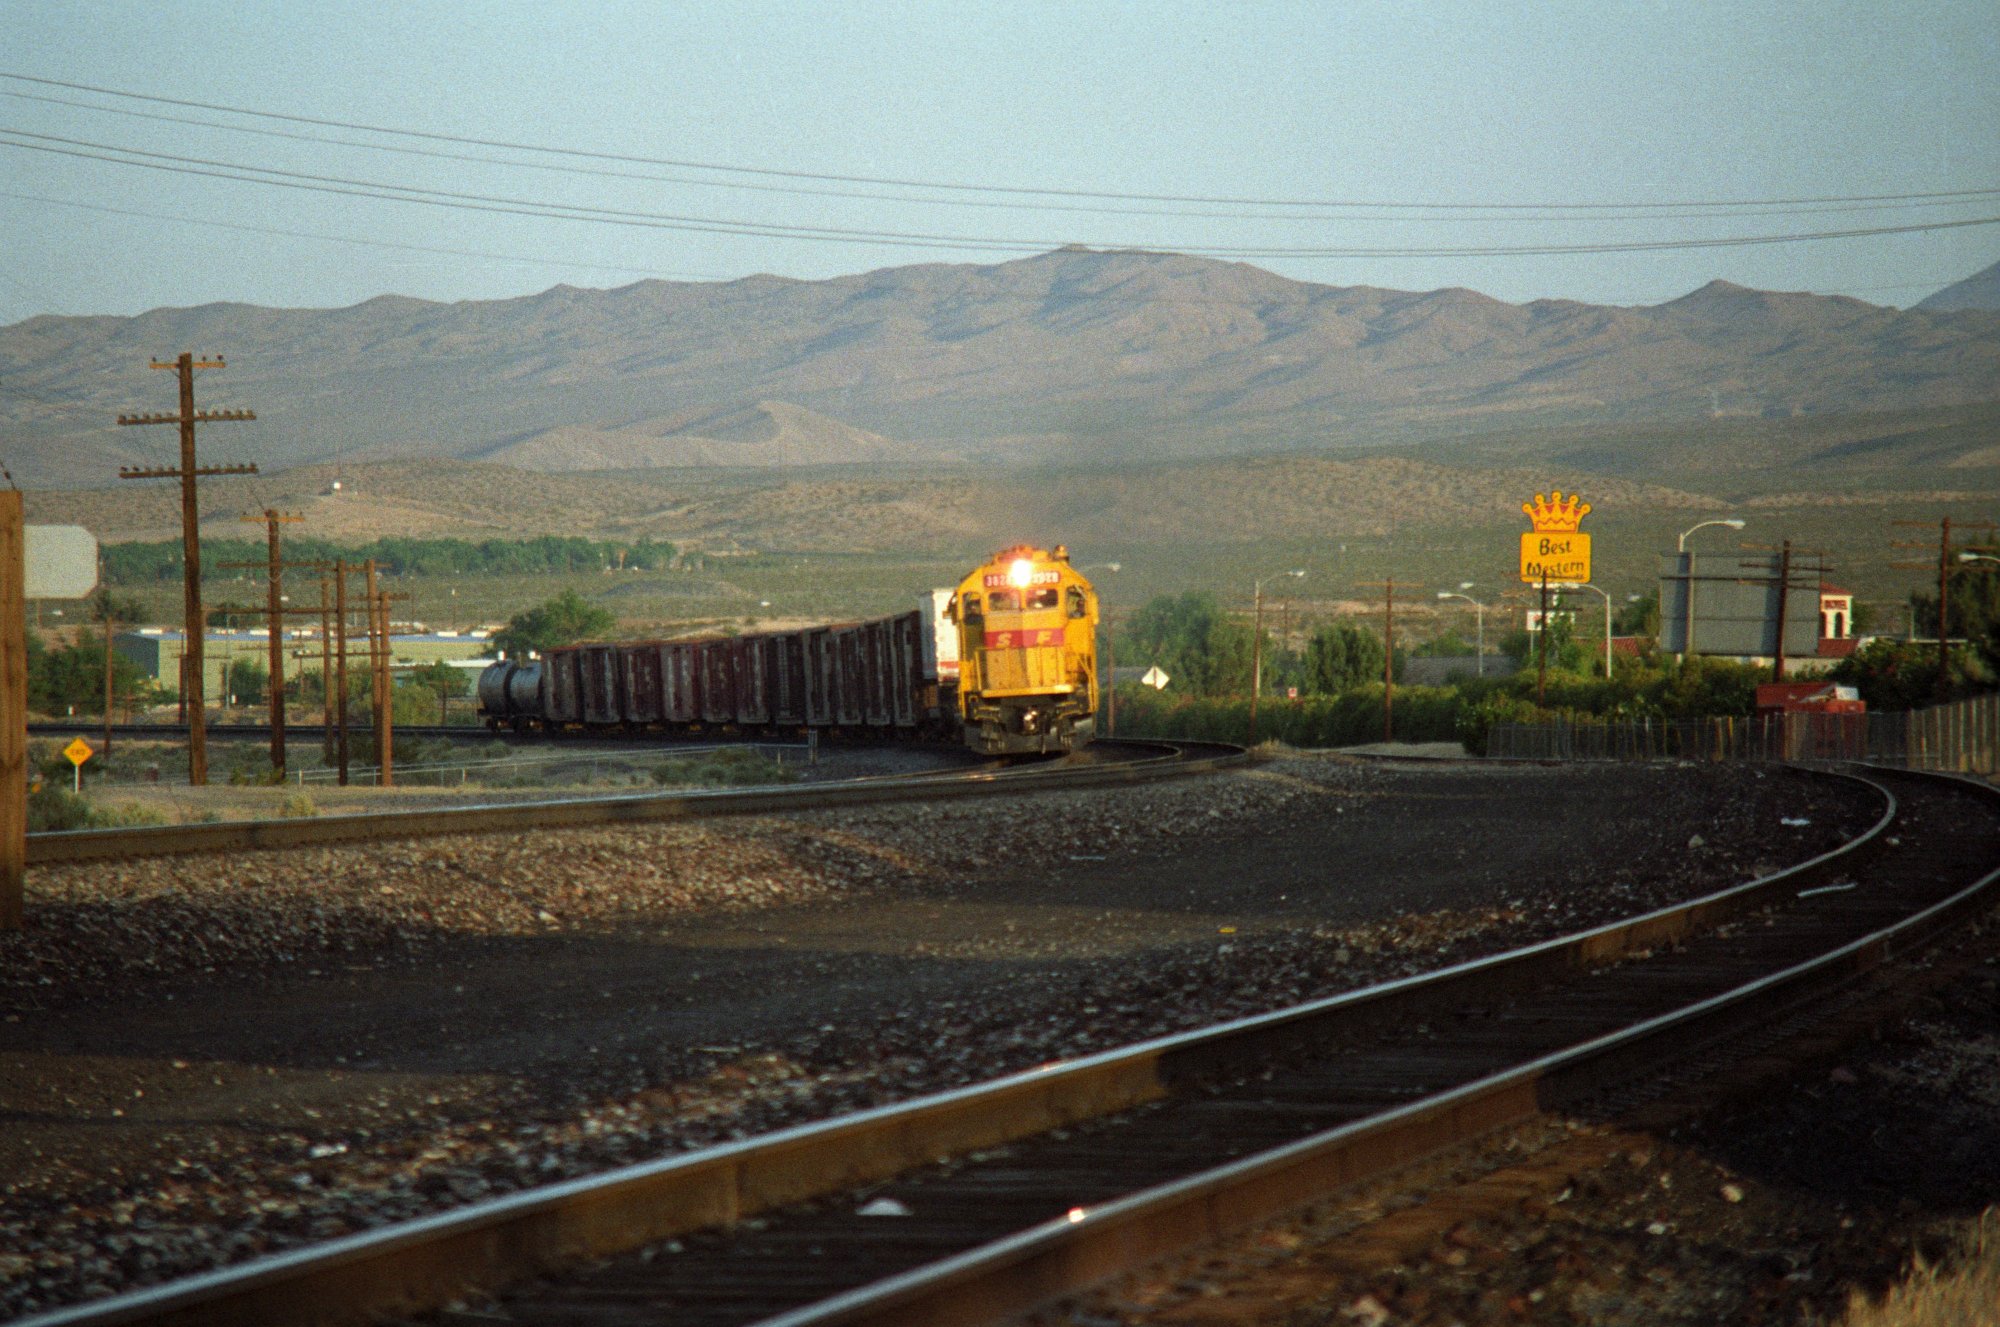
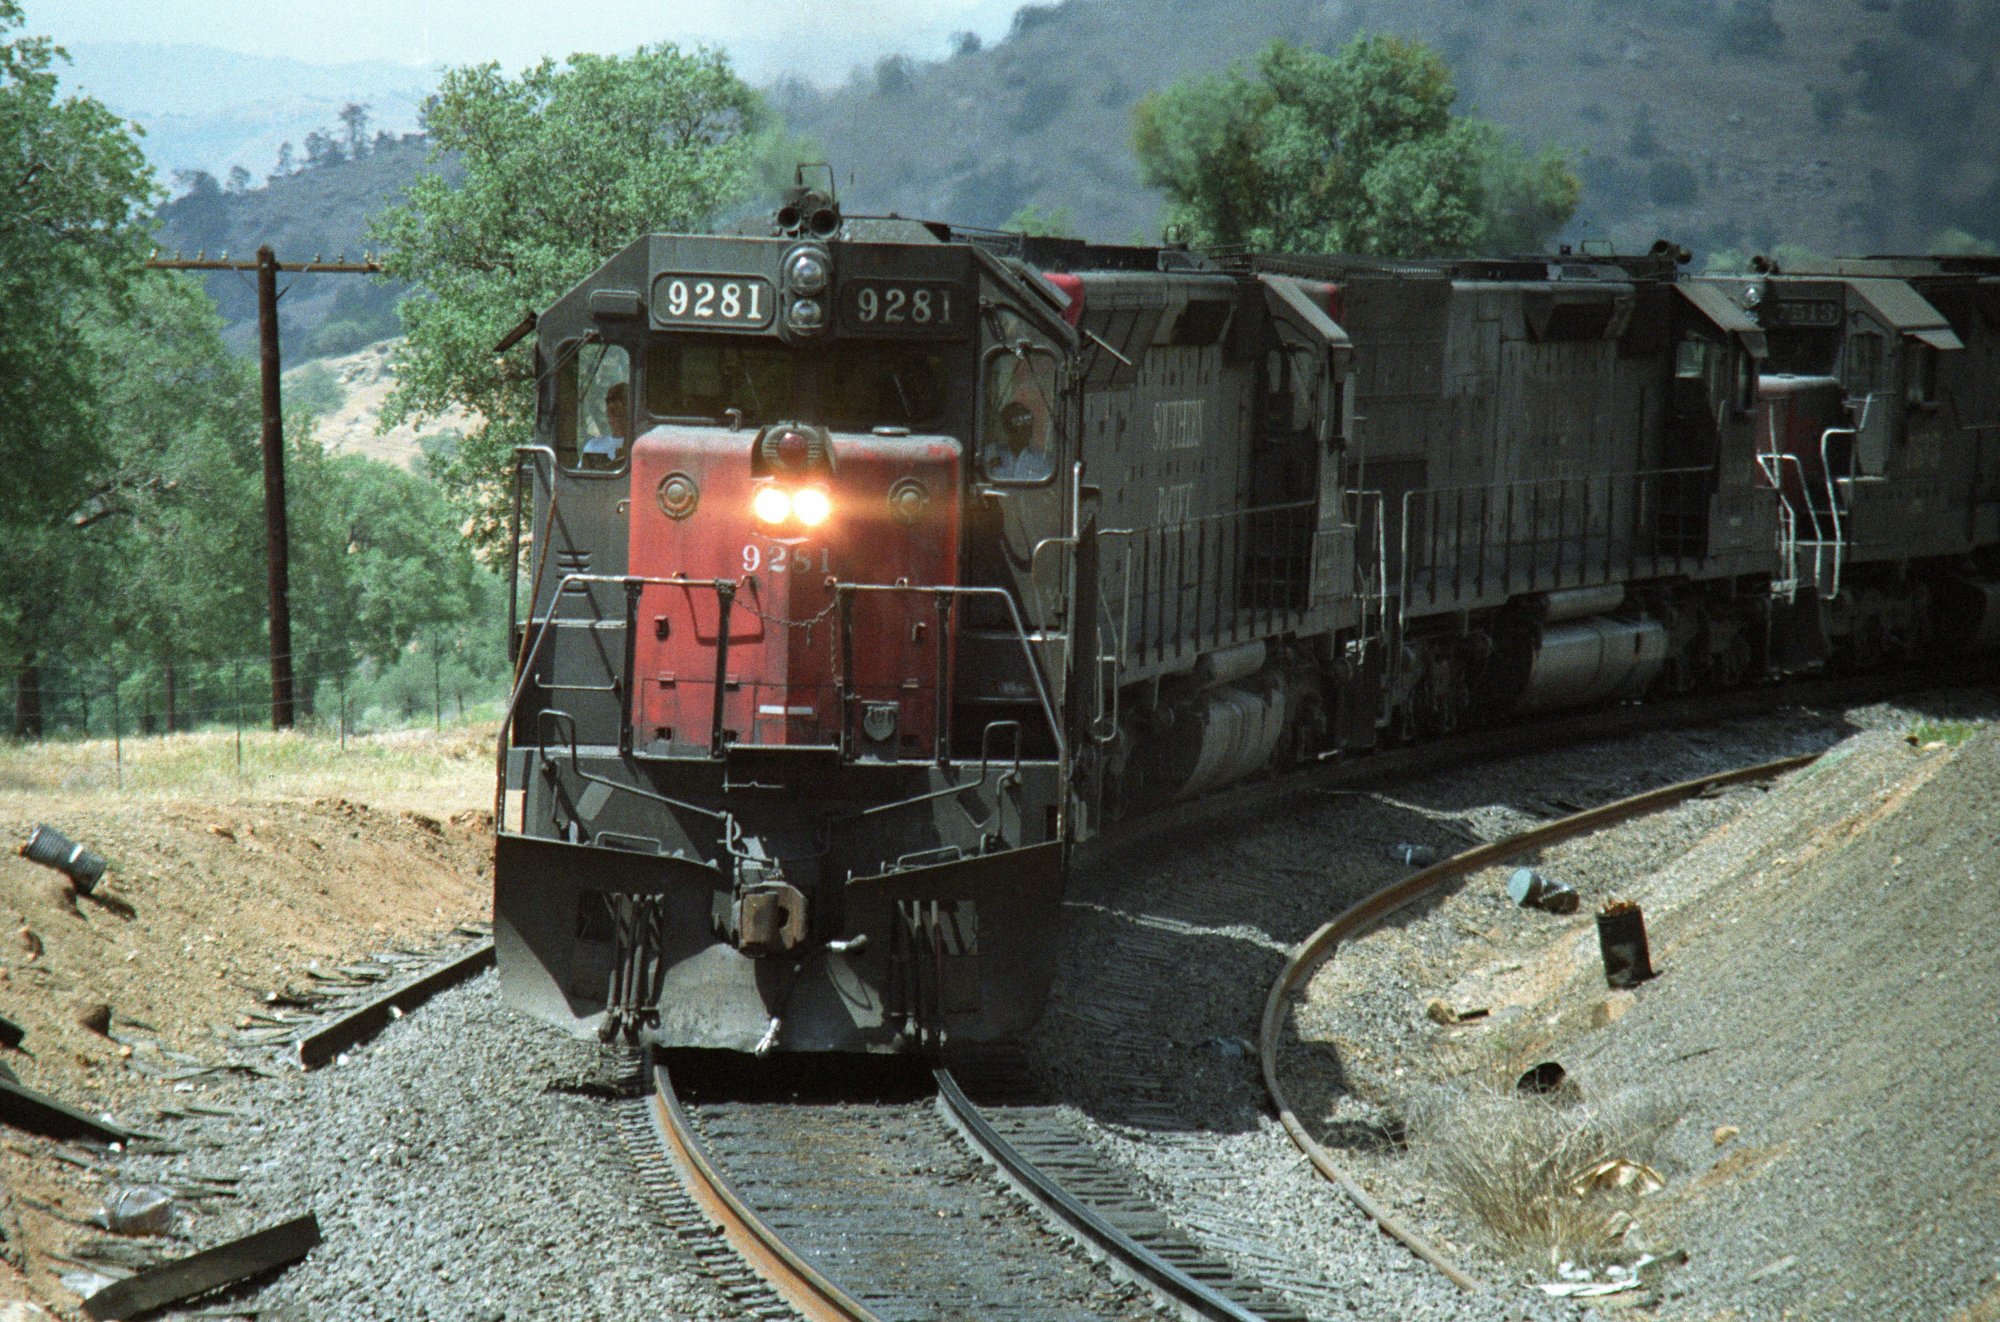
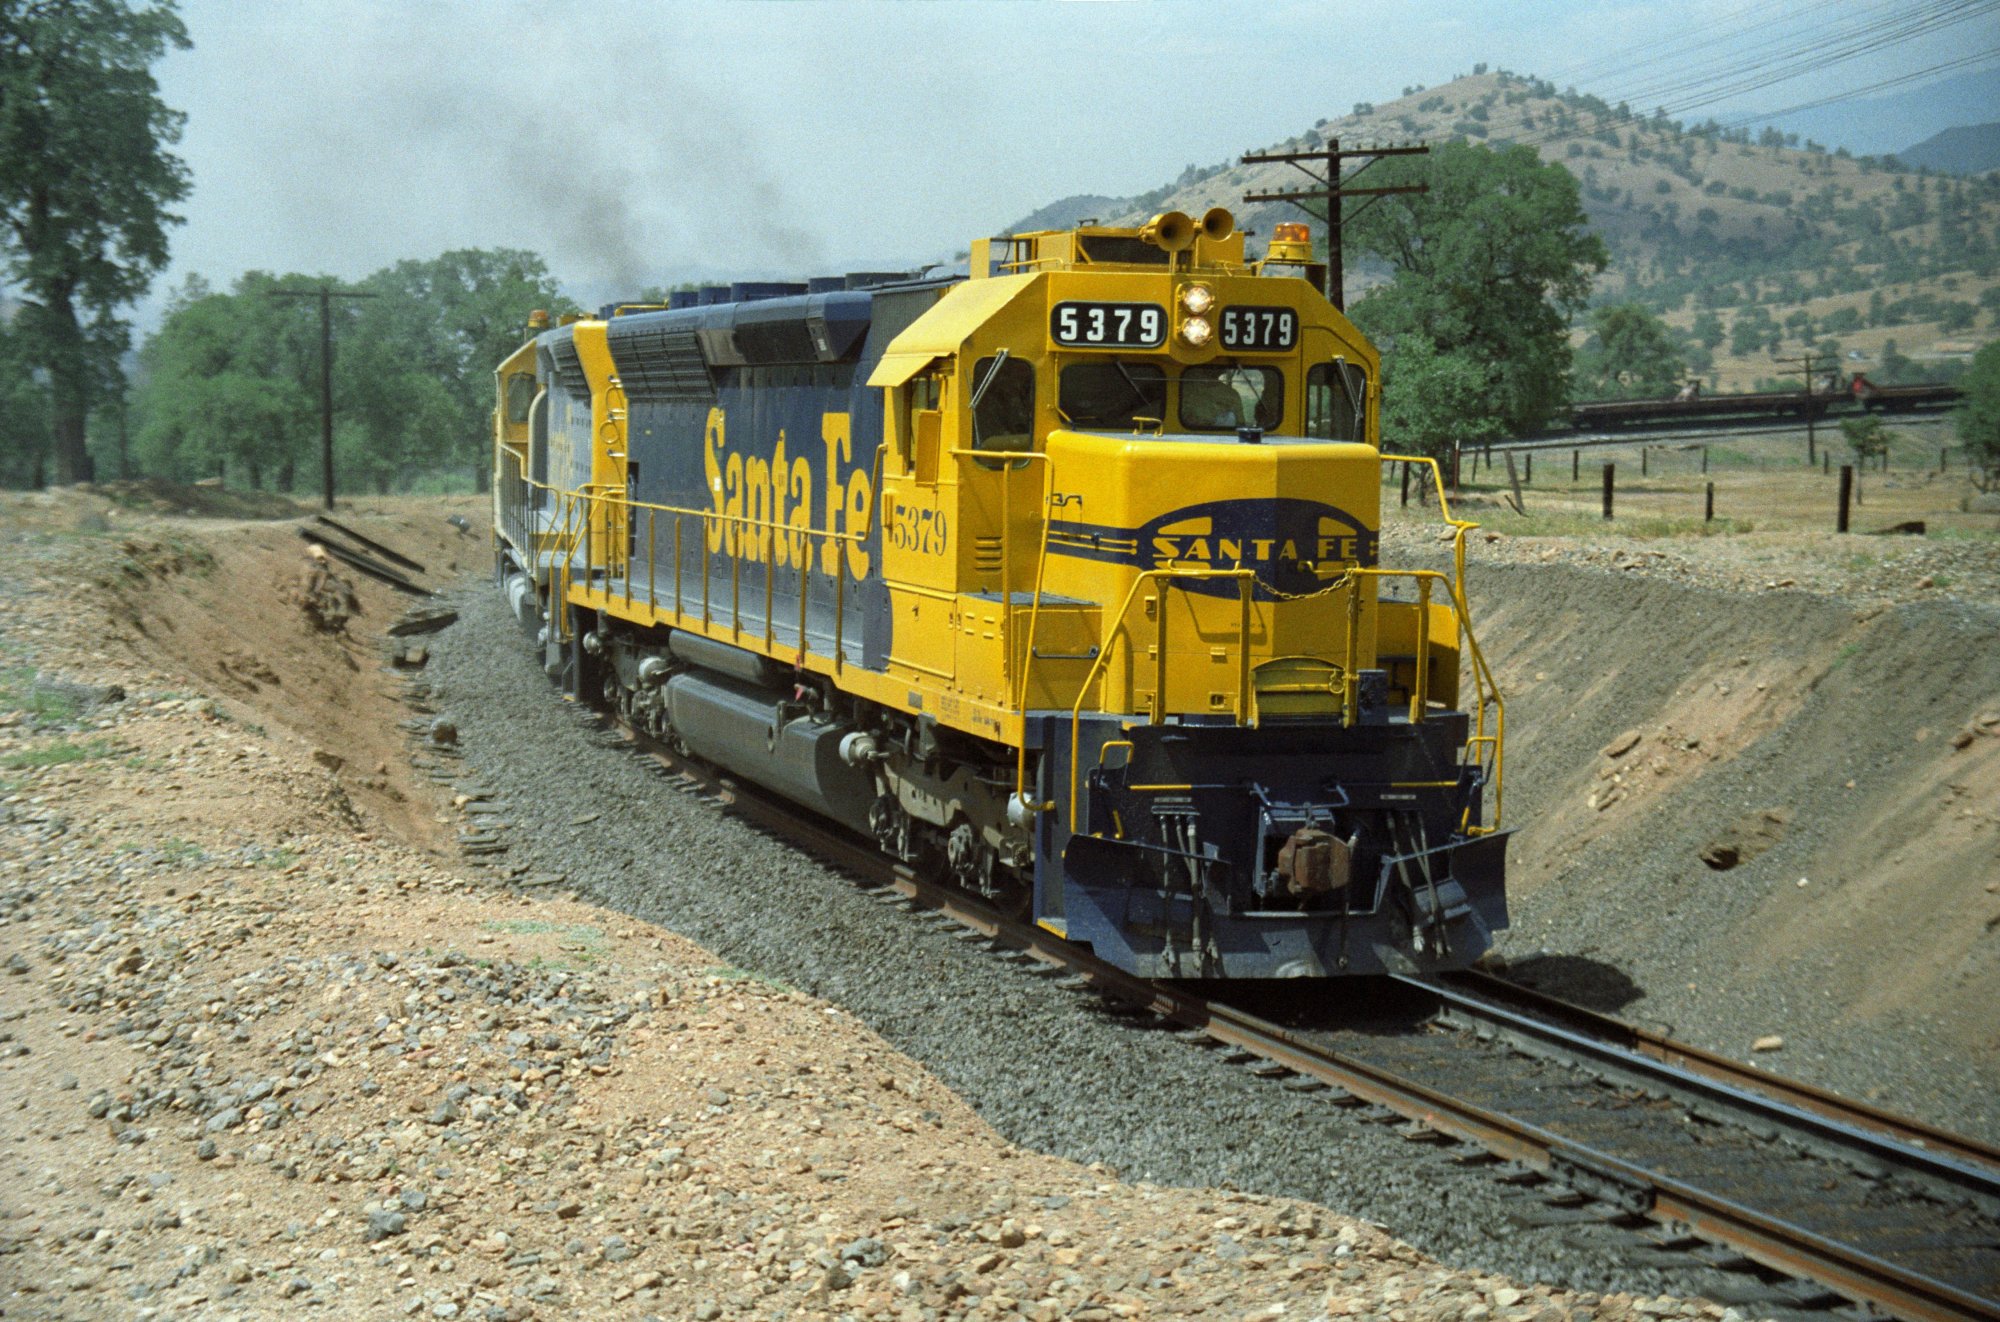
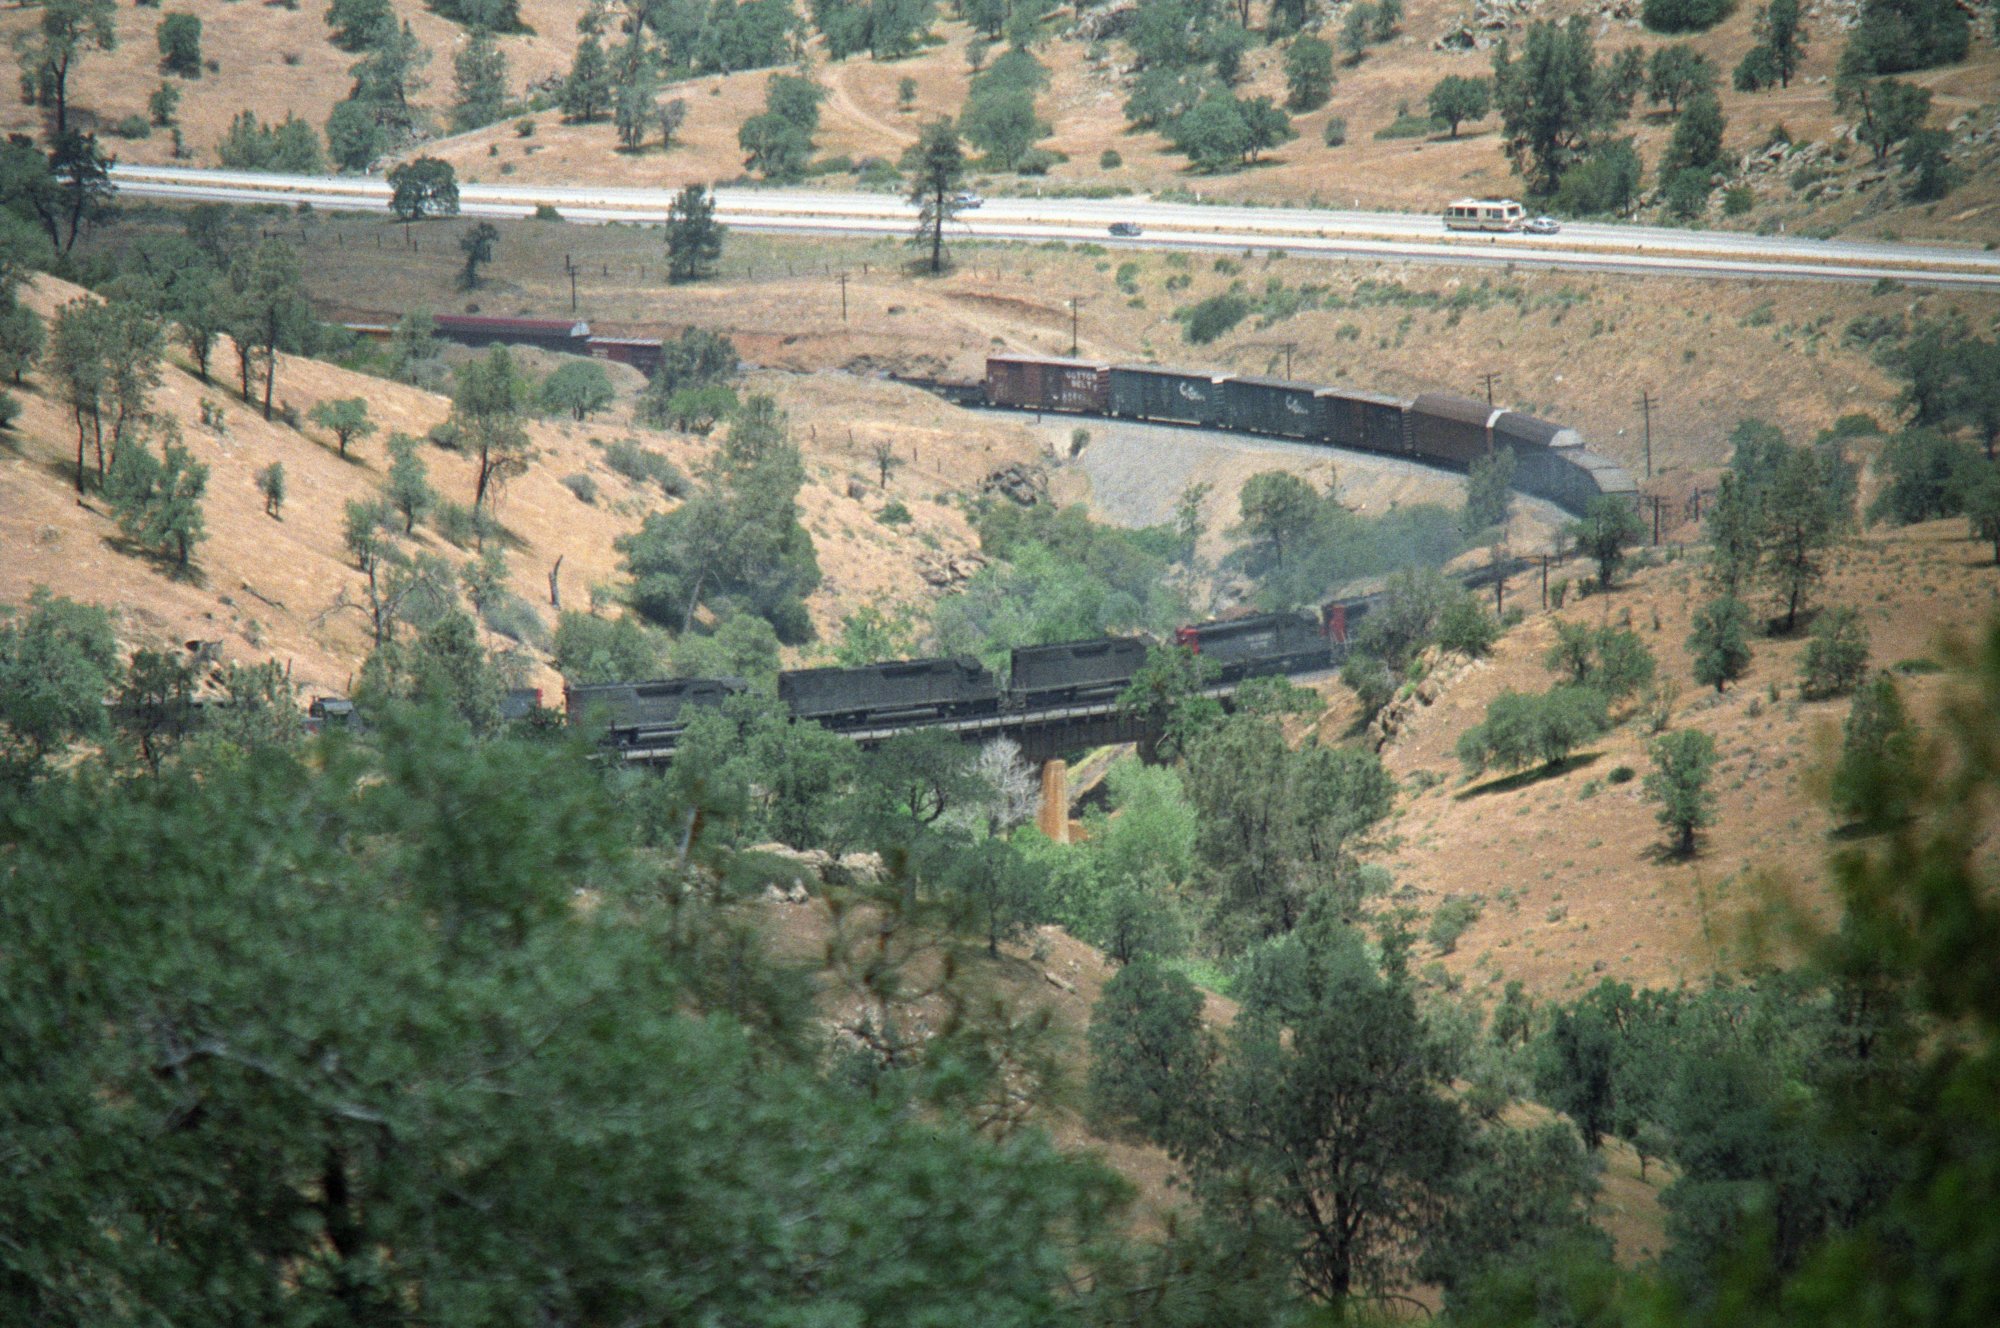
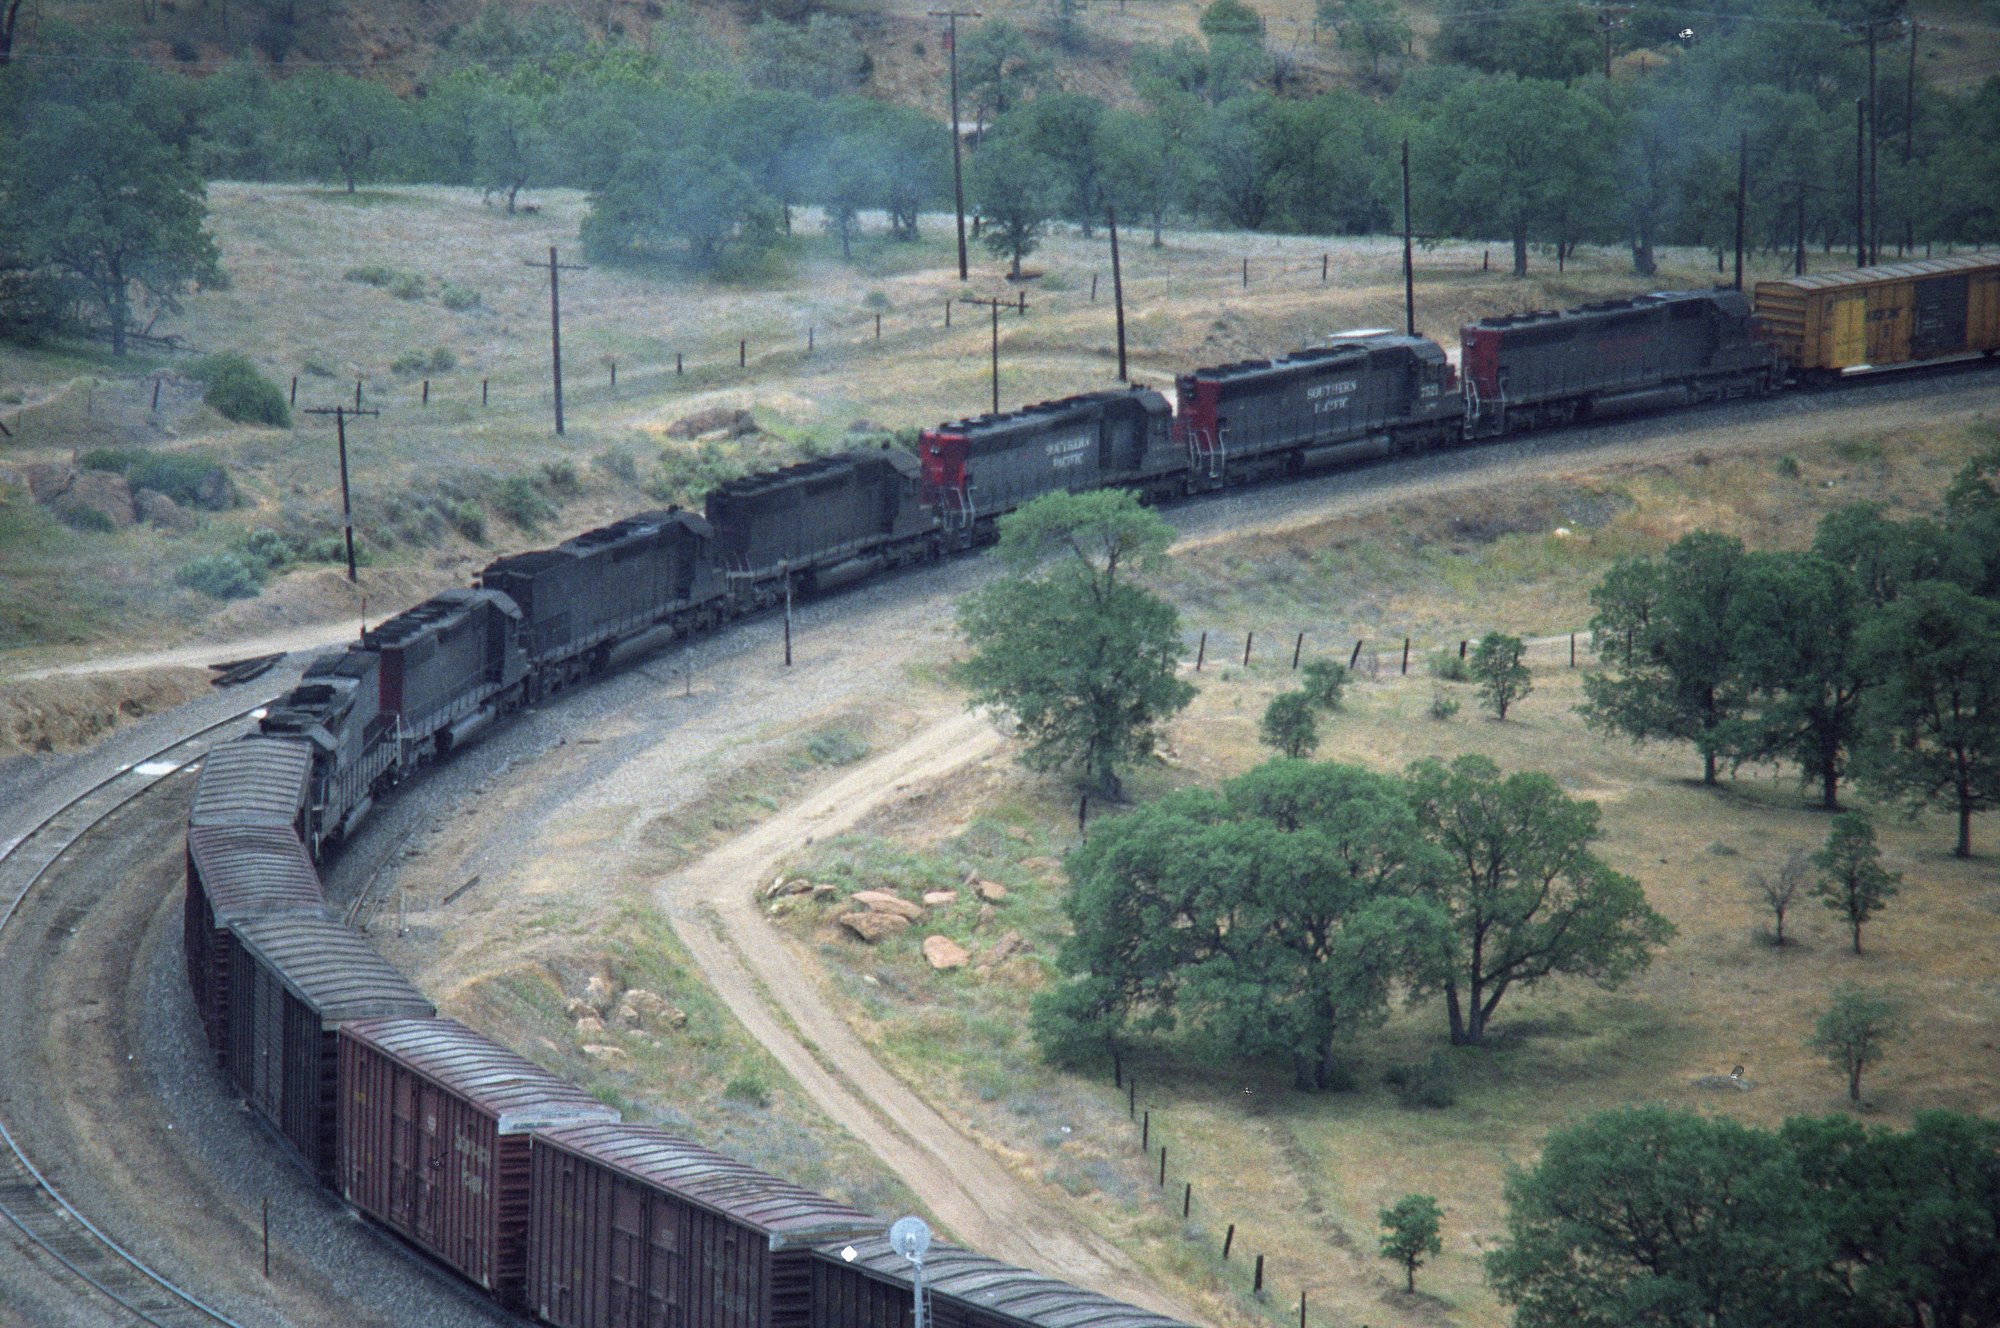
WM-121 -
first train coming uphill from Bakersfield |
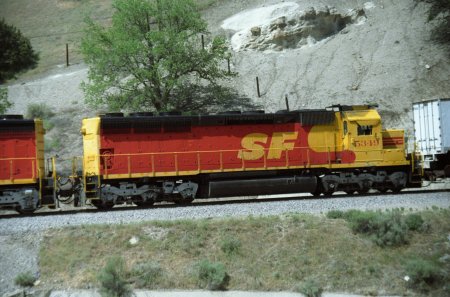
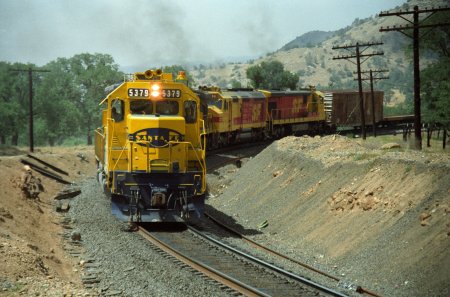
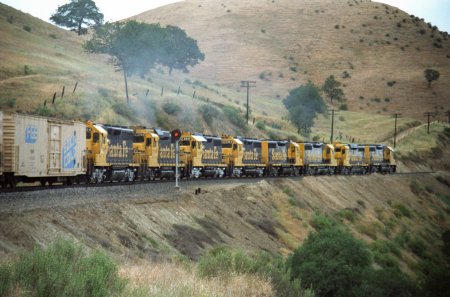
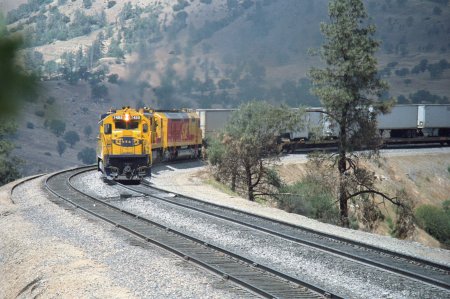
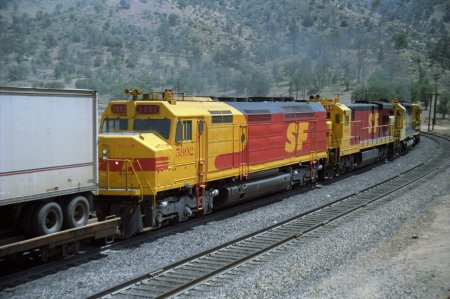
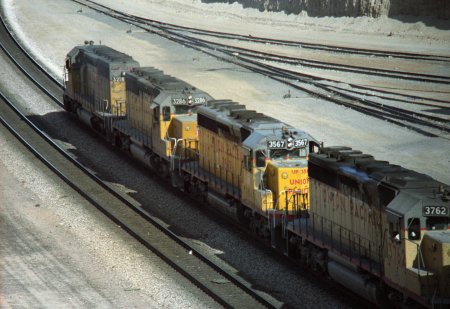
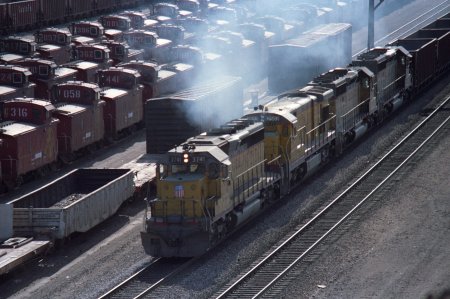
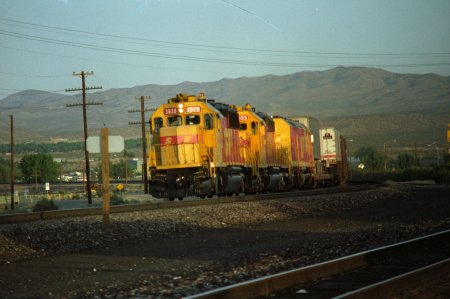
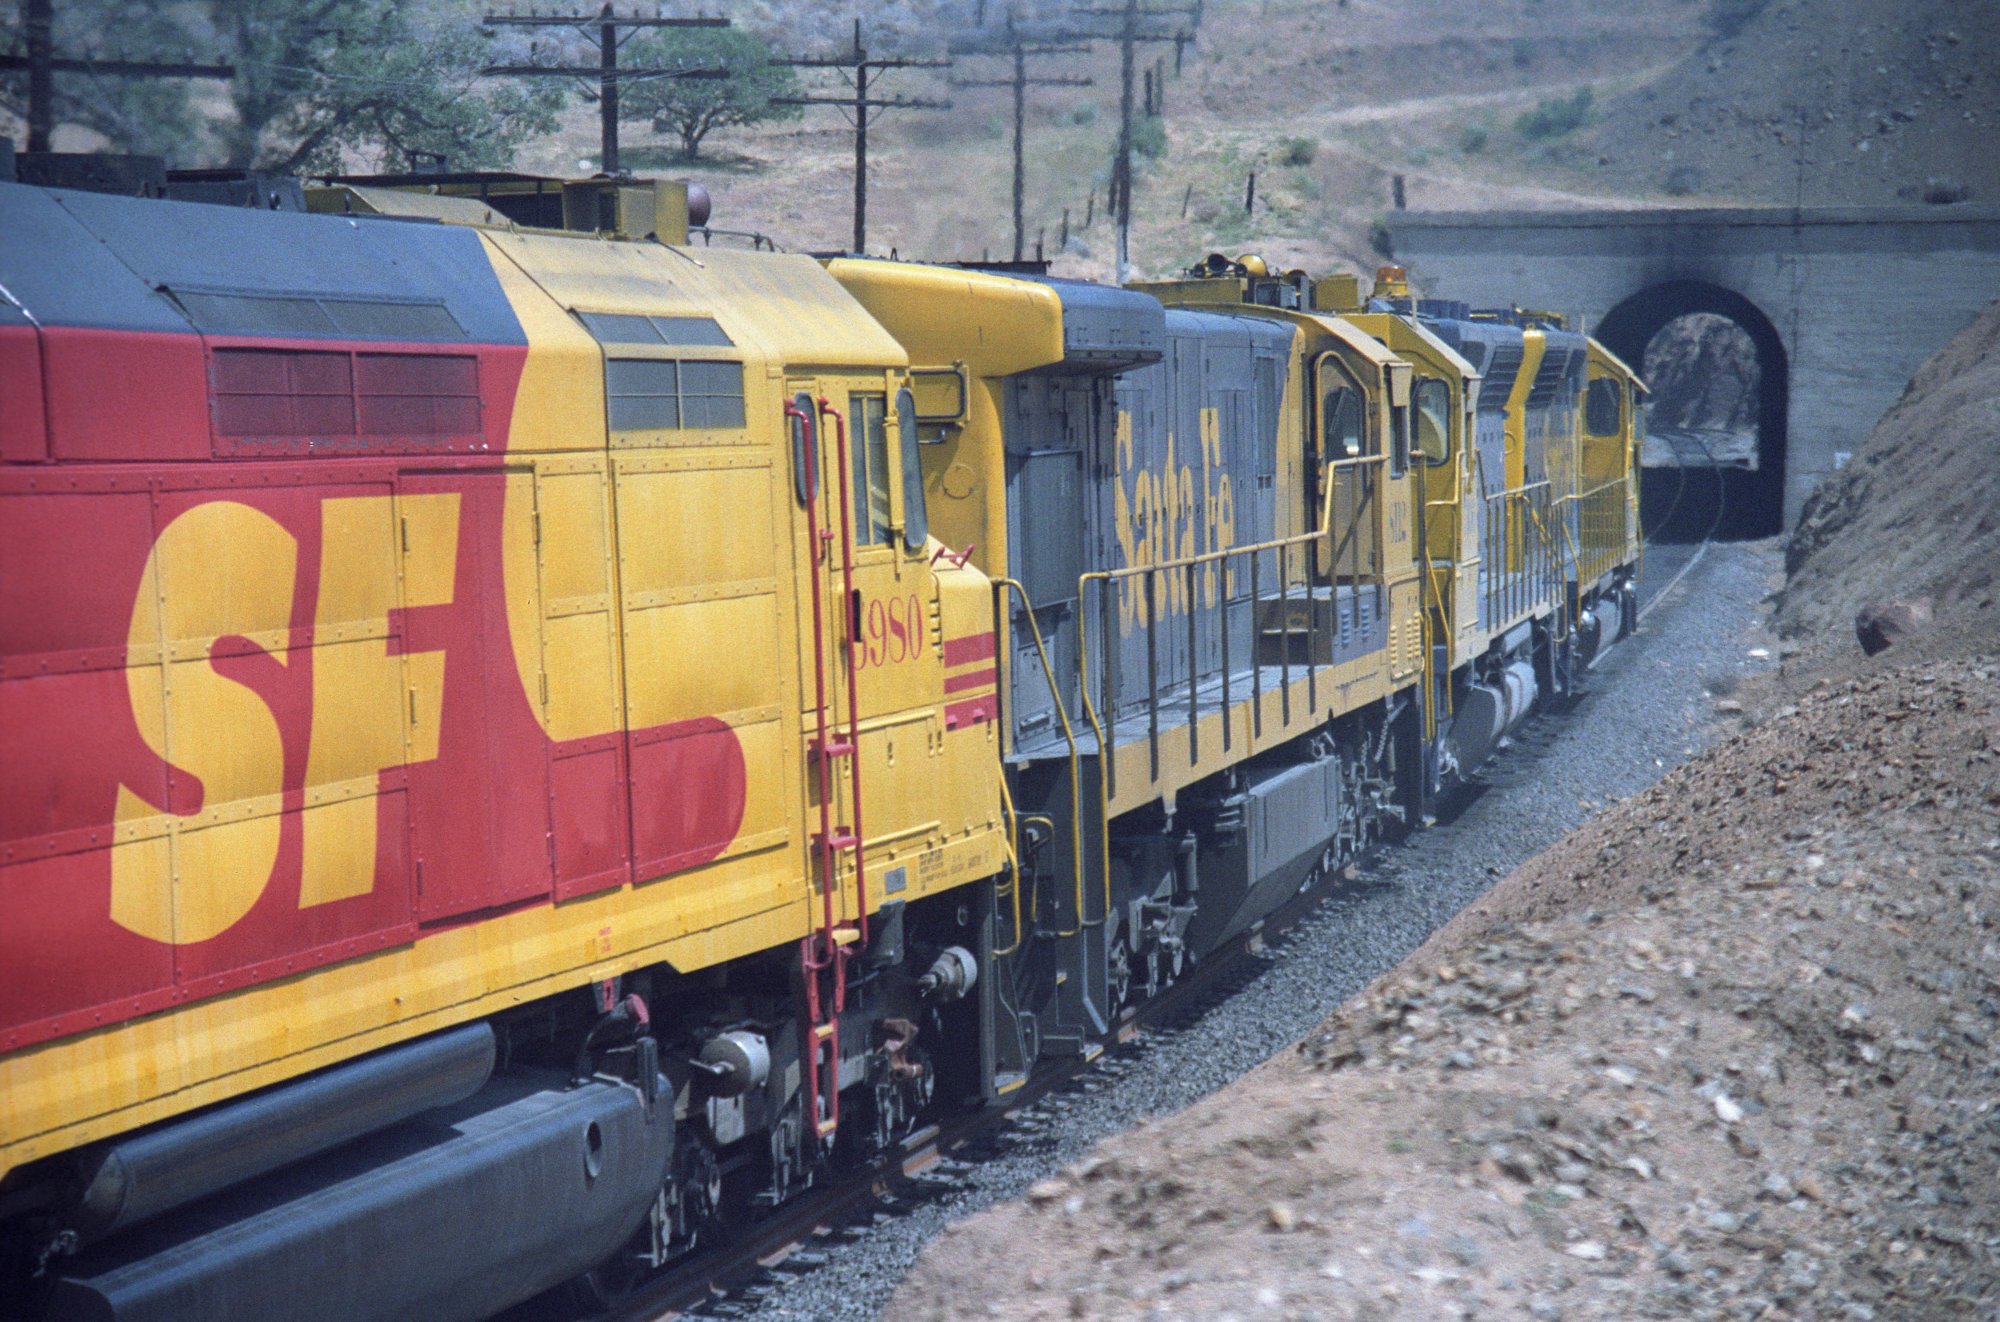
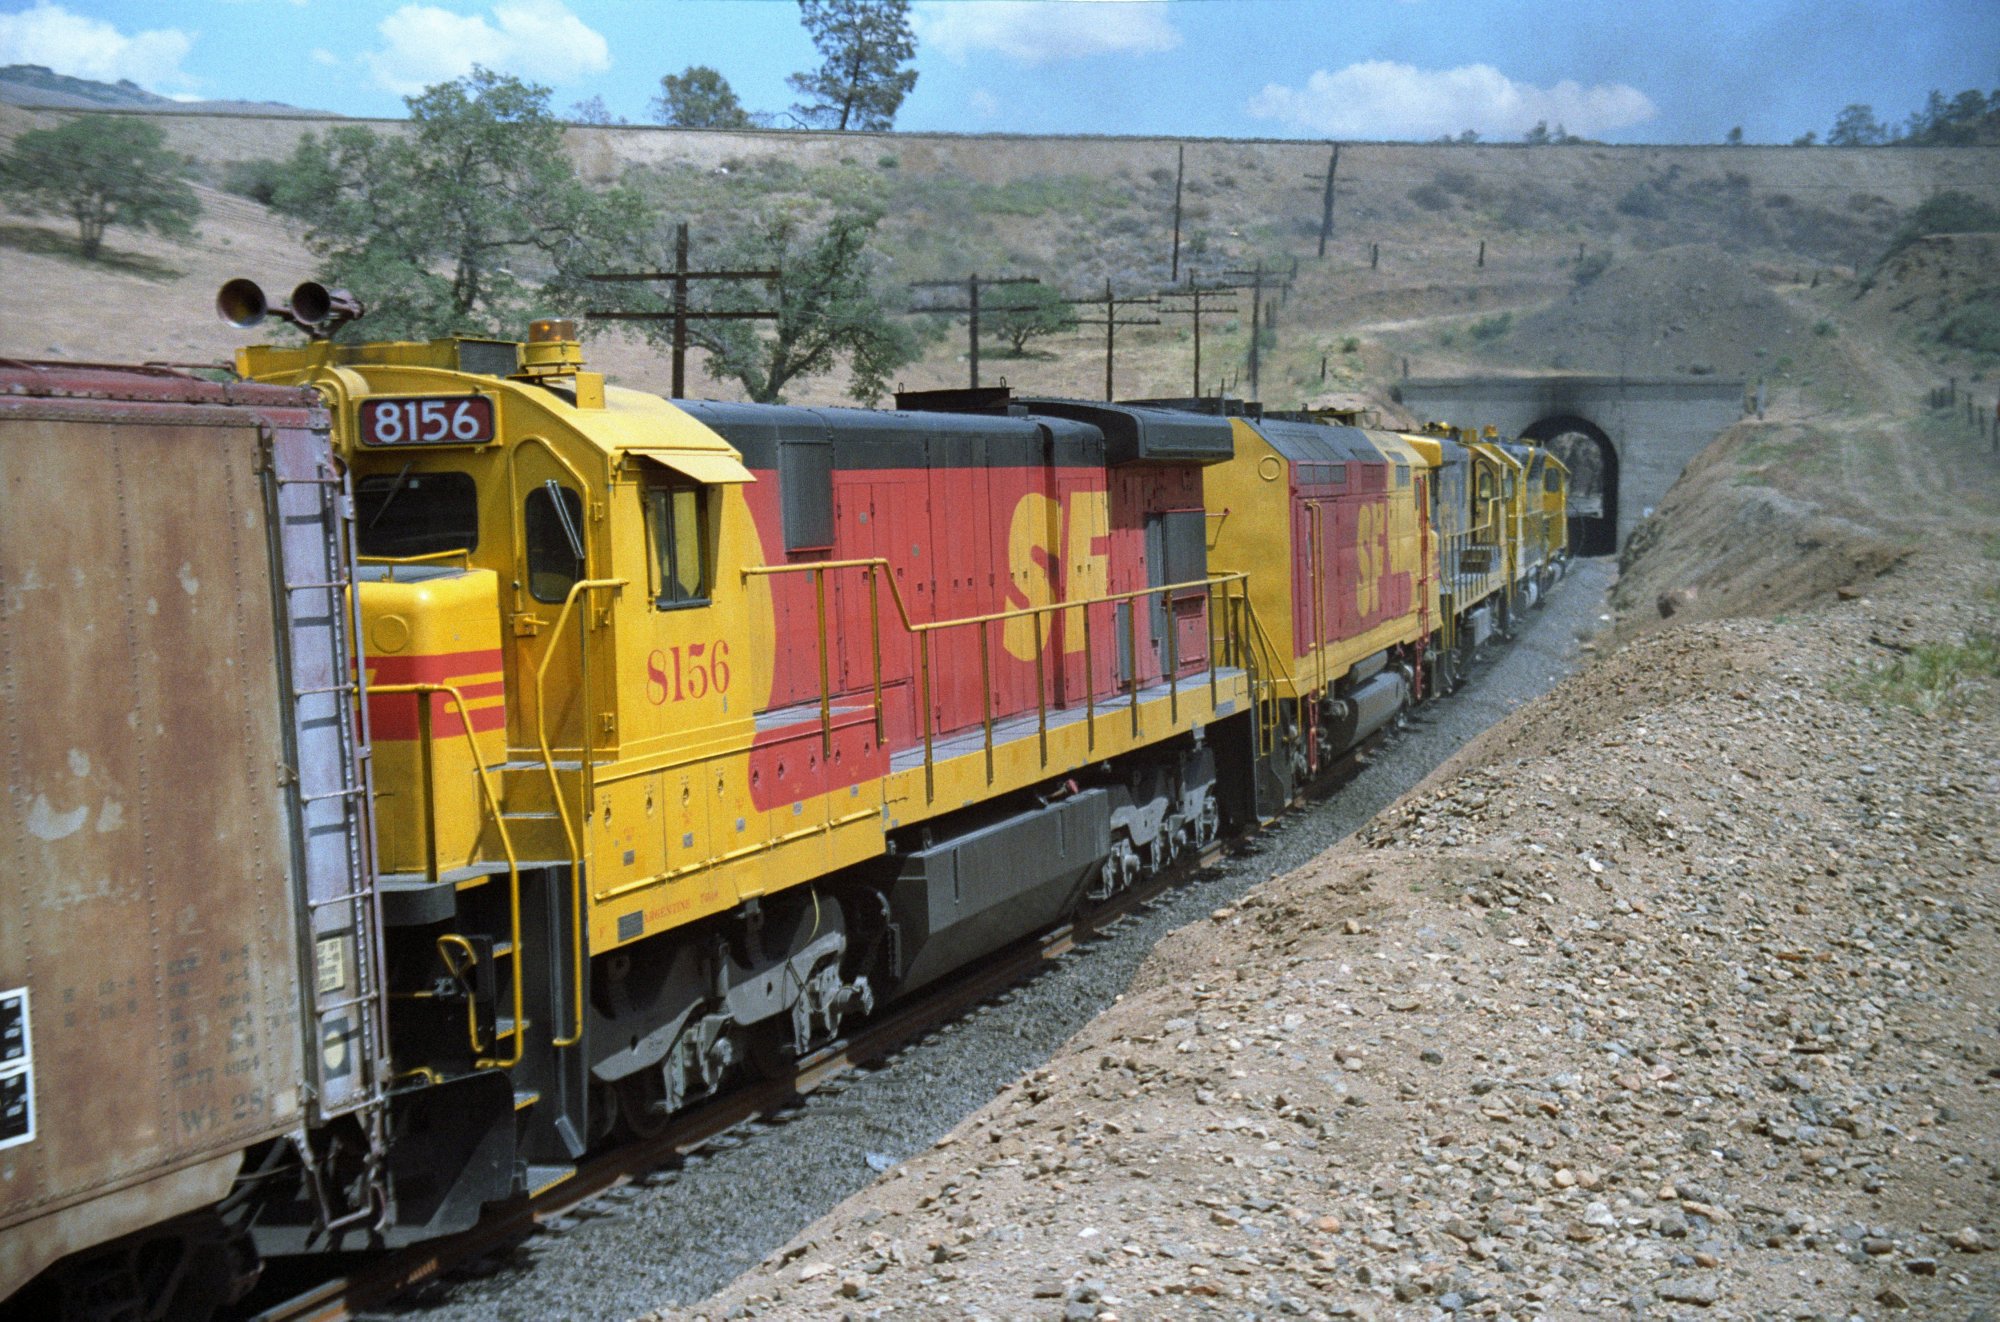
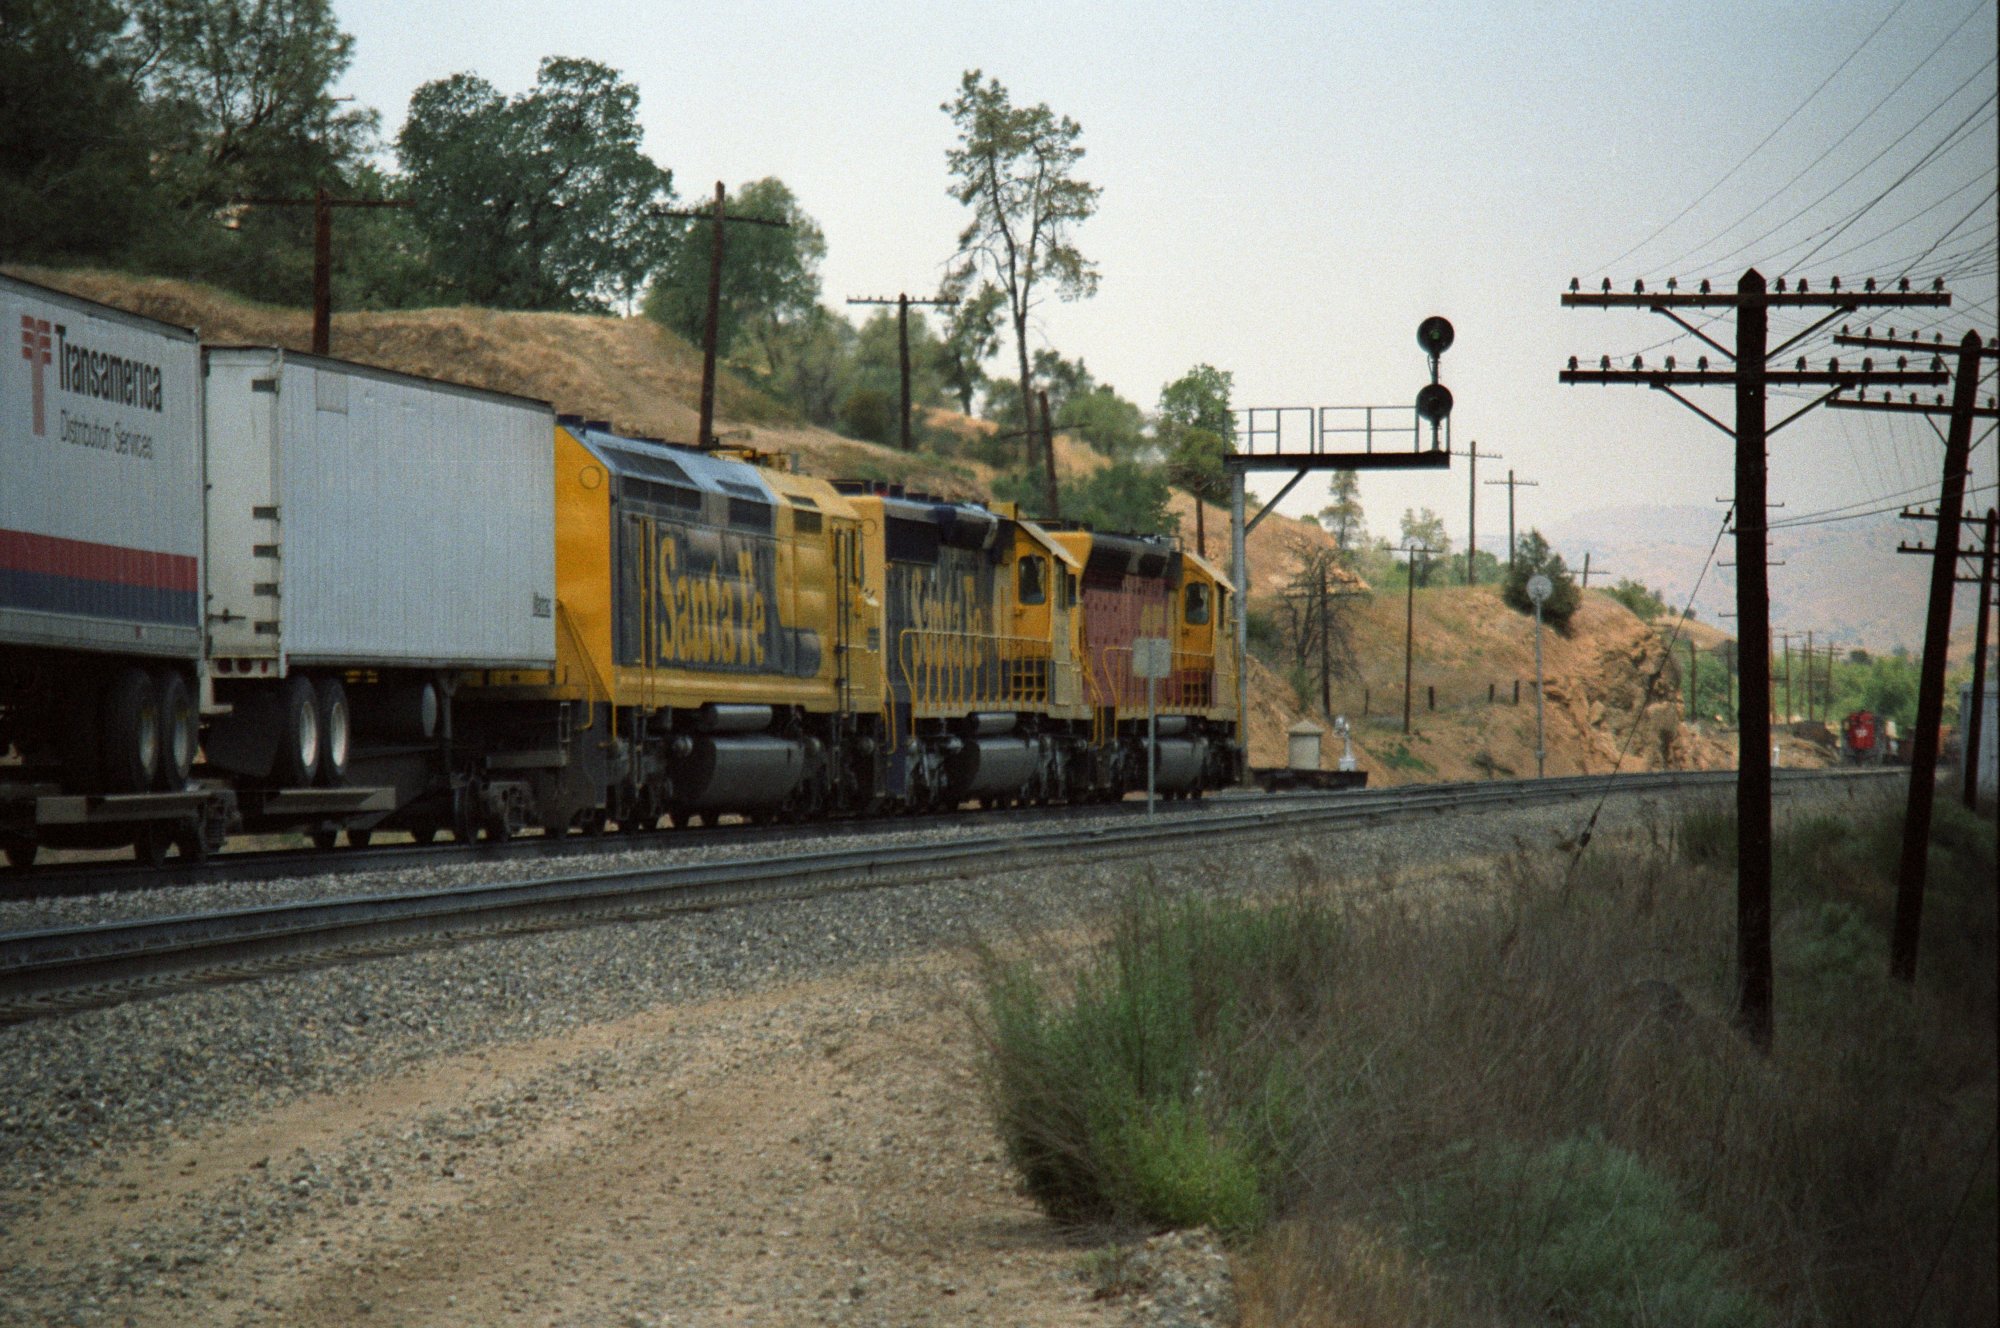
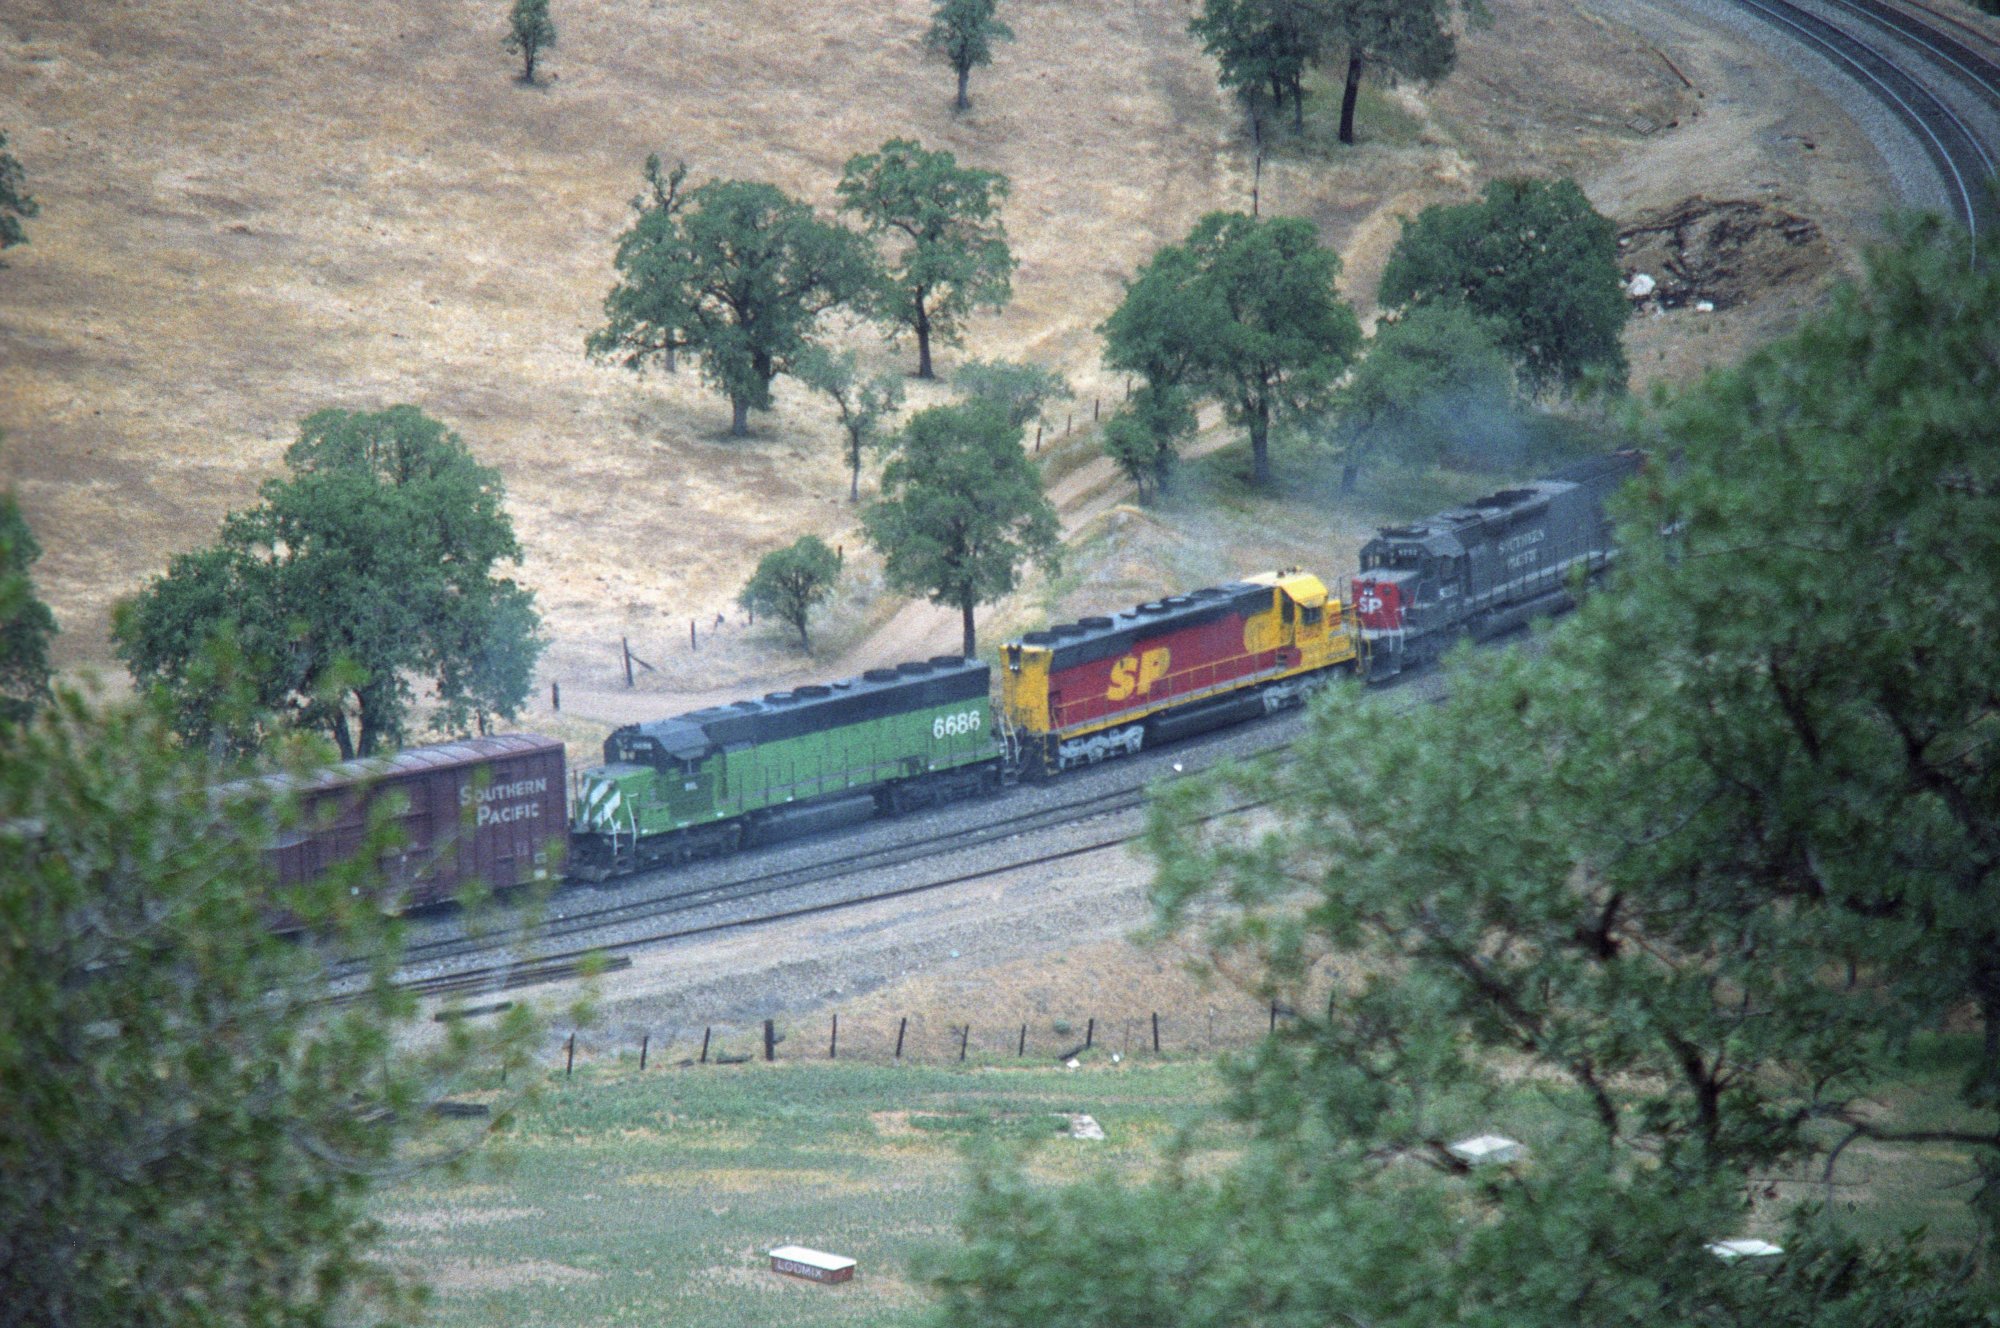
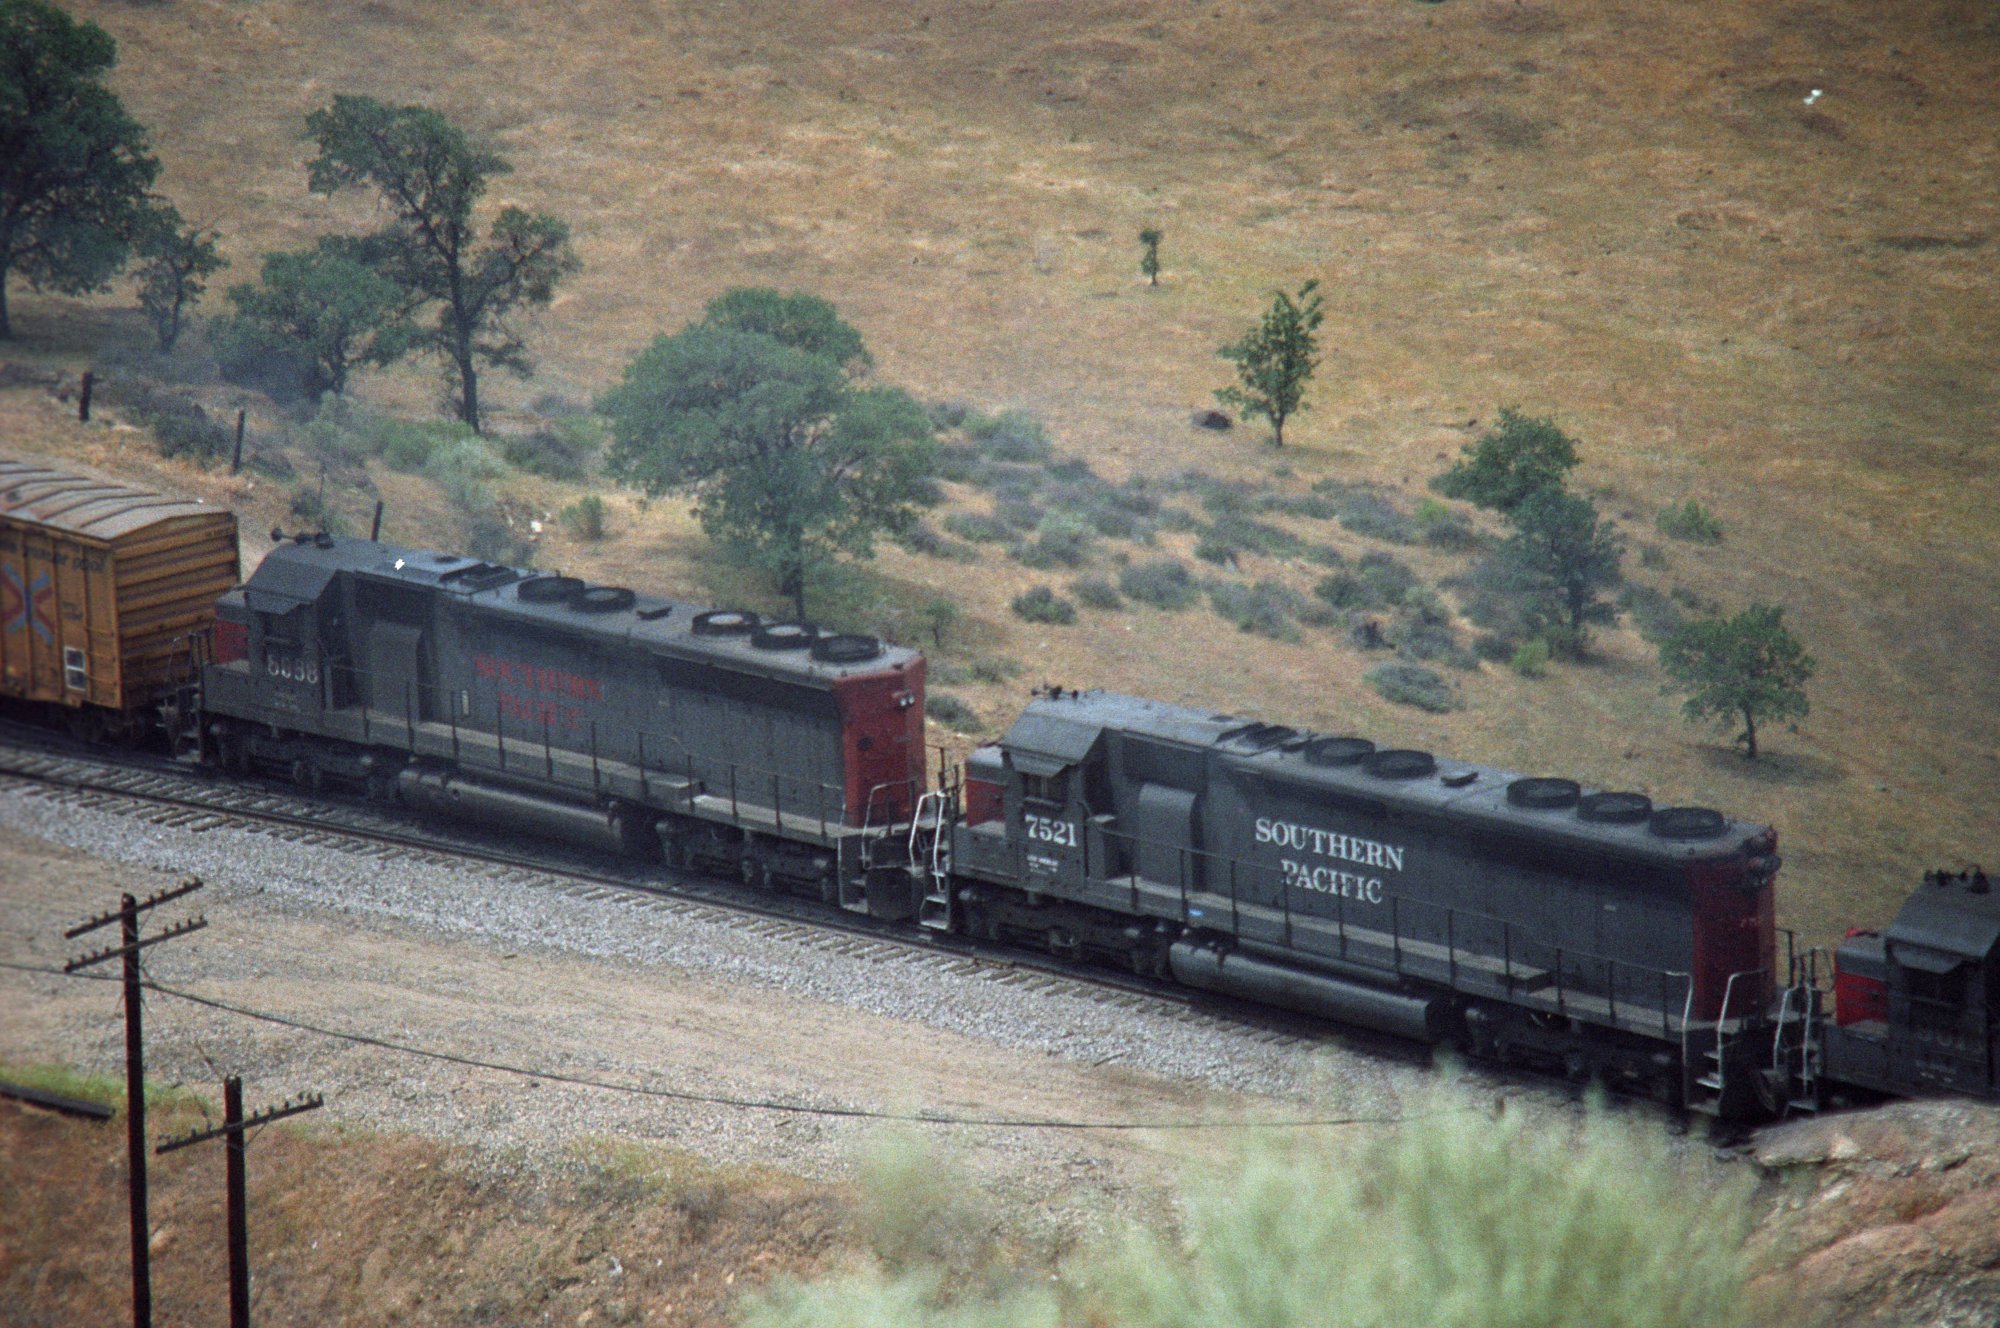
WM-122 -
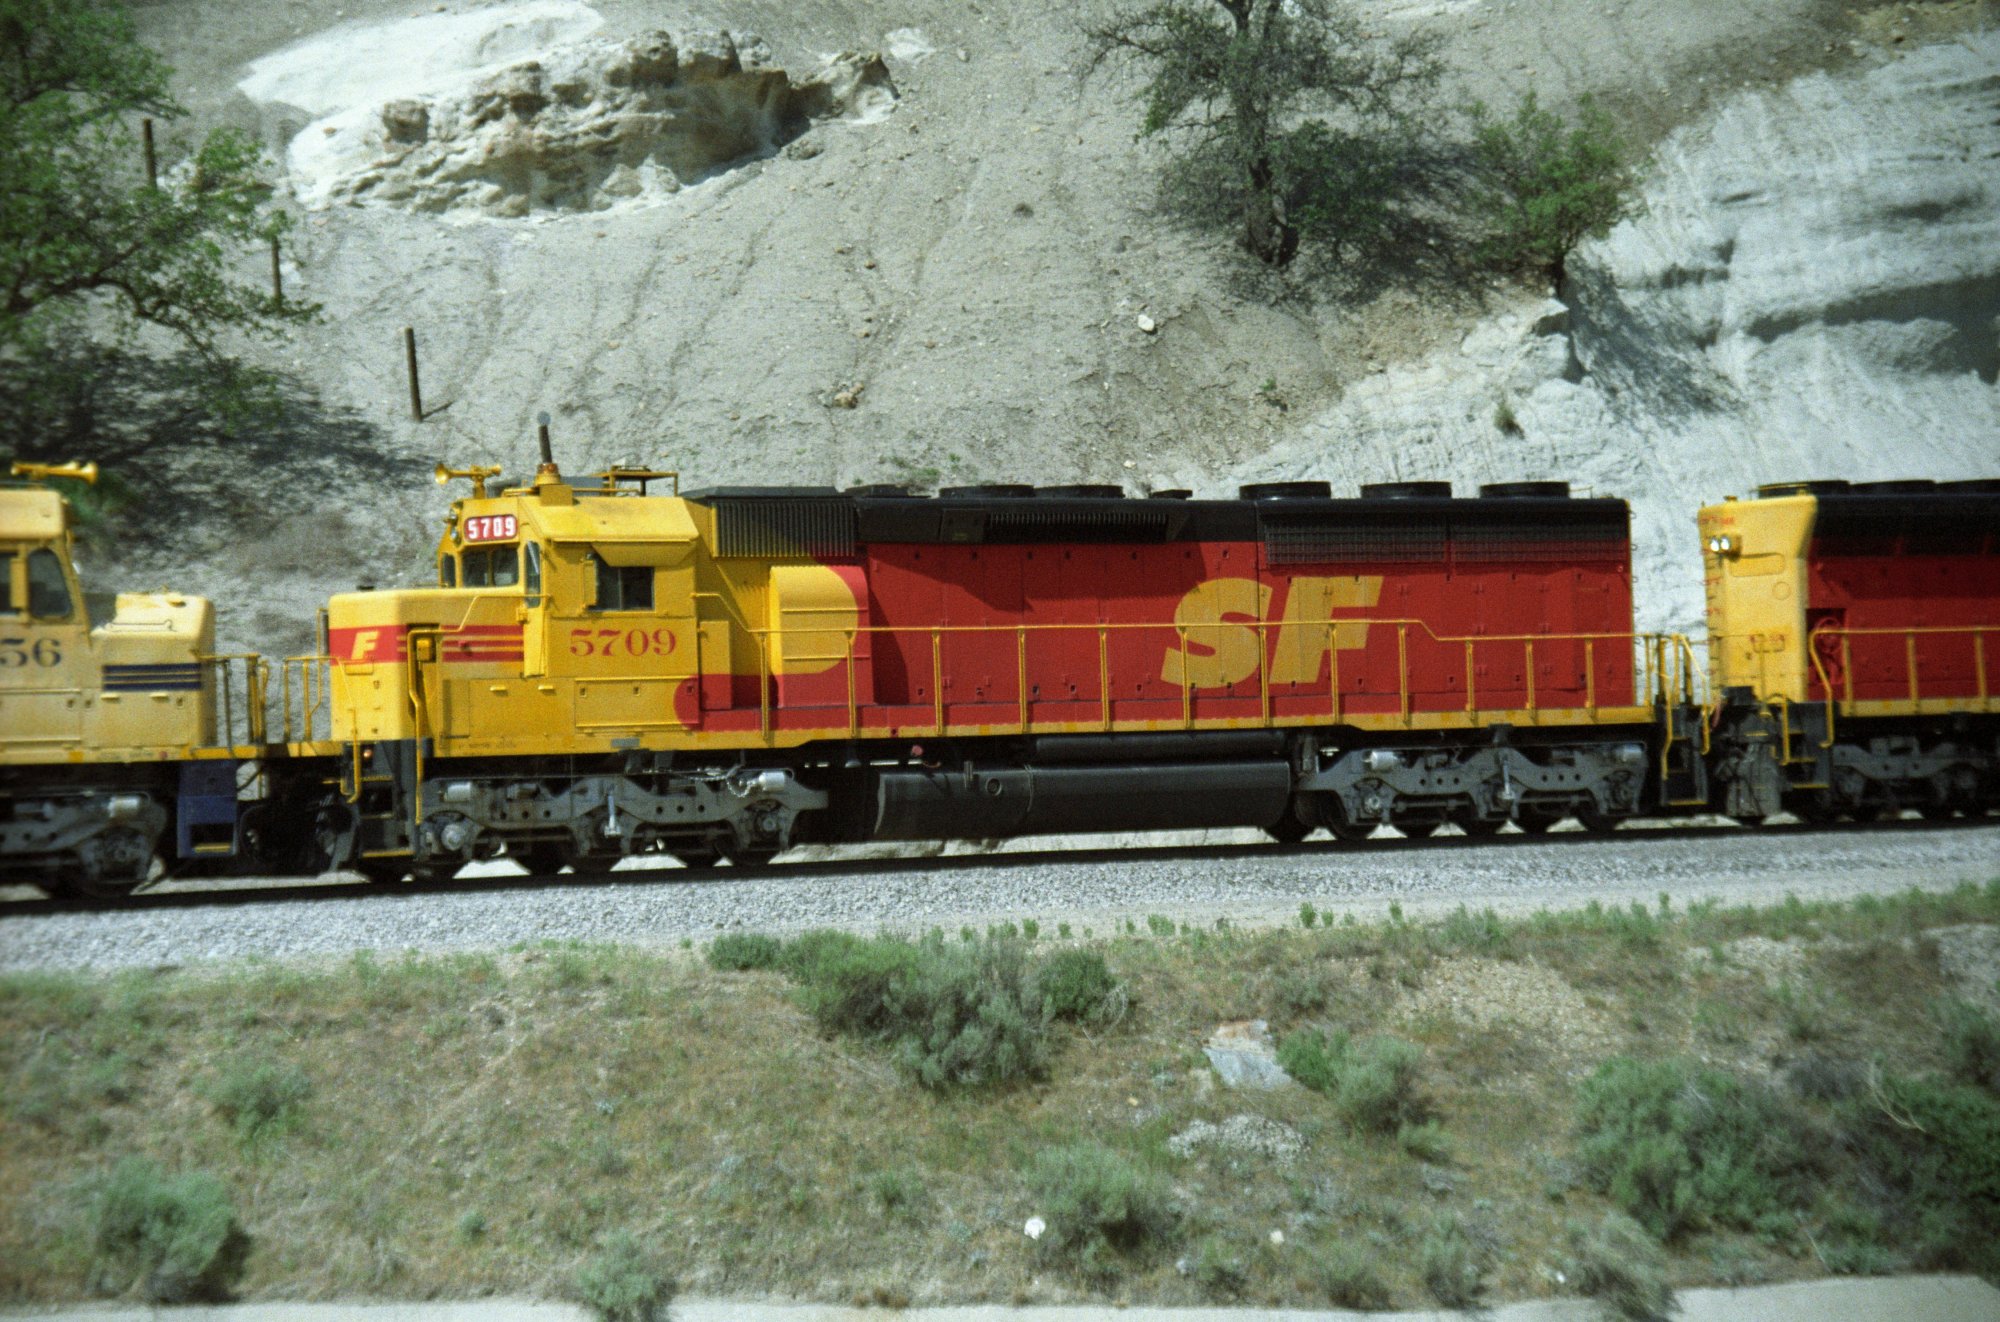
nice to see some "Kodak" diesels |
 |
 |
|
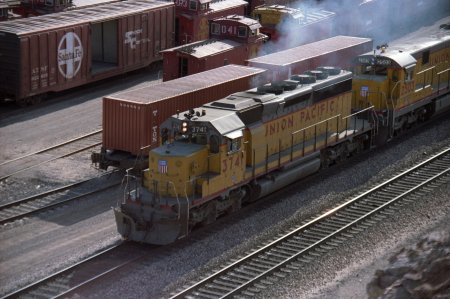
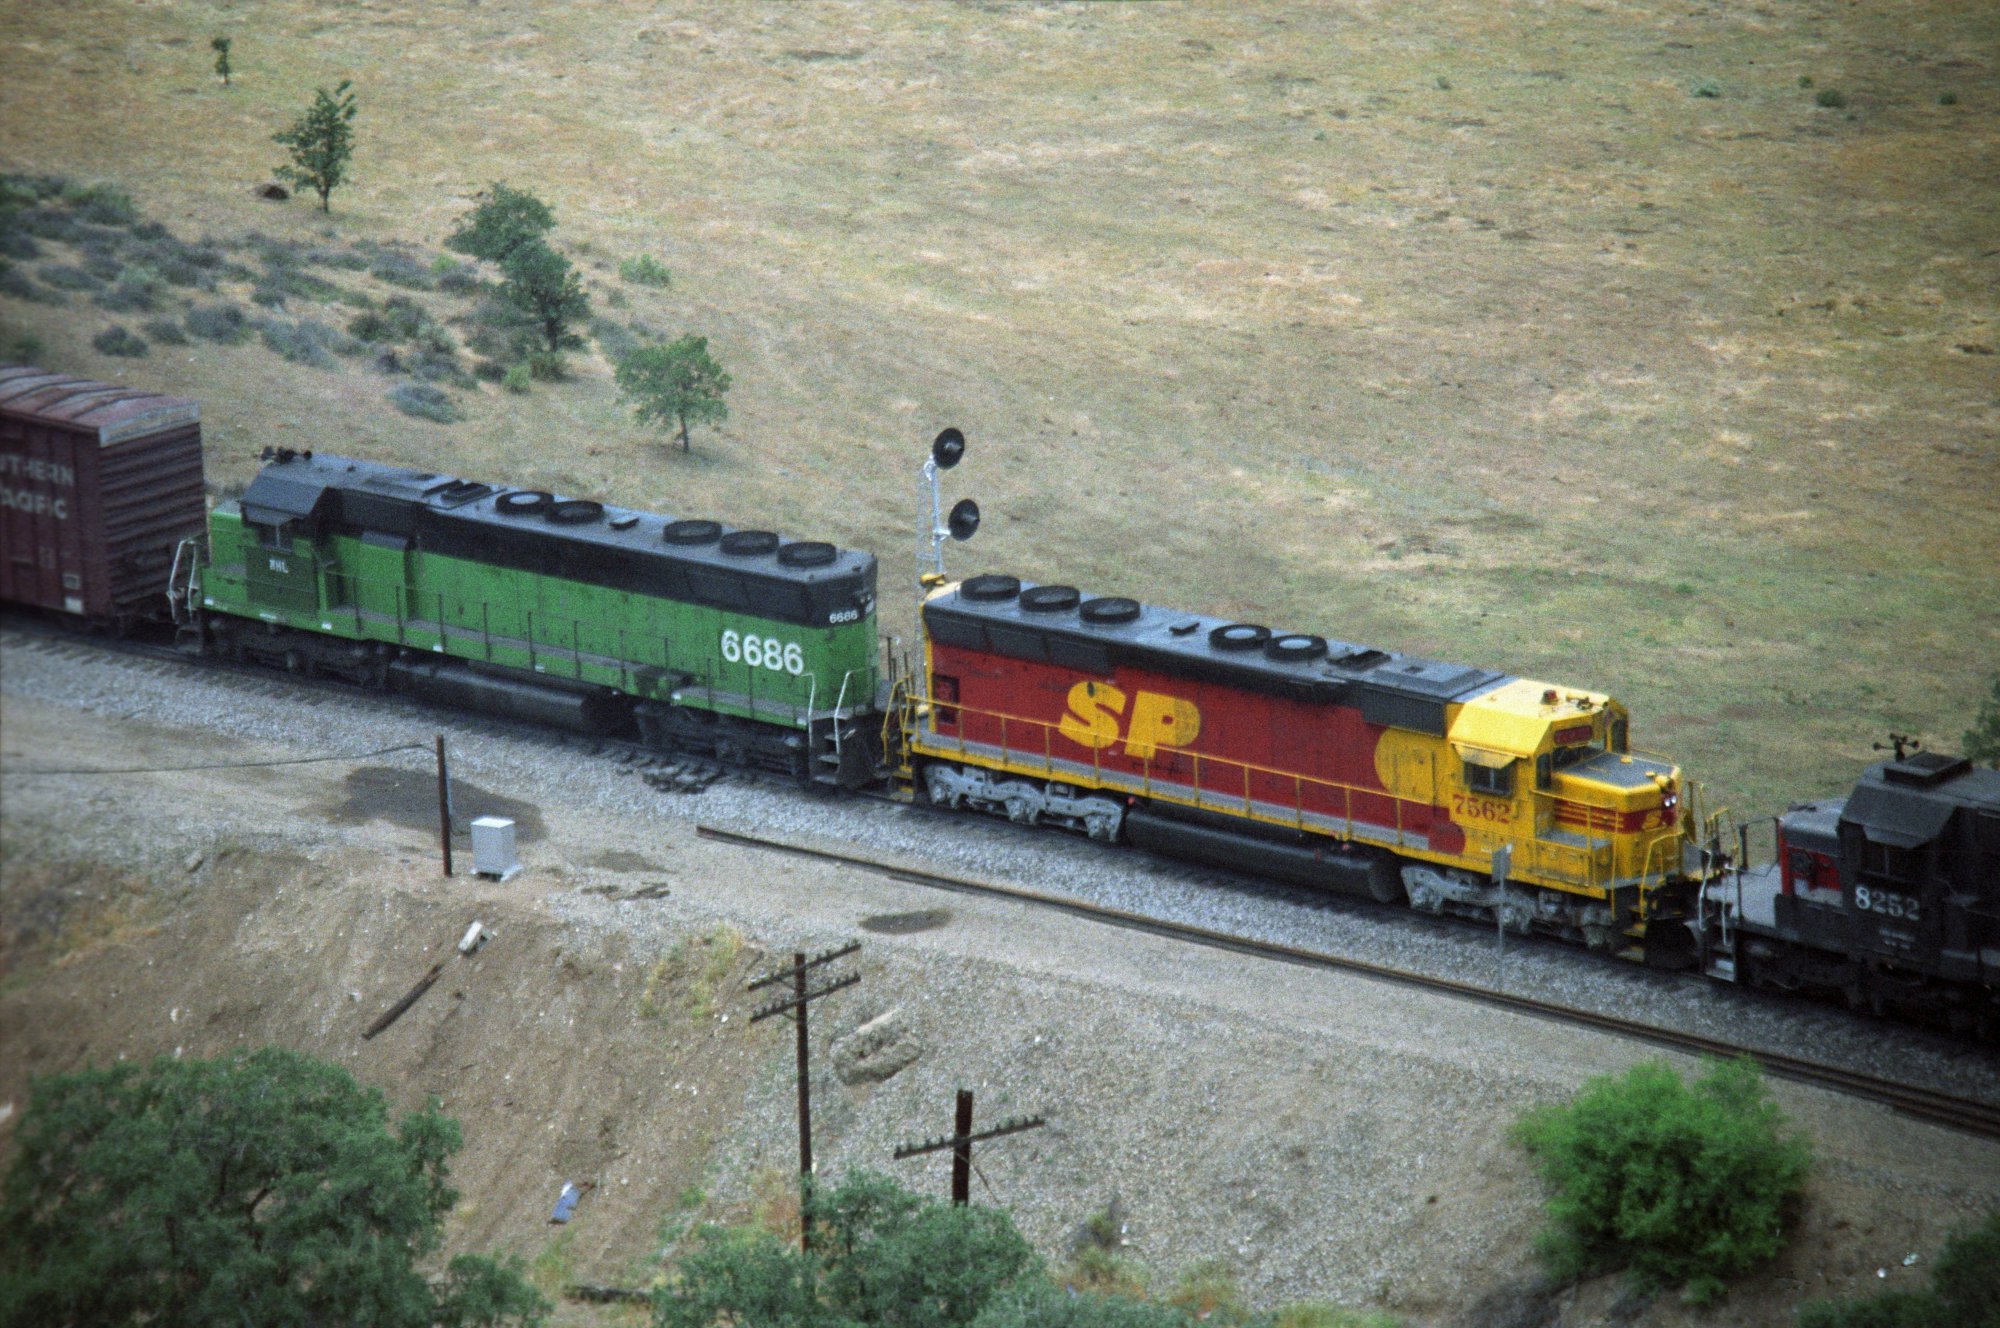
WM-123 |
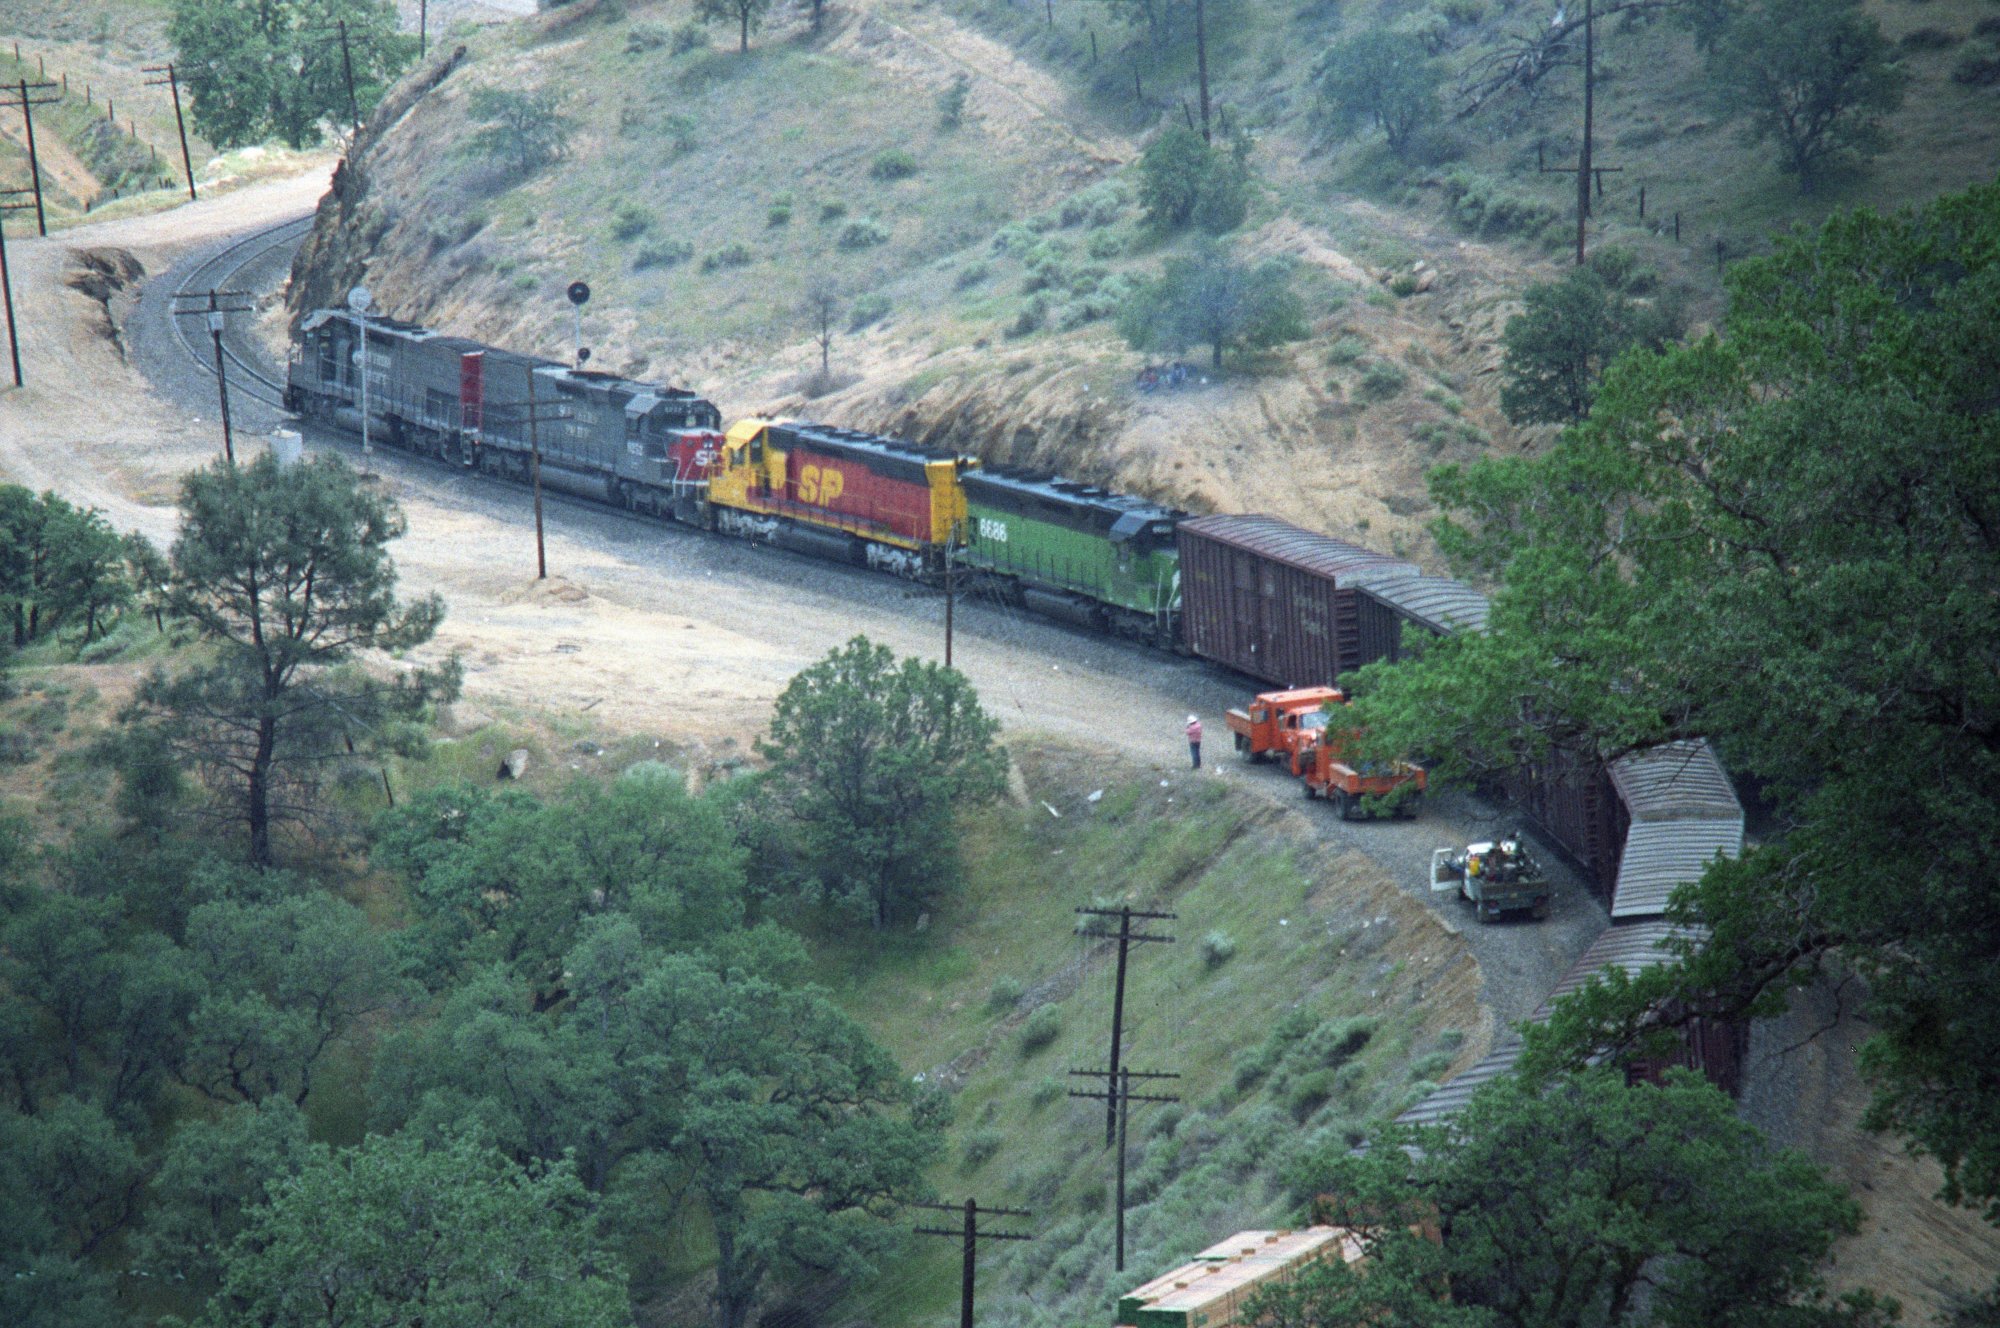
WM-124 -
after this photo we went to the bridge just before town |
 |
 |
|
WM-125 -
we are on top of the bridge at MP 369 . . . |
WM-126 - .
. . near Cable Crossover |
 |
 |
|
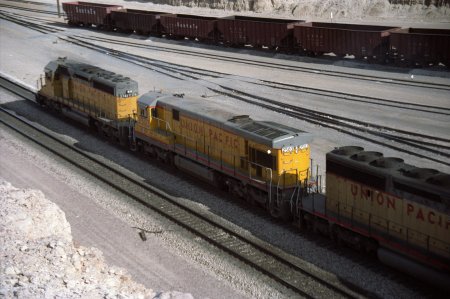
WM-127 |
WM-128 |
 |
 |
|
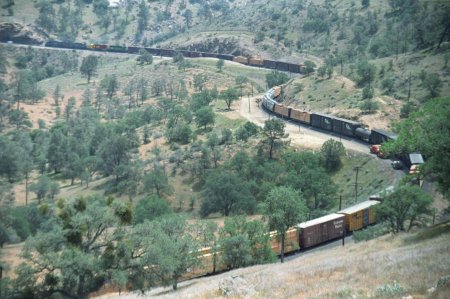
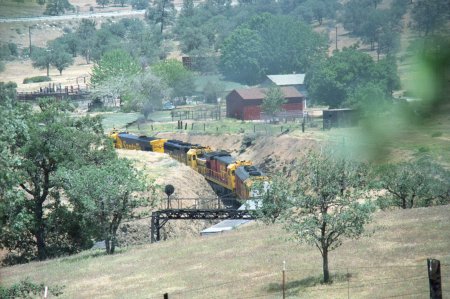
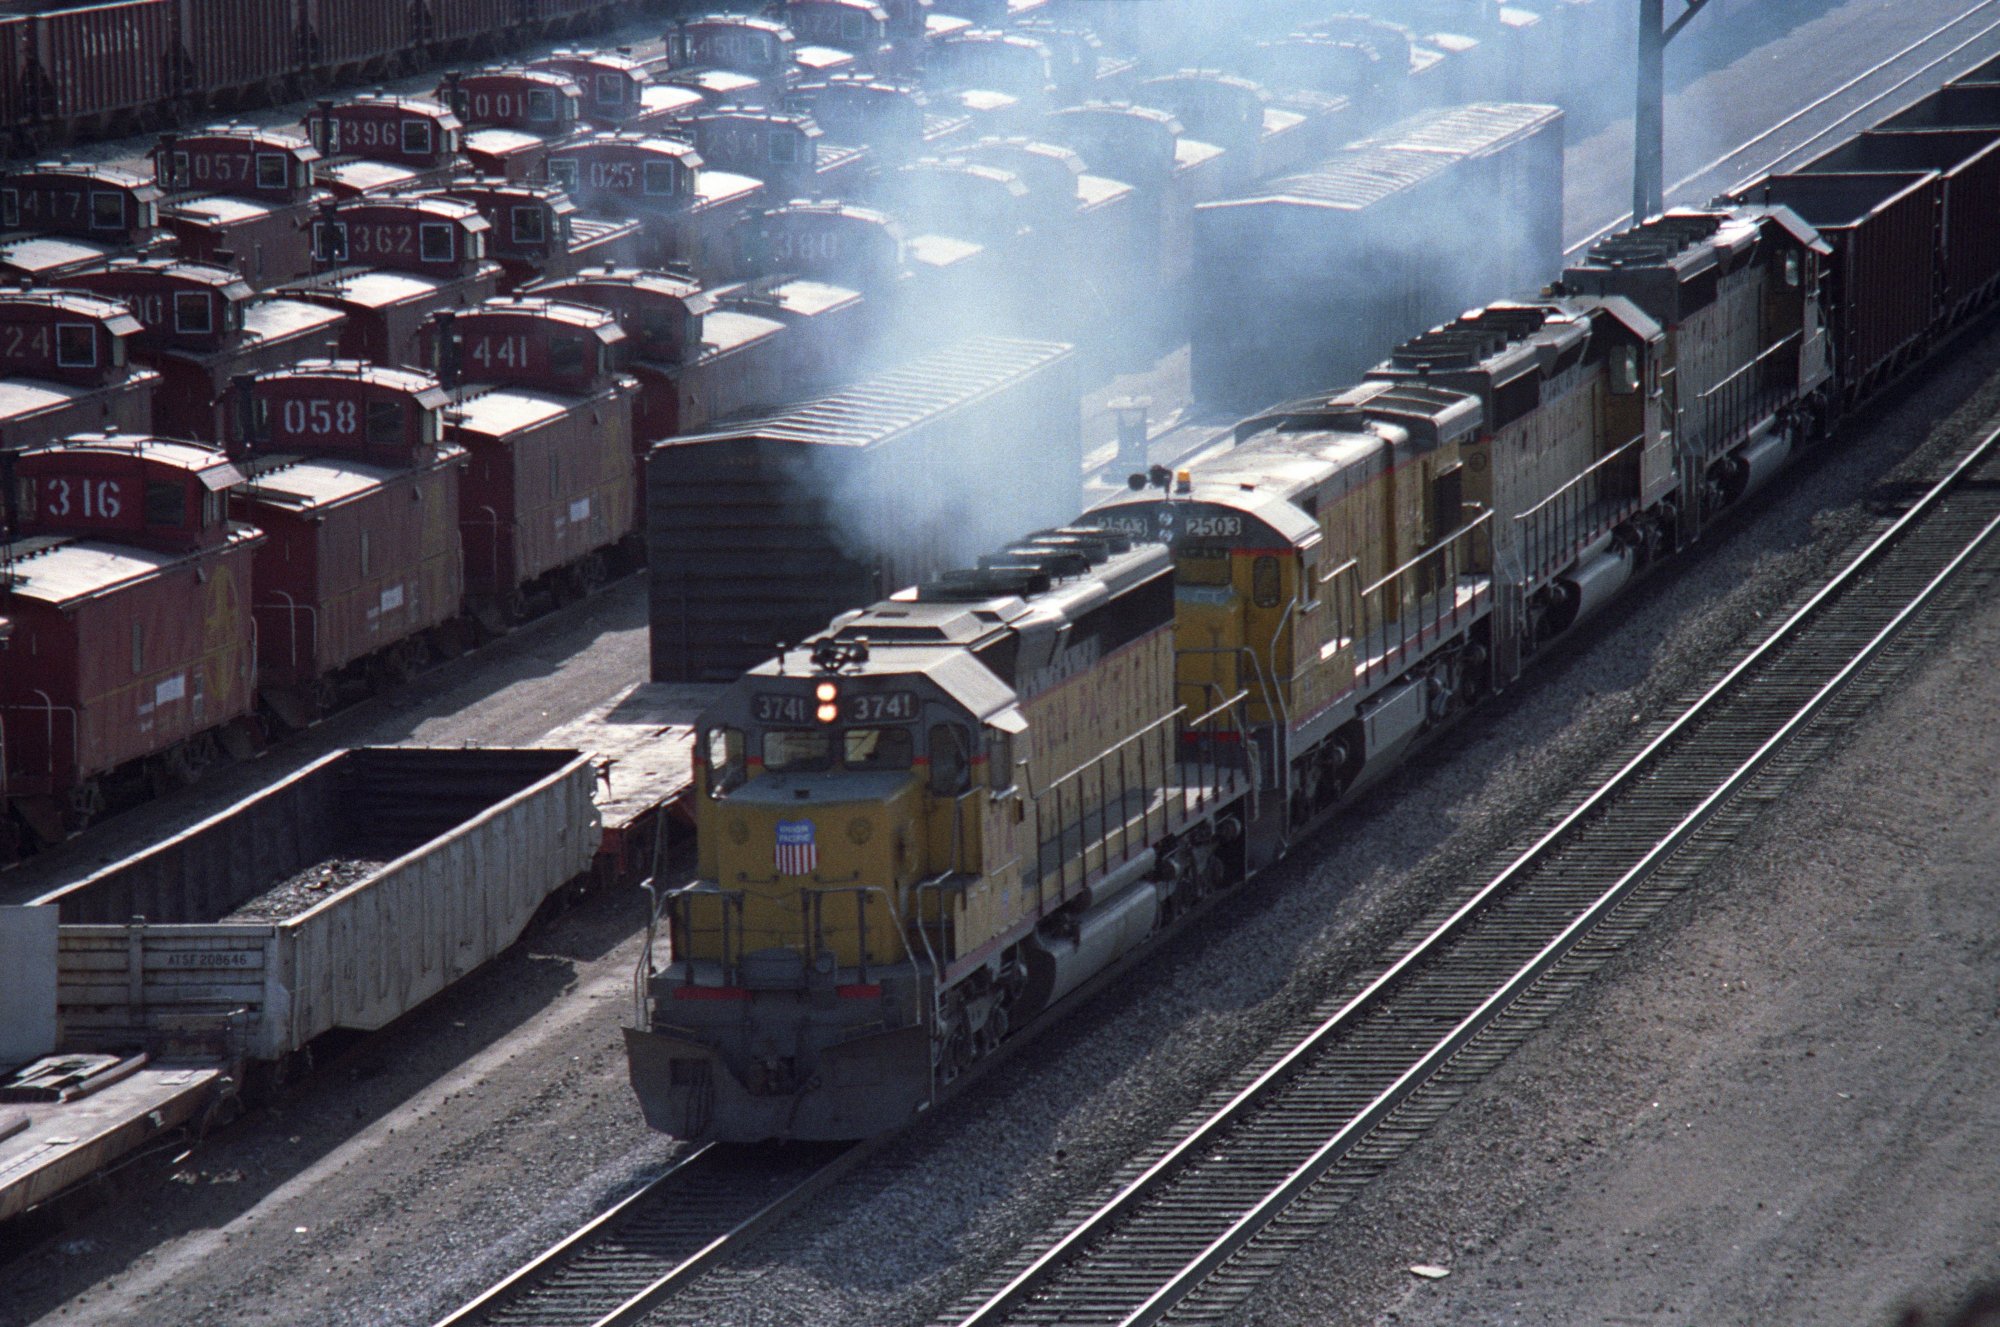
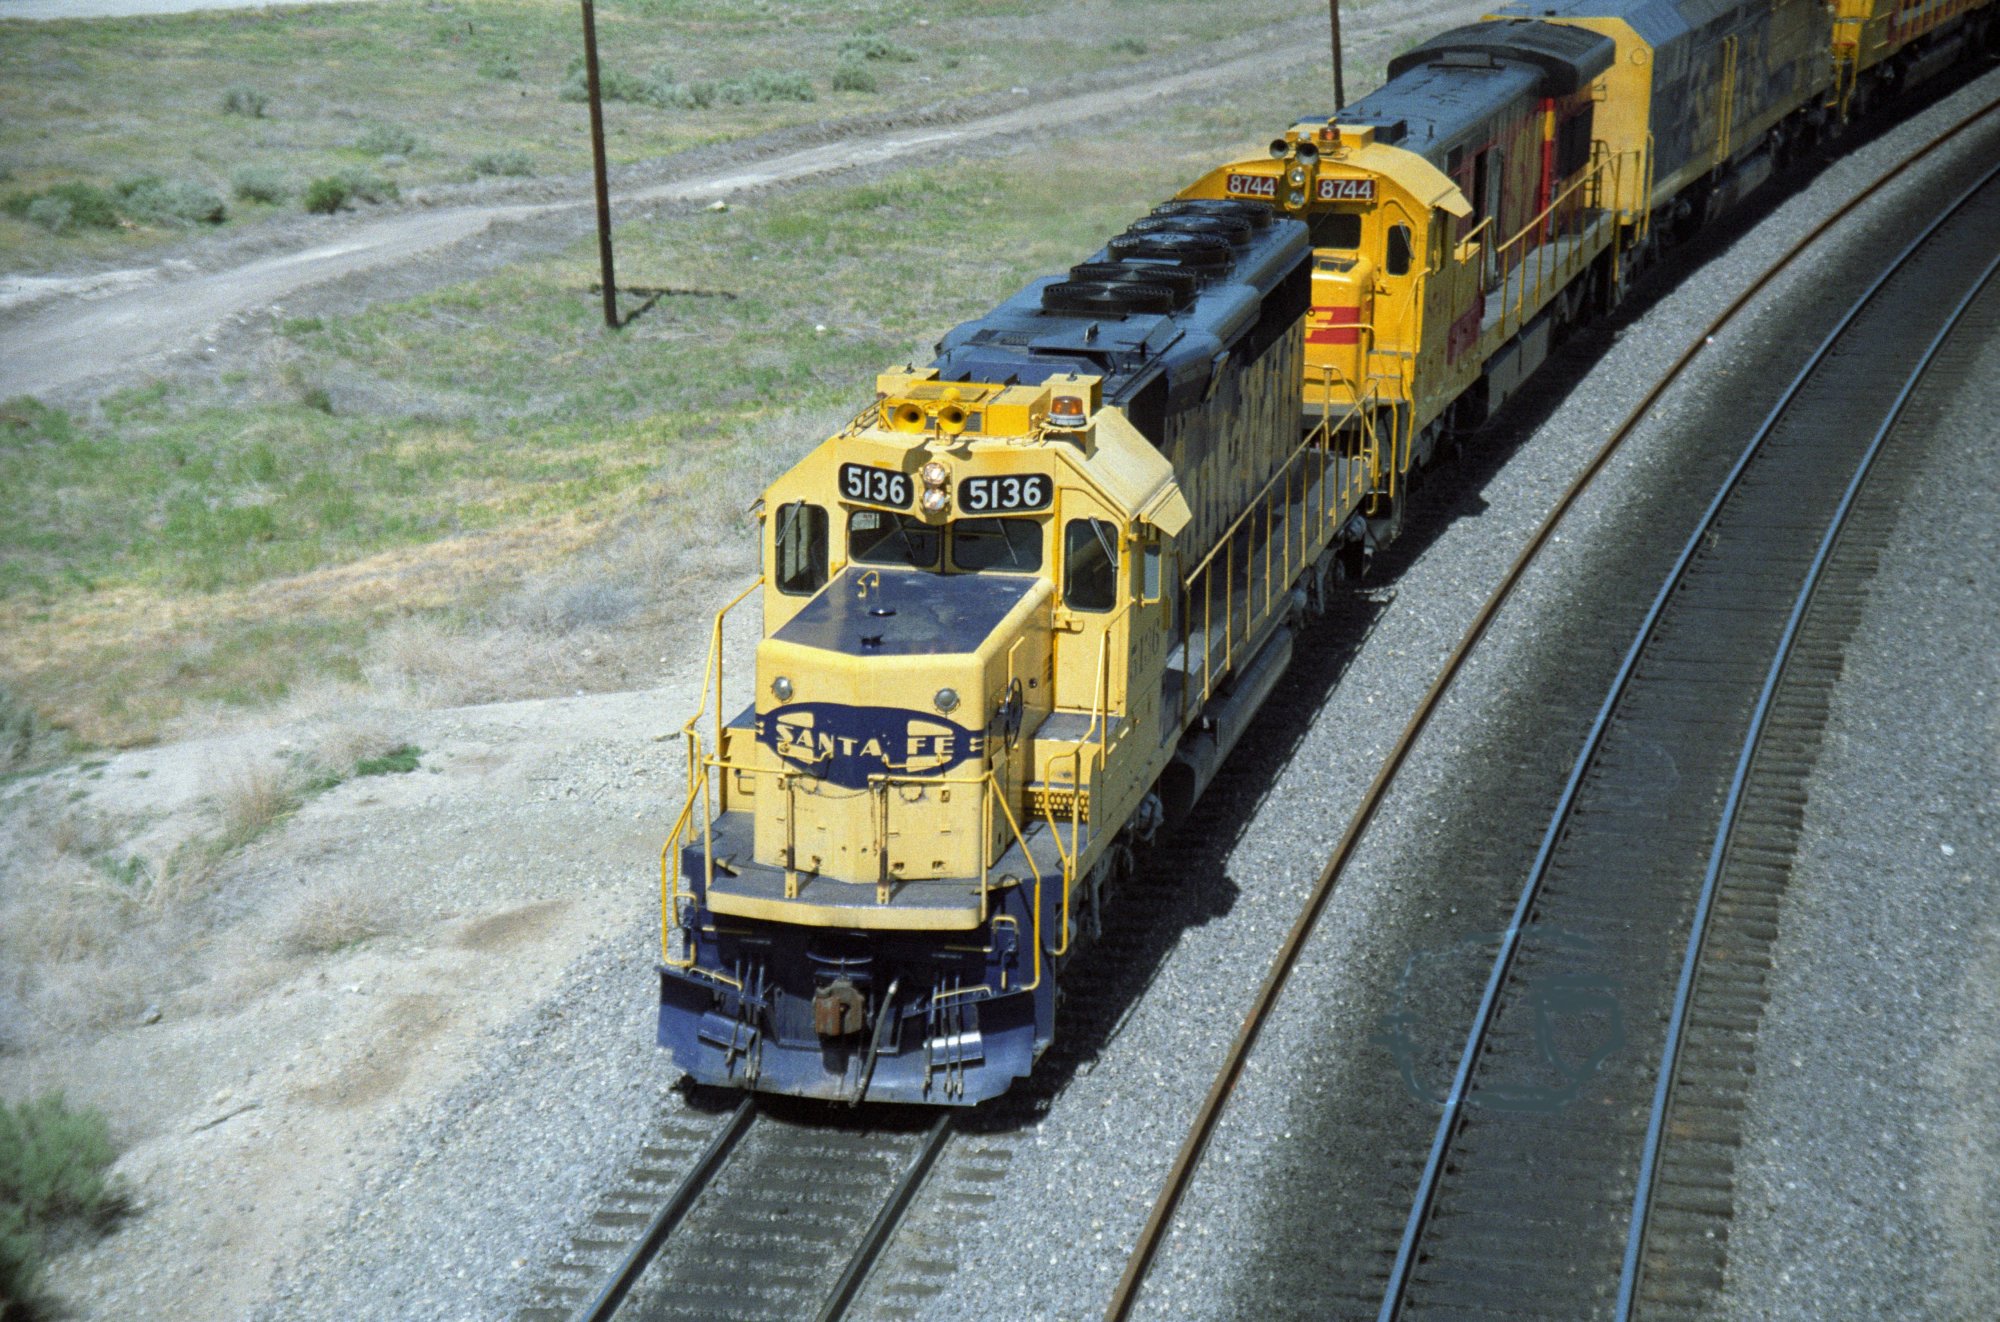
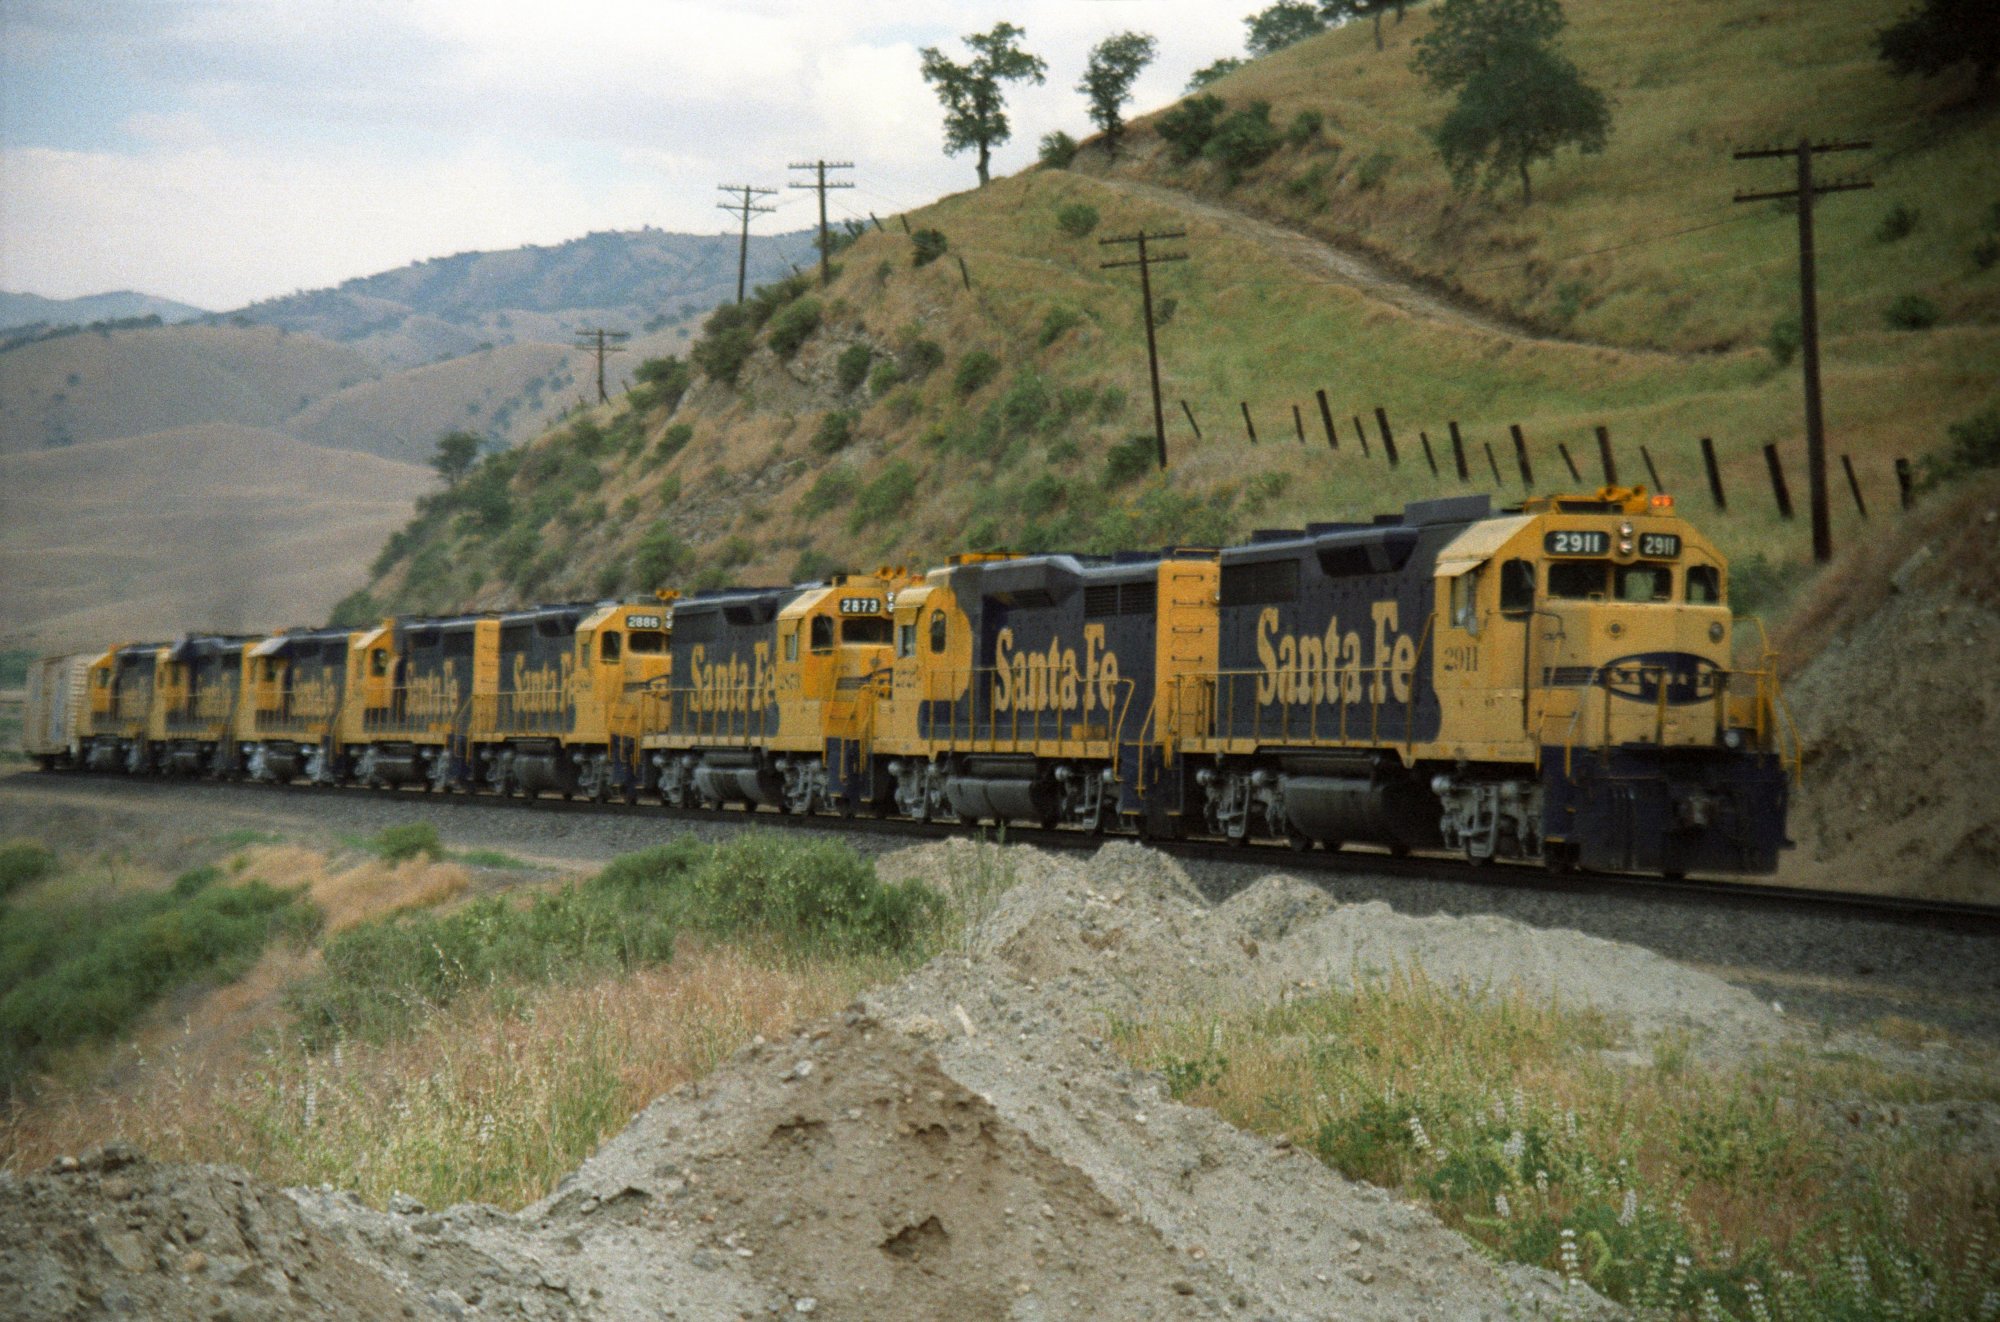
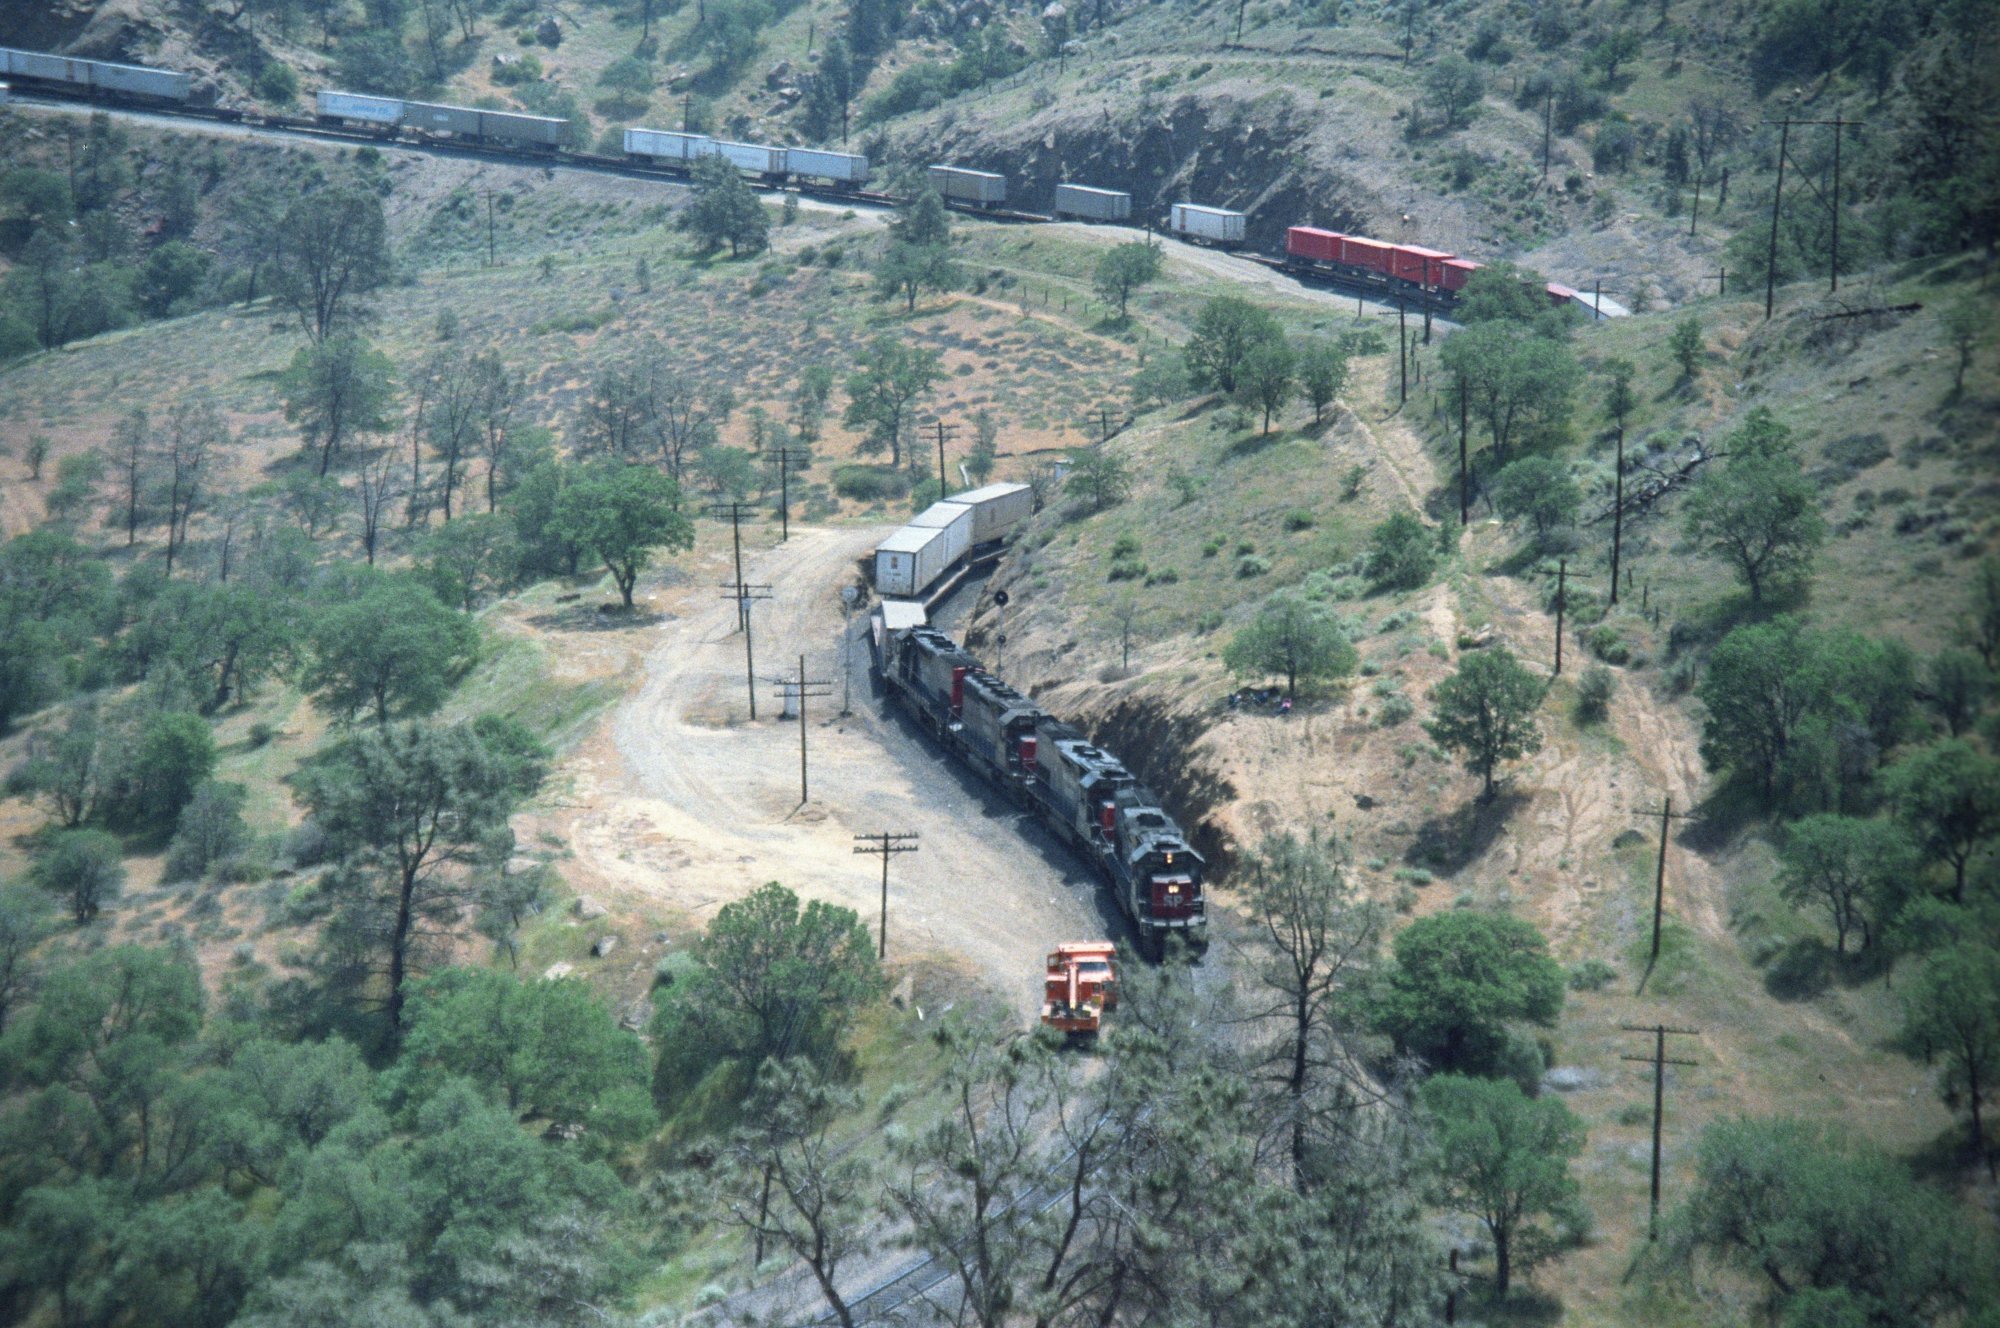
WM-129 -
there are 2 mid train DPU's (Helpers) |
WM-130 -
first DPU is a GP30 |
 |
 |
|
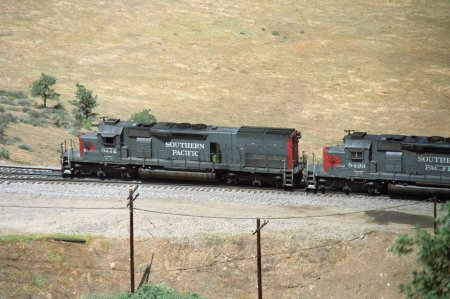
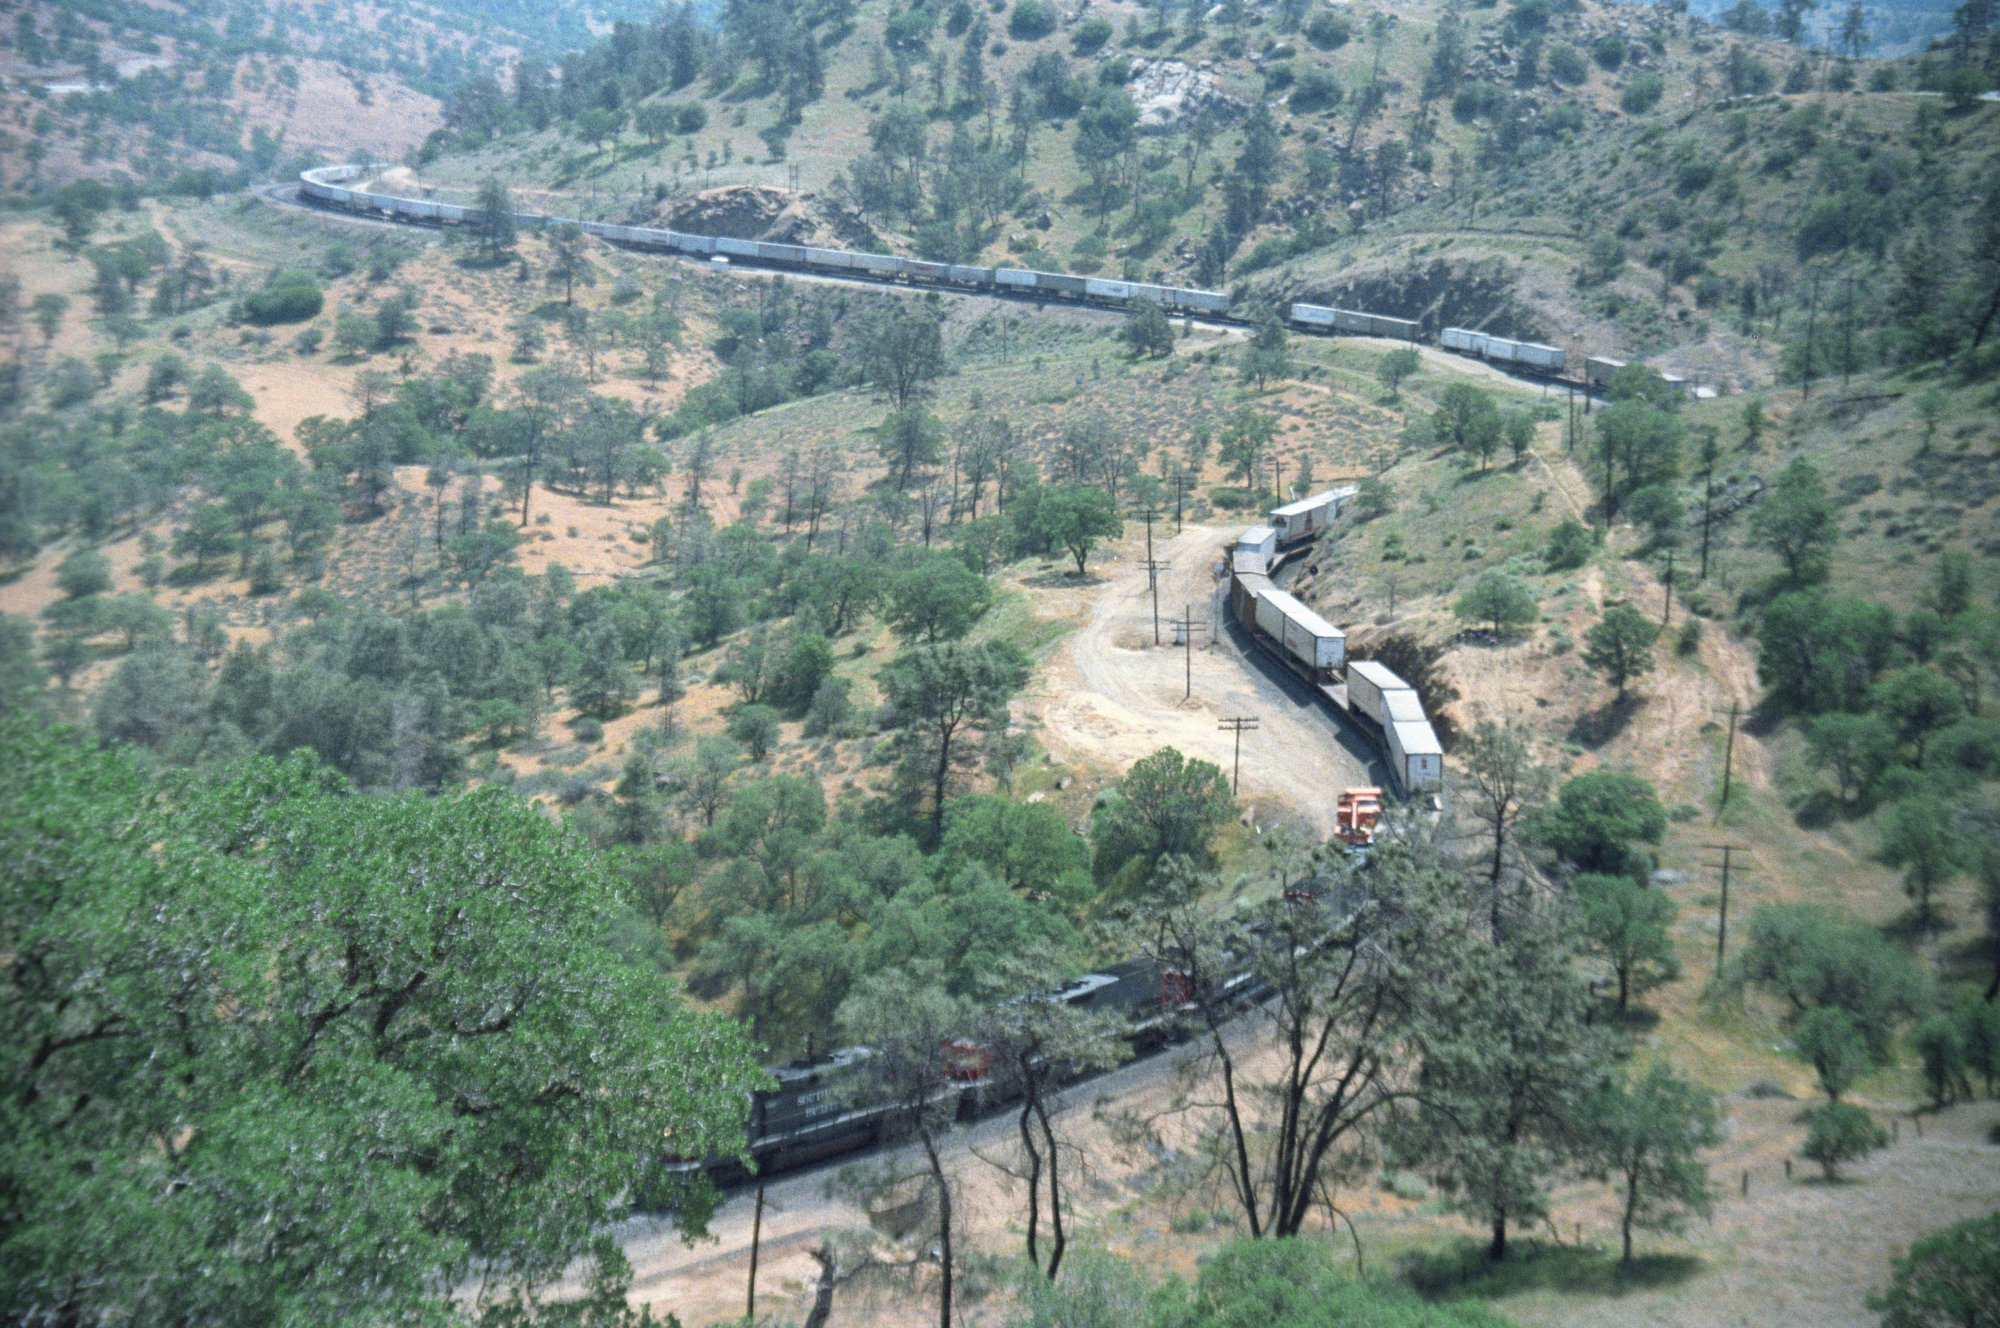
WM-131 -
SP EB before the famous Loop |
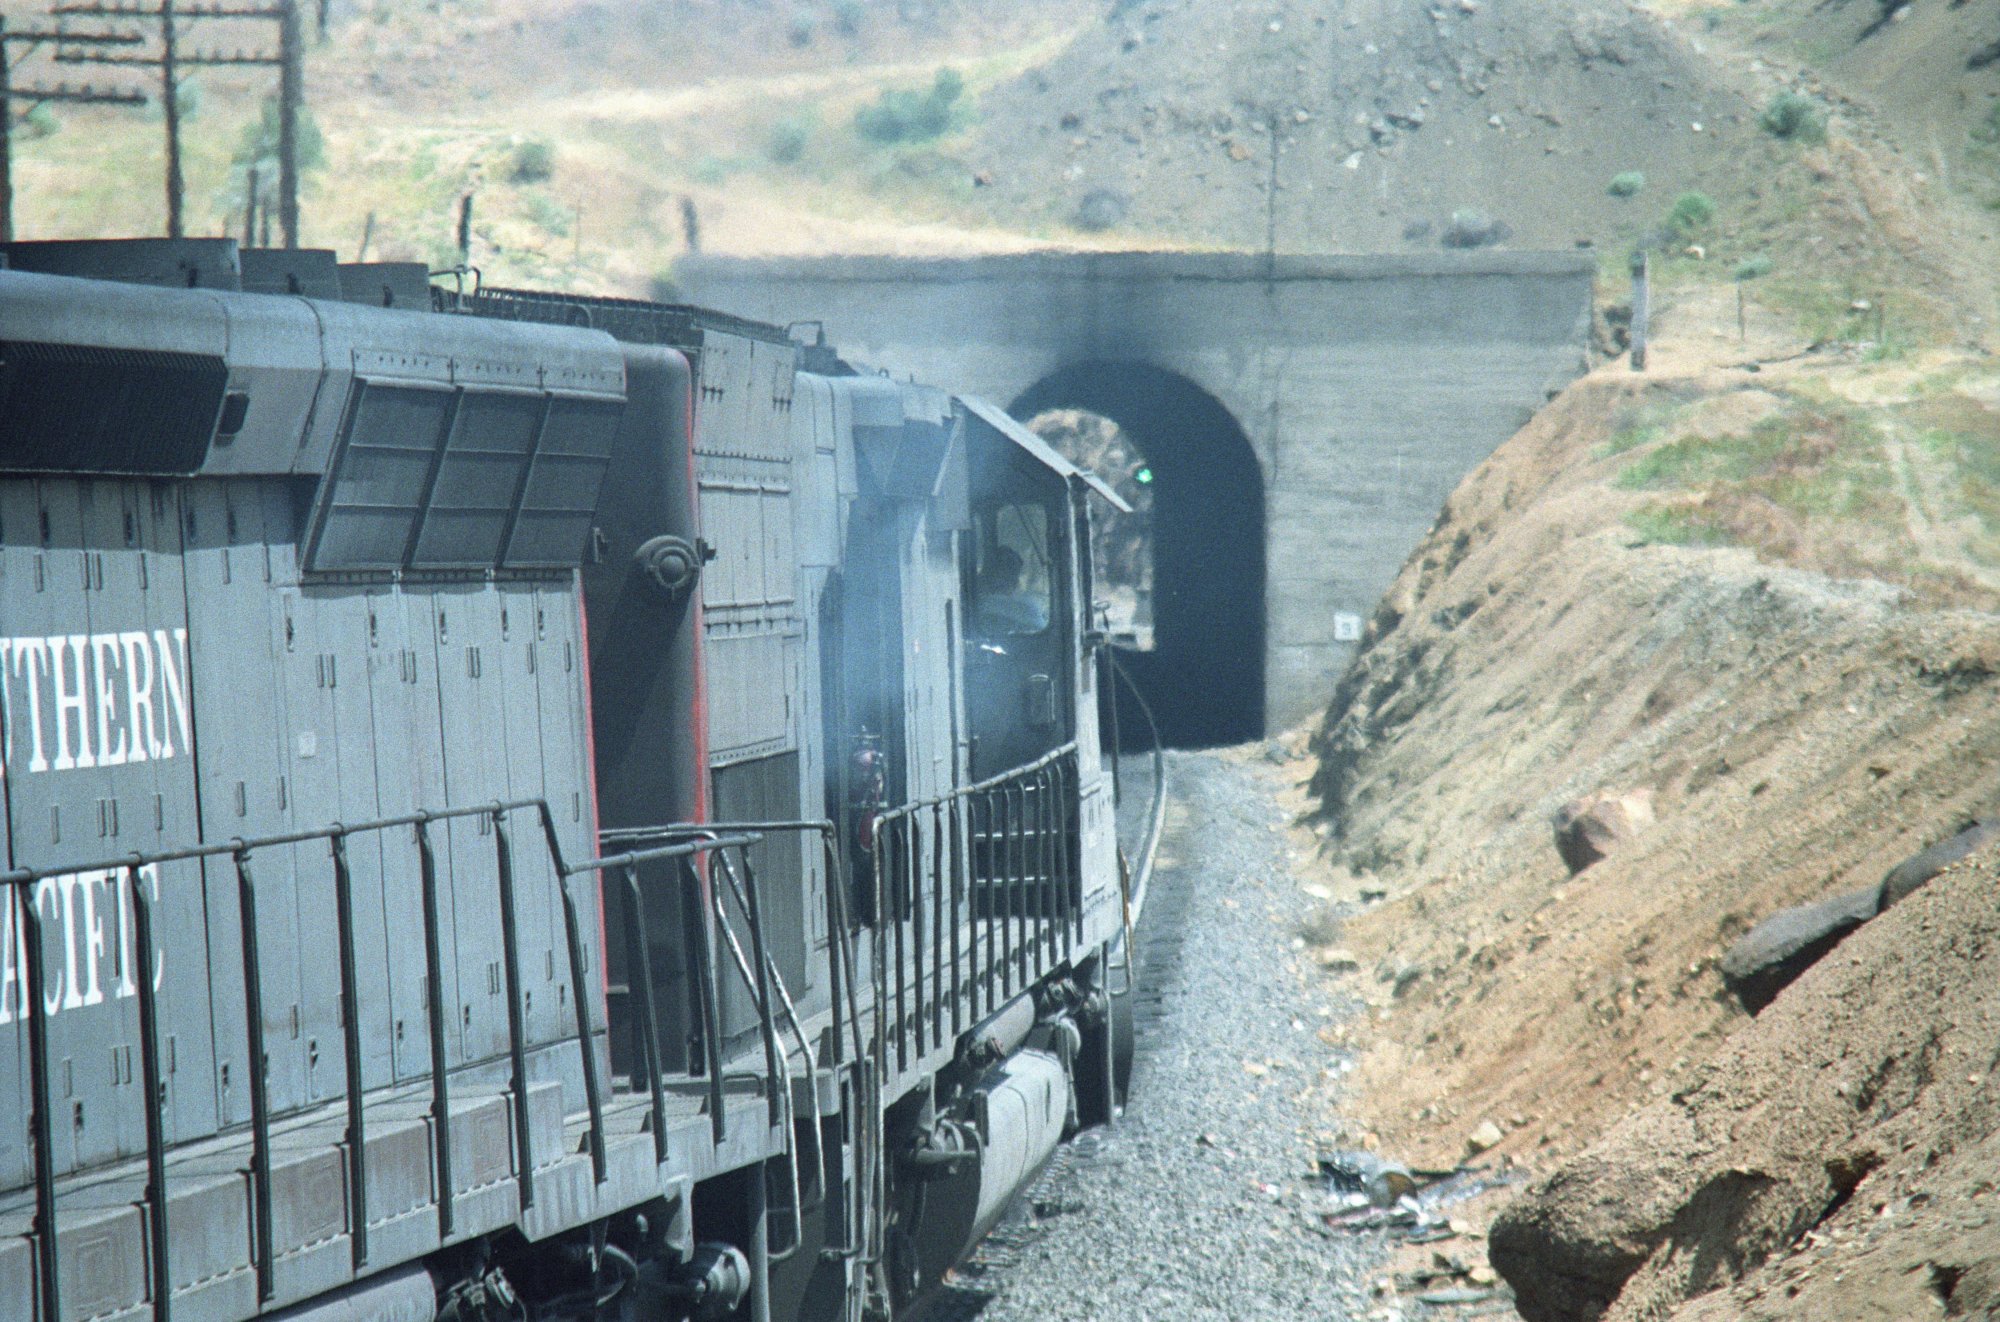
WM-132 -
SP EB will enter the Loop Tunnel (9) |
 |
 |
|
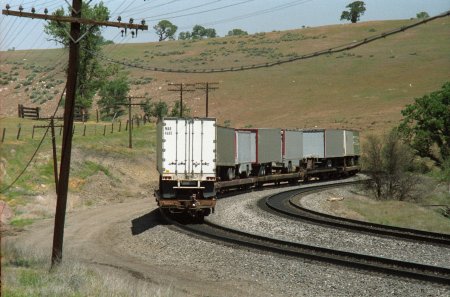
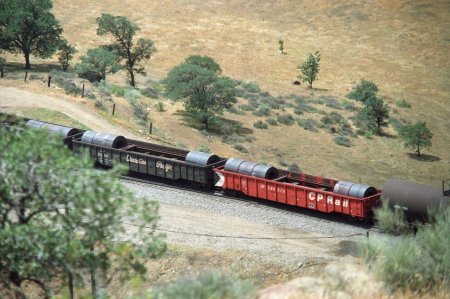
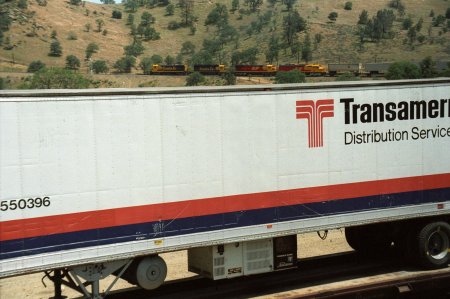
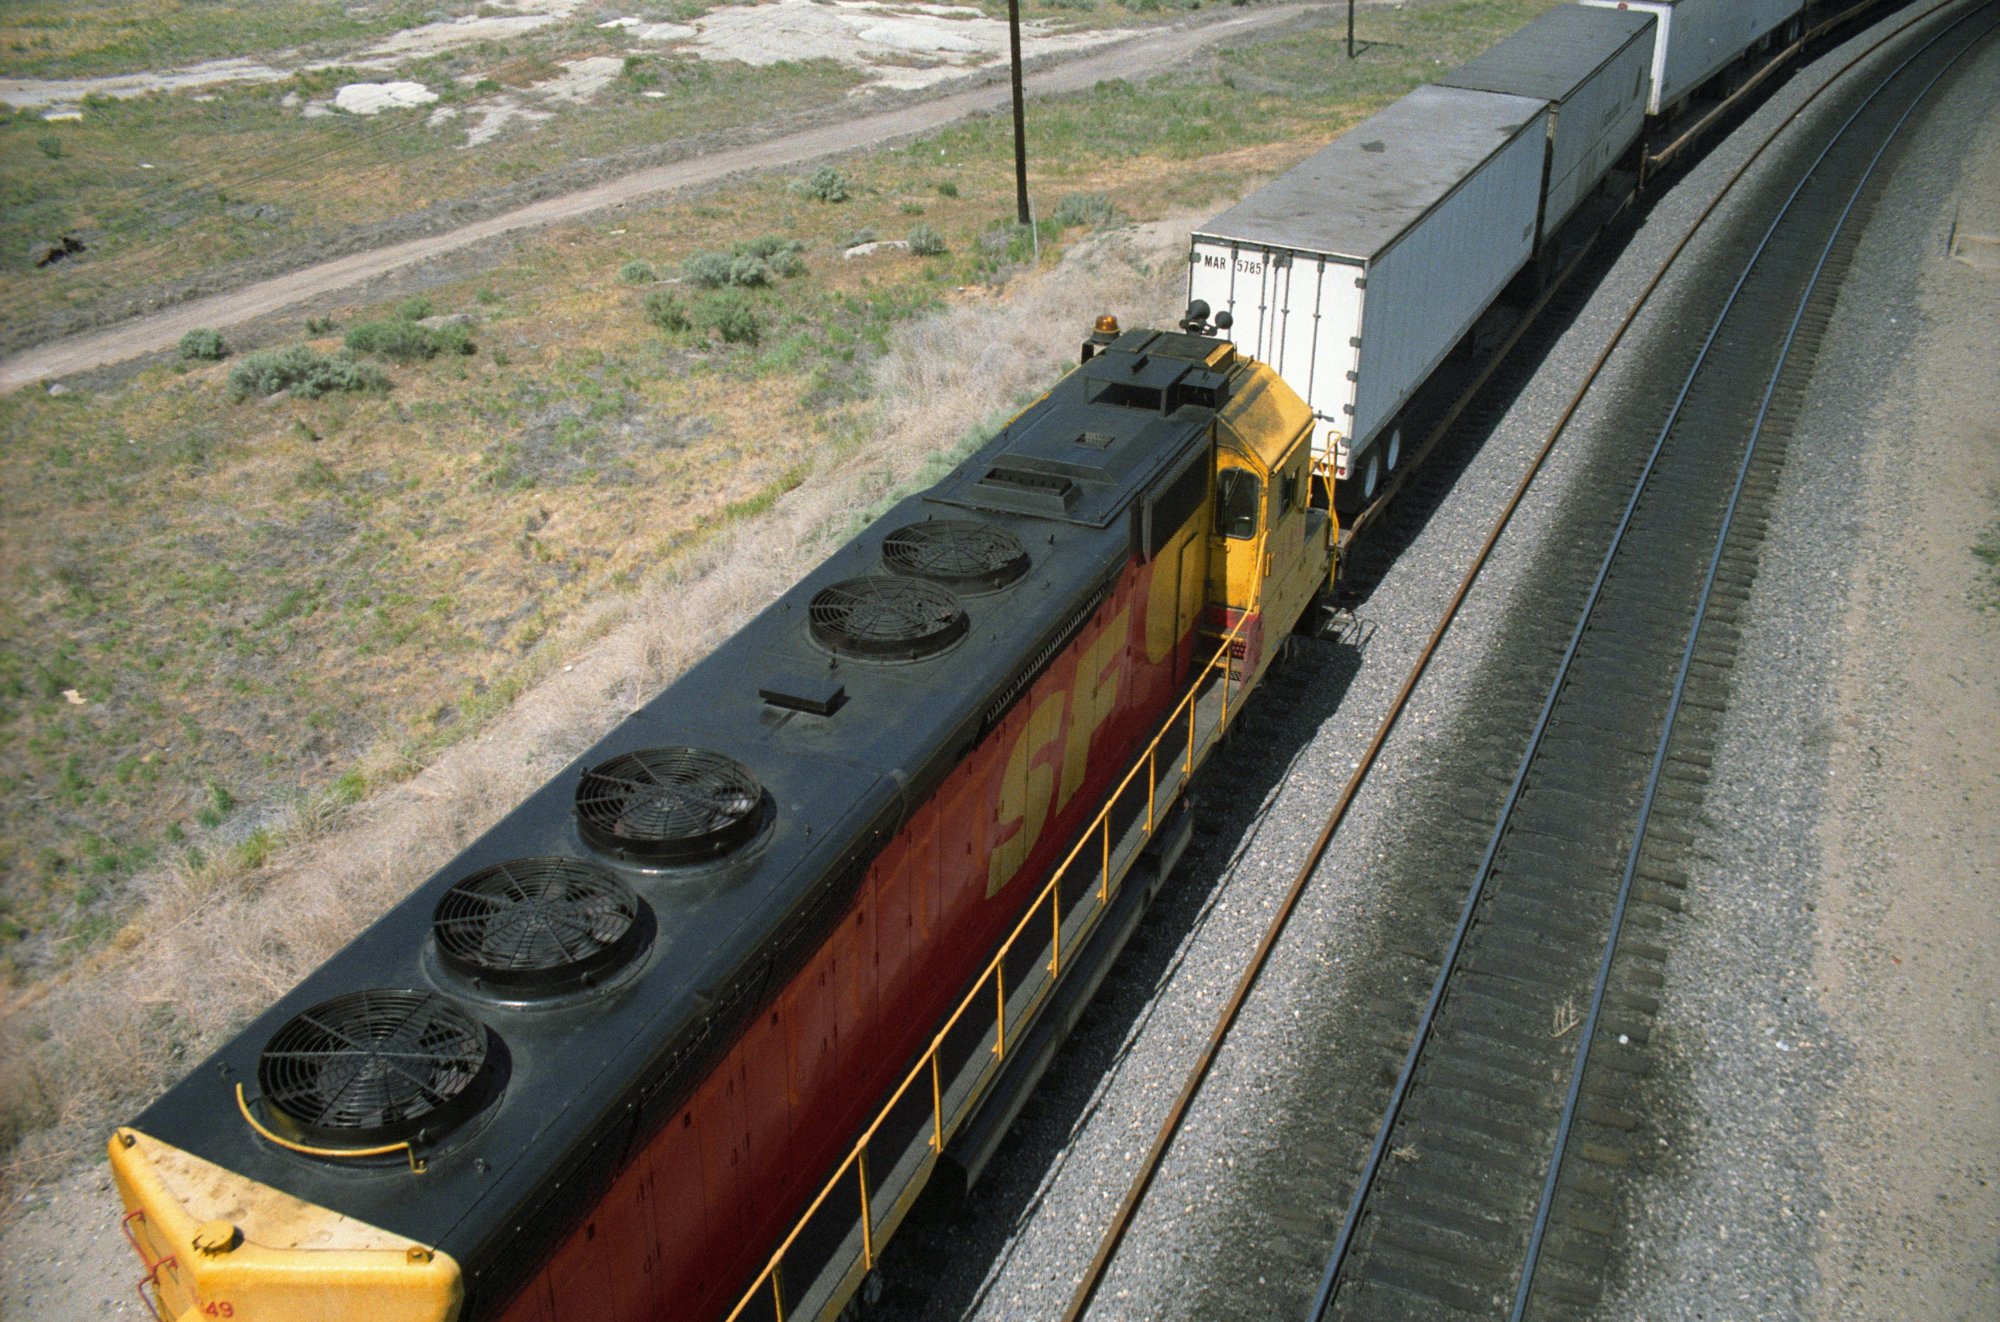
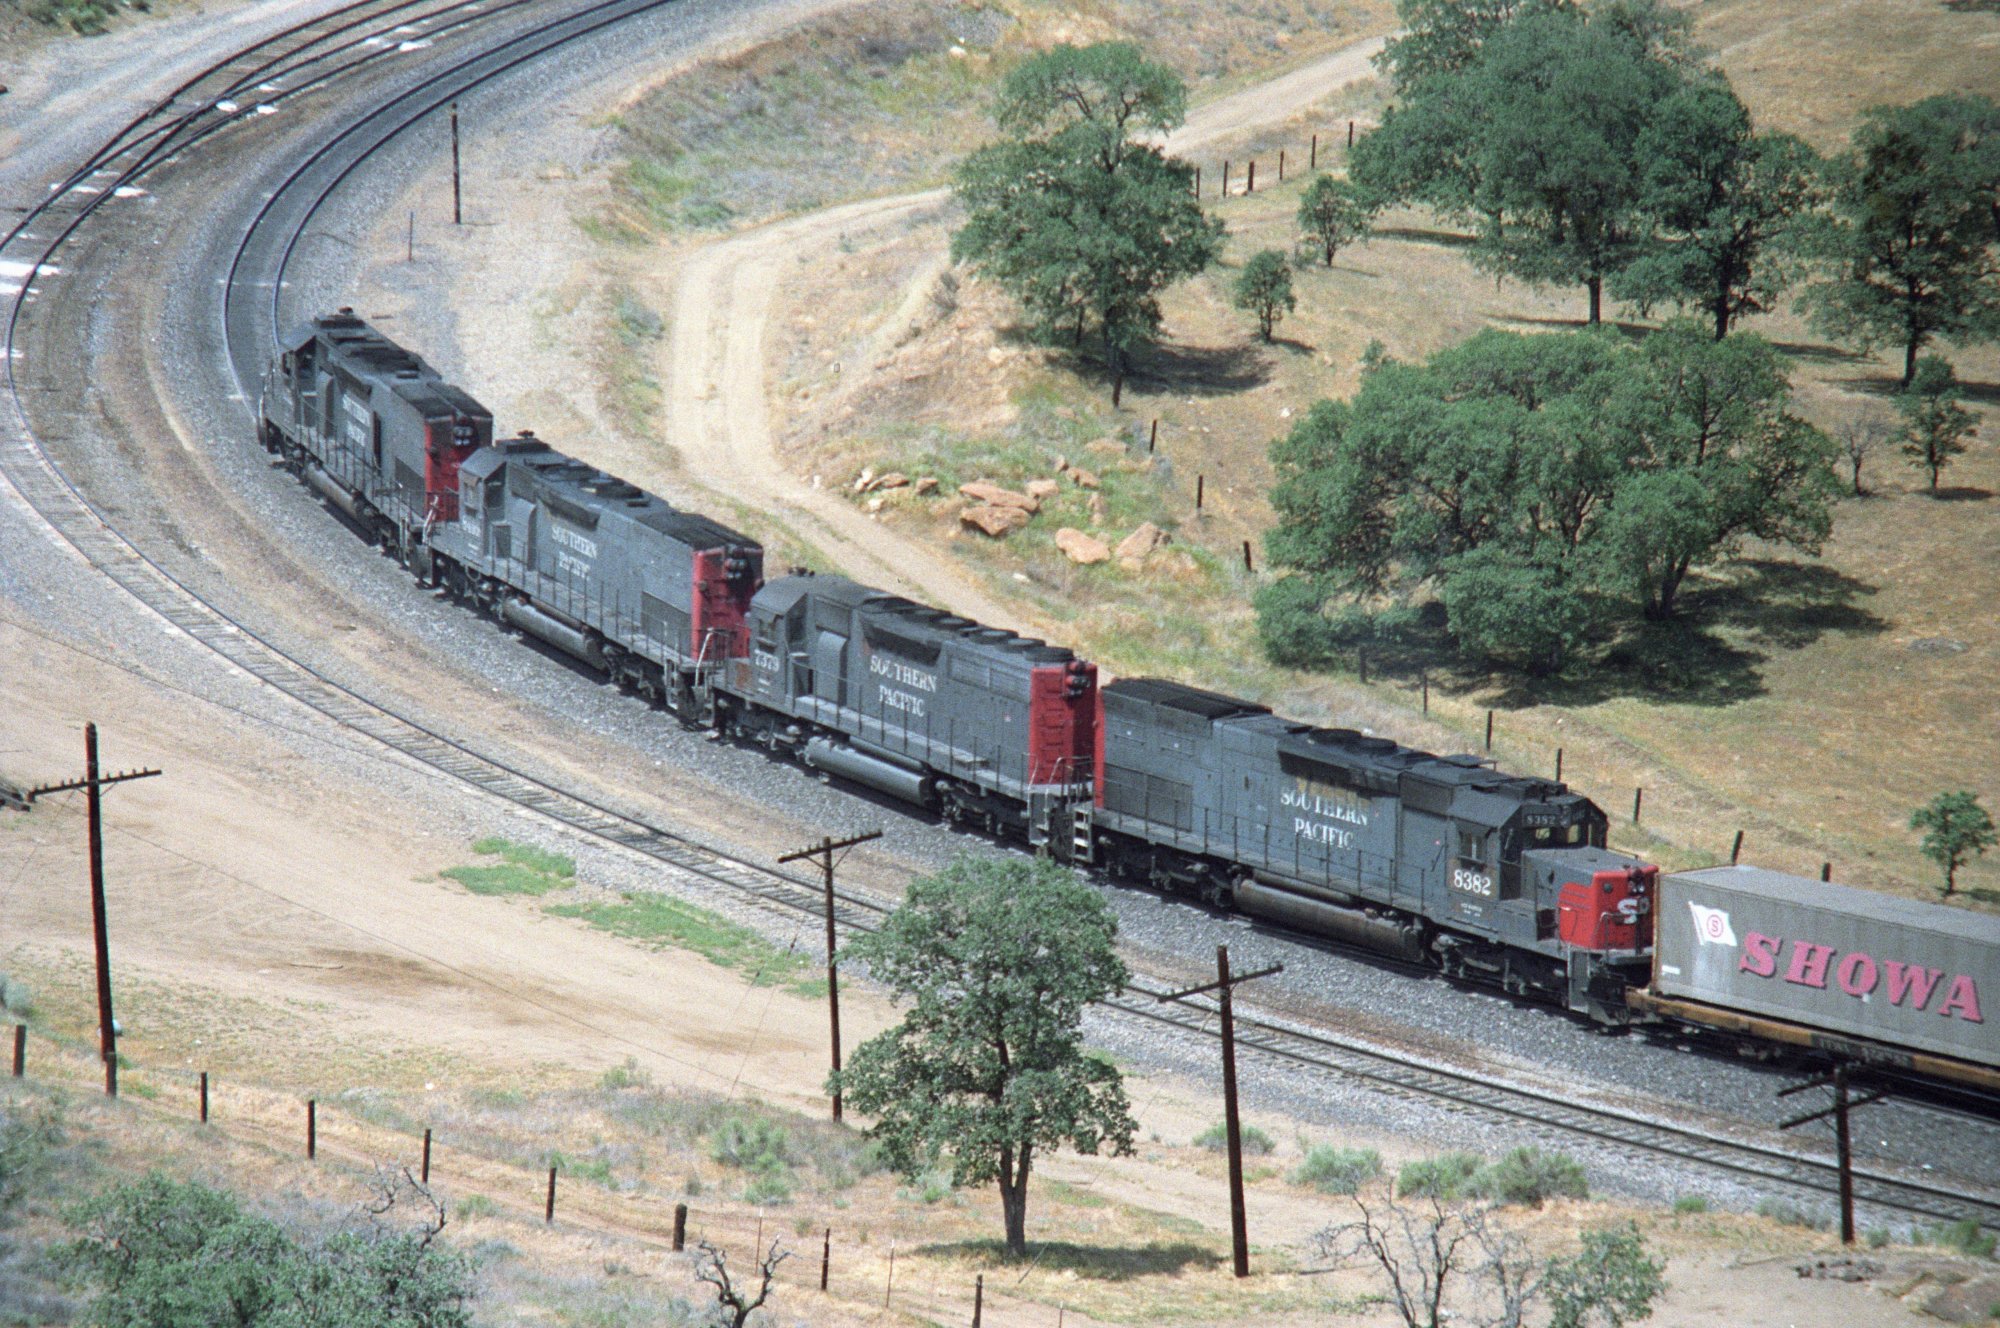
WM-133 -
some TOFC beind the engines |
WM-134 -
same Train w/rear end helpers |
 |
 |
|
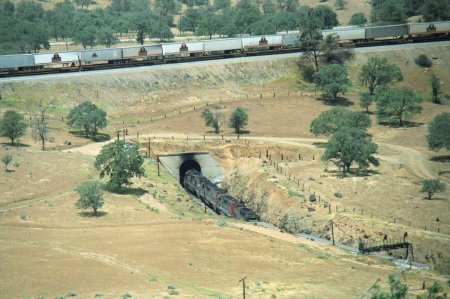
WM-135 -
next SP EB entering the tunnel |
WM-136 -
the 4 leading units on top of the tunnel |
 |
 |
|
WM-137 -
sure, Balz is always ready in filming |
WM-138 -
there is a Caboose at the end |
 |
 |
|
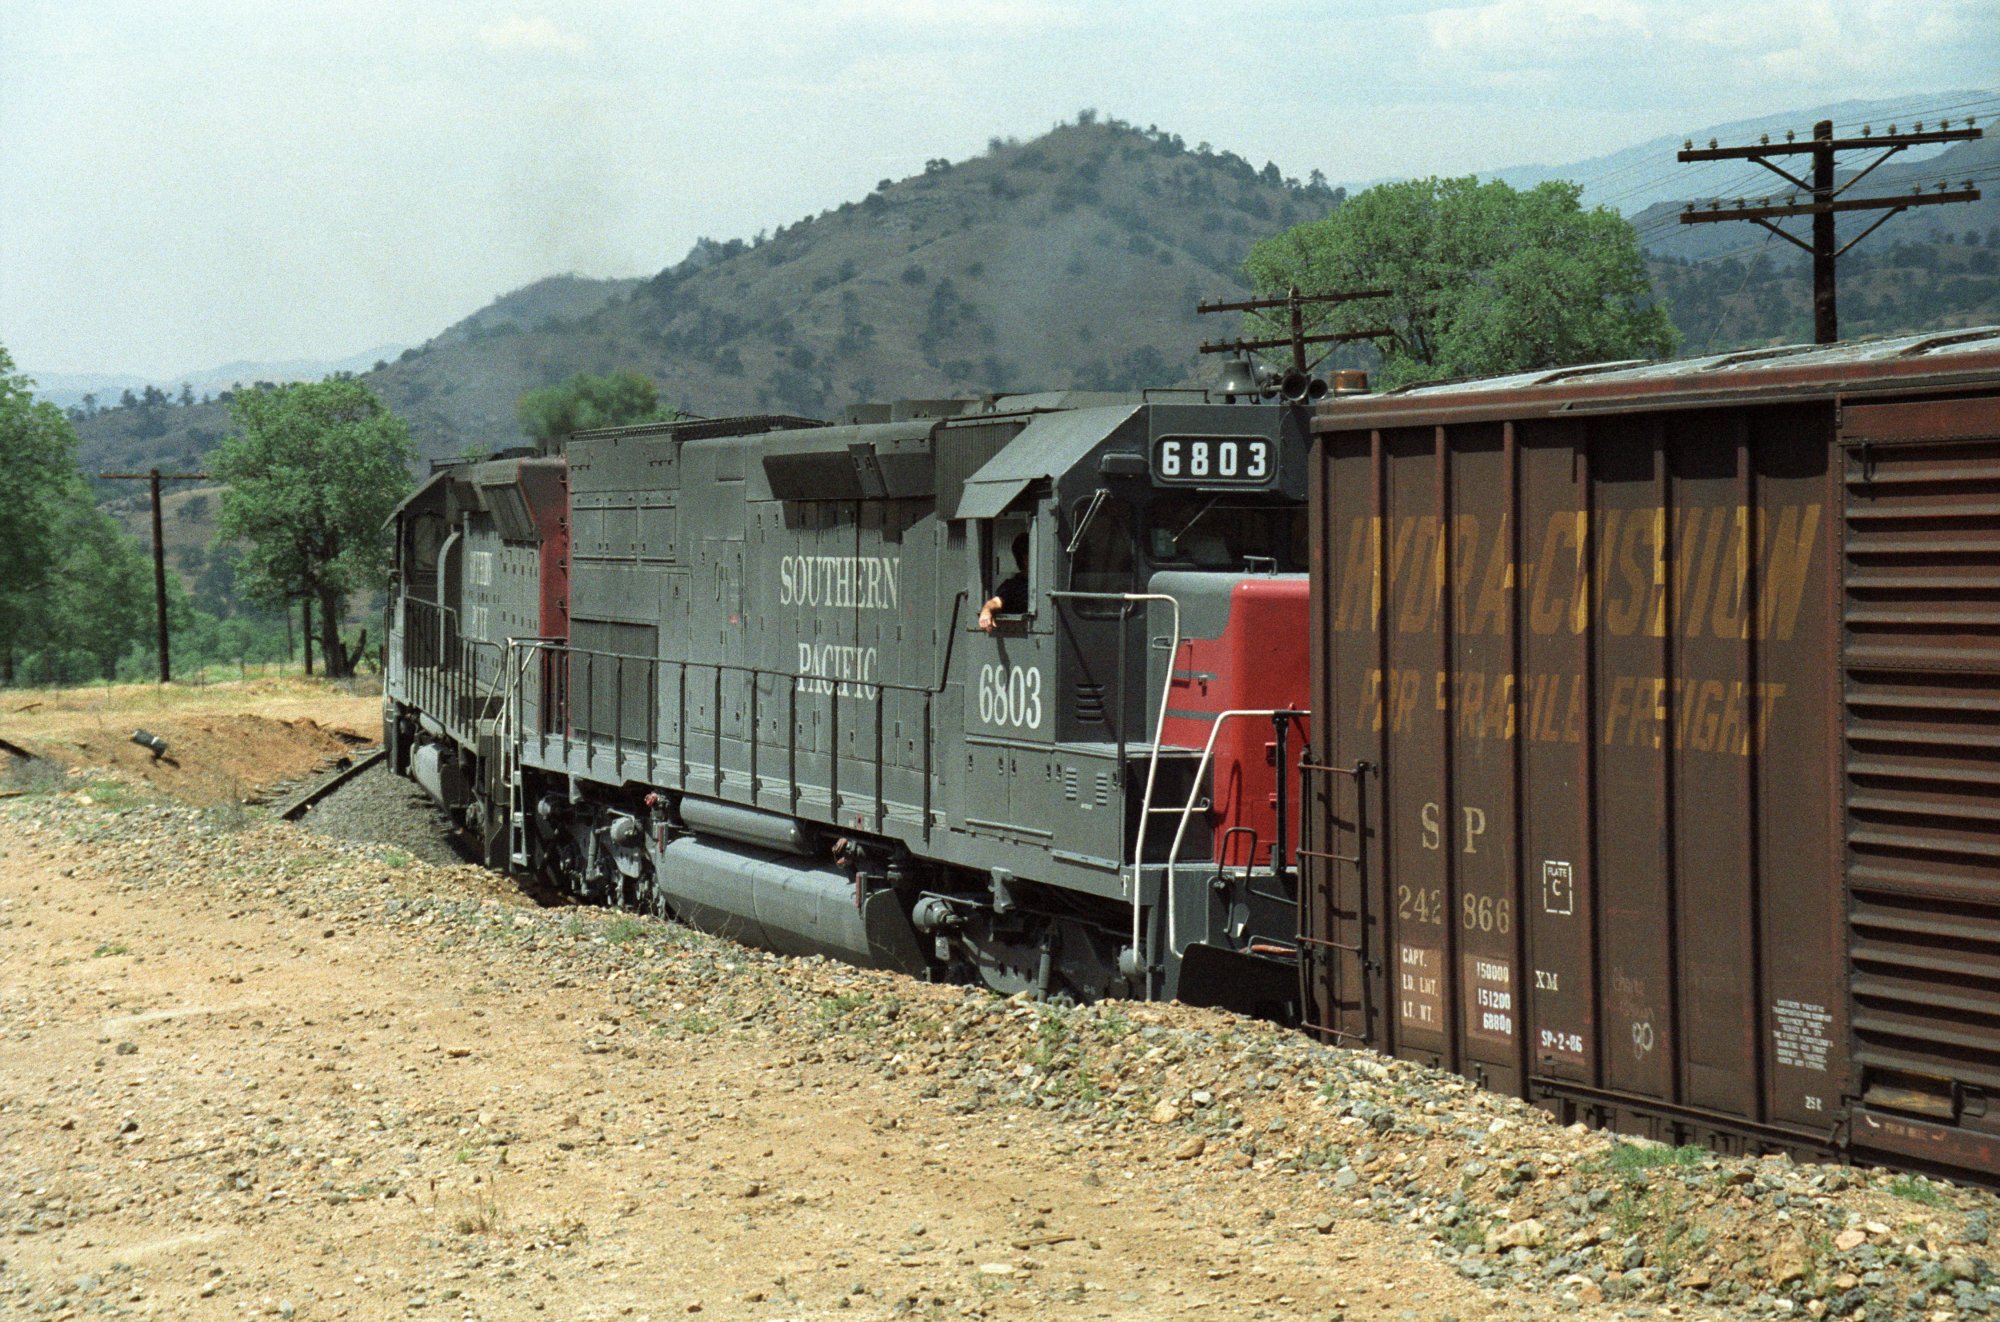
WM-139 -
same train |
WM-140 -
yes, there are mid train helpers |
 |
 |
|
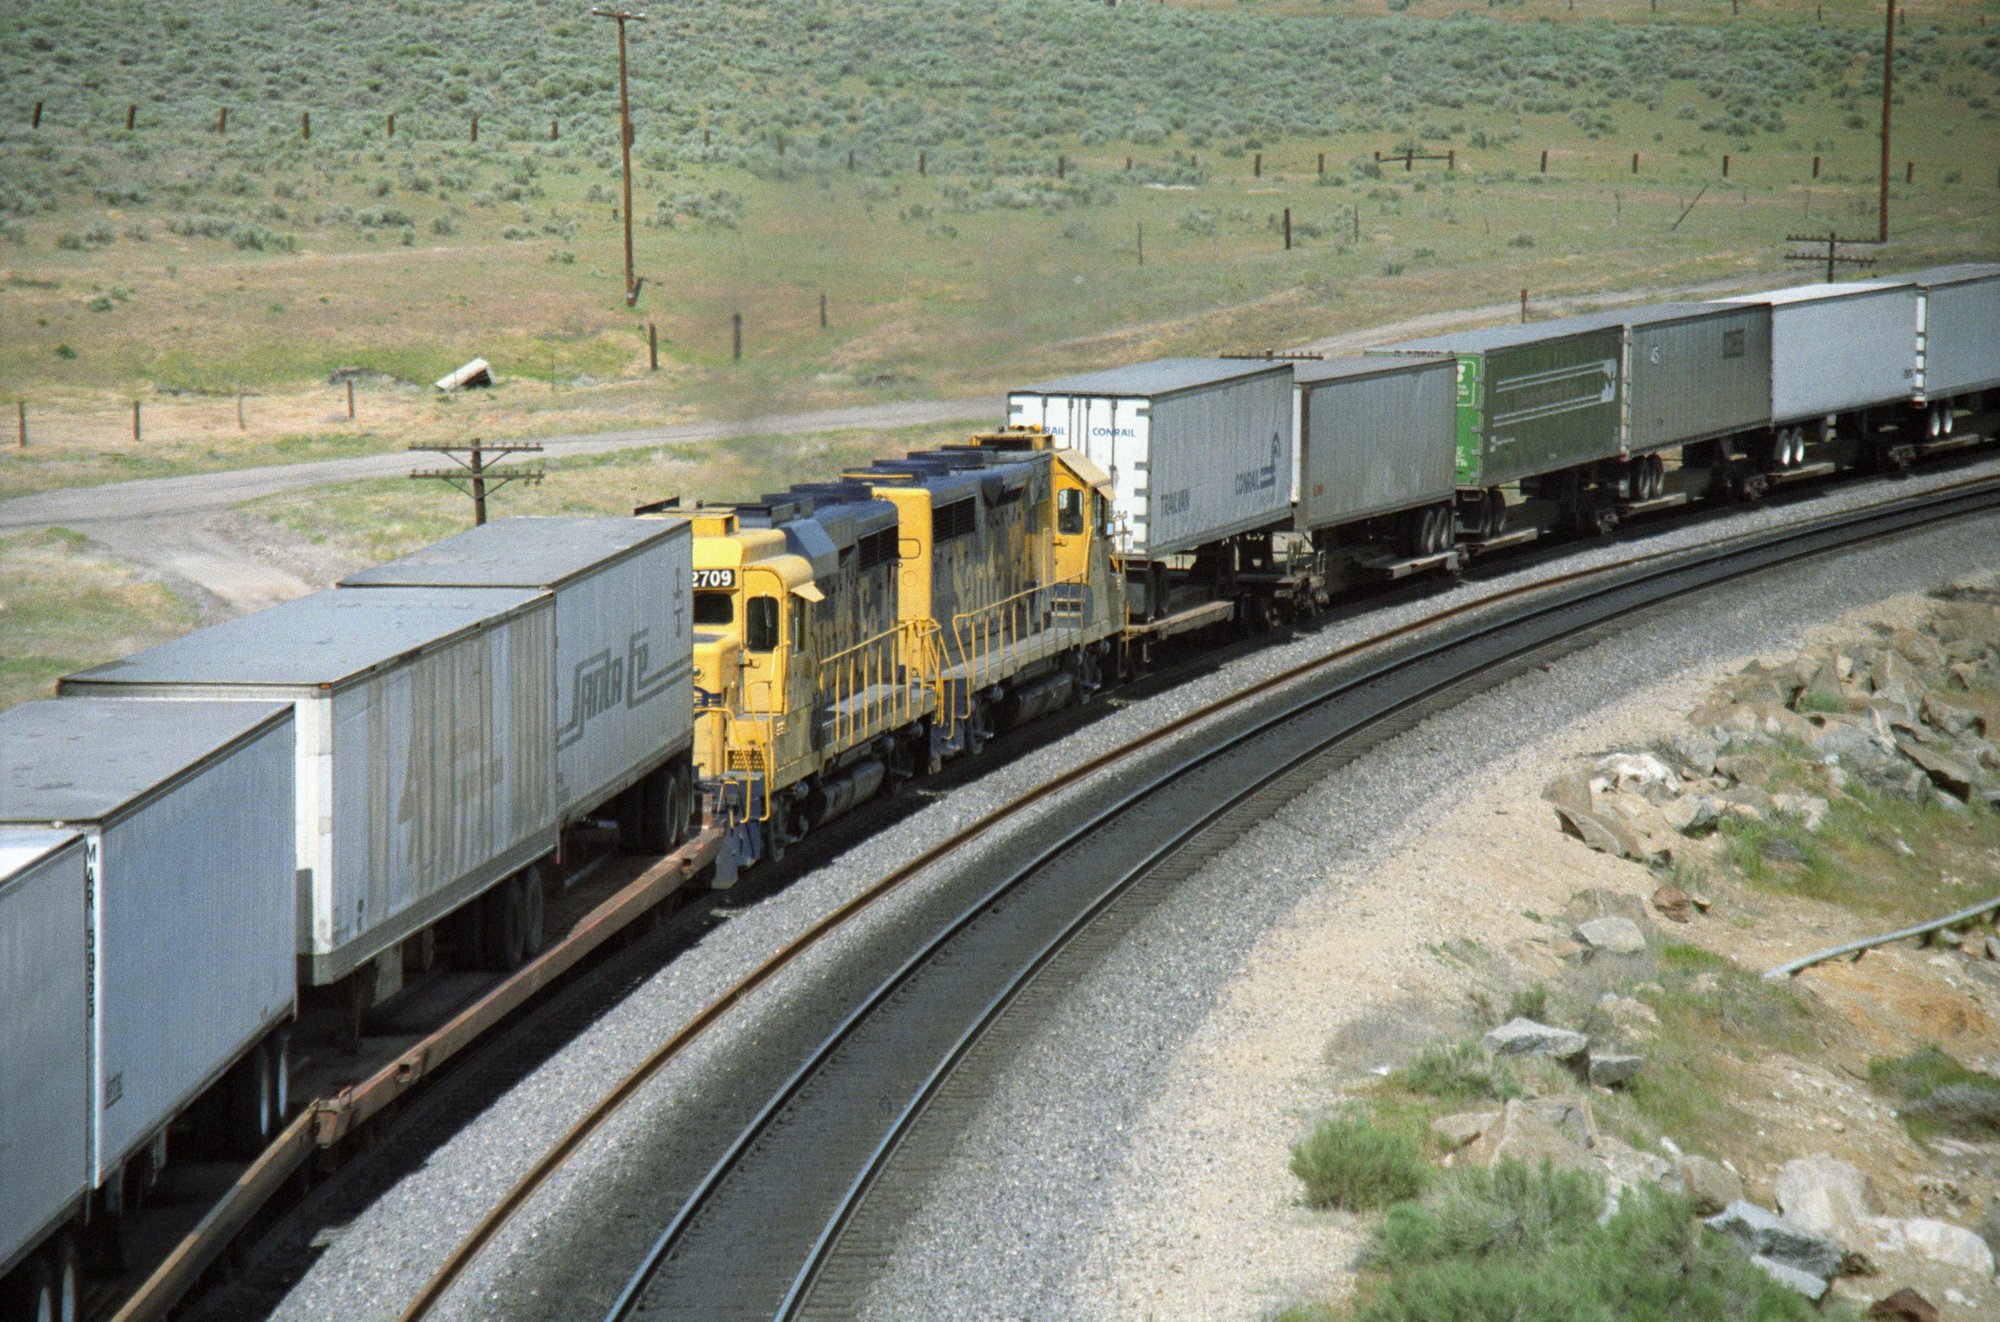
WM-141 -
to be excat, we have 6 mid train DPU's |
WM-142 -
SF EB manifest |
 |
 |
|
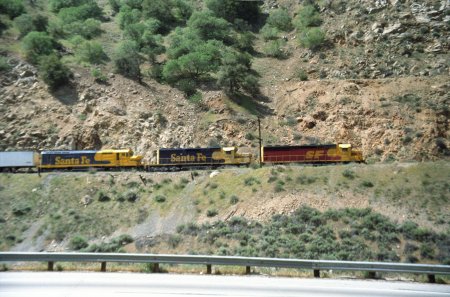
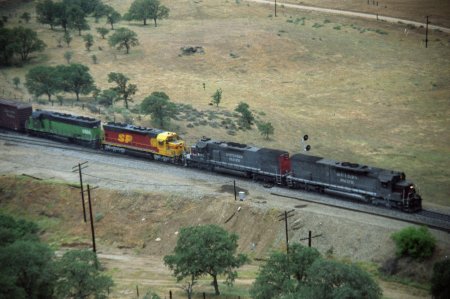
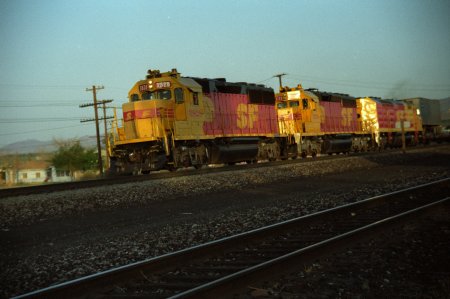
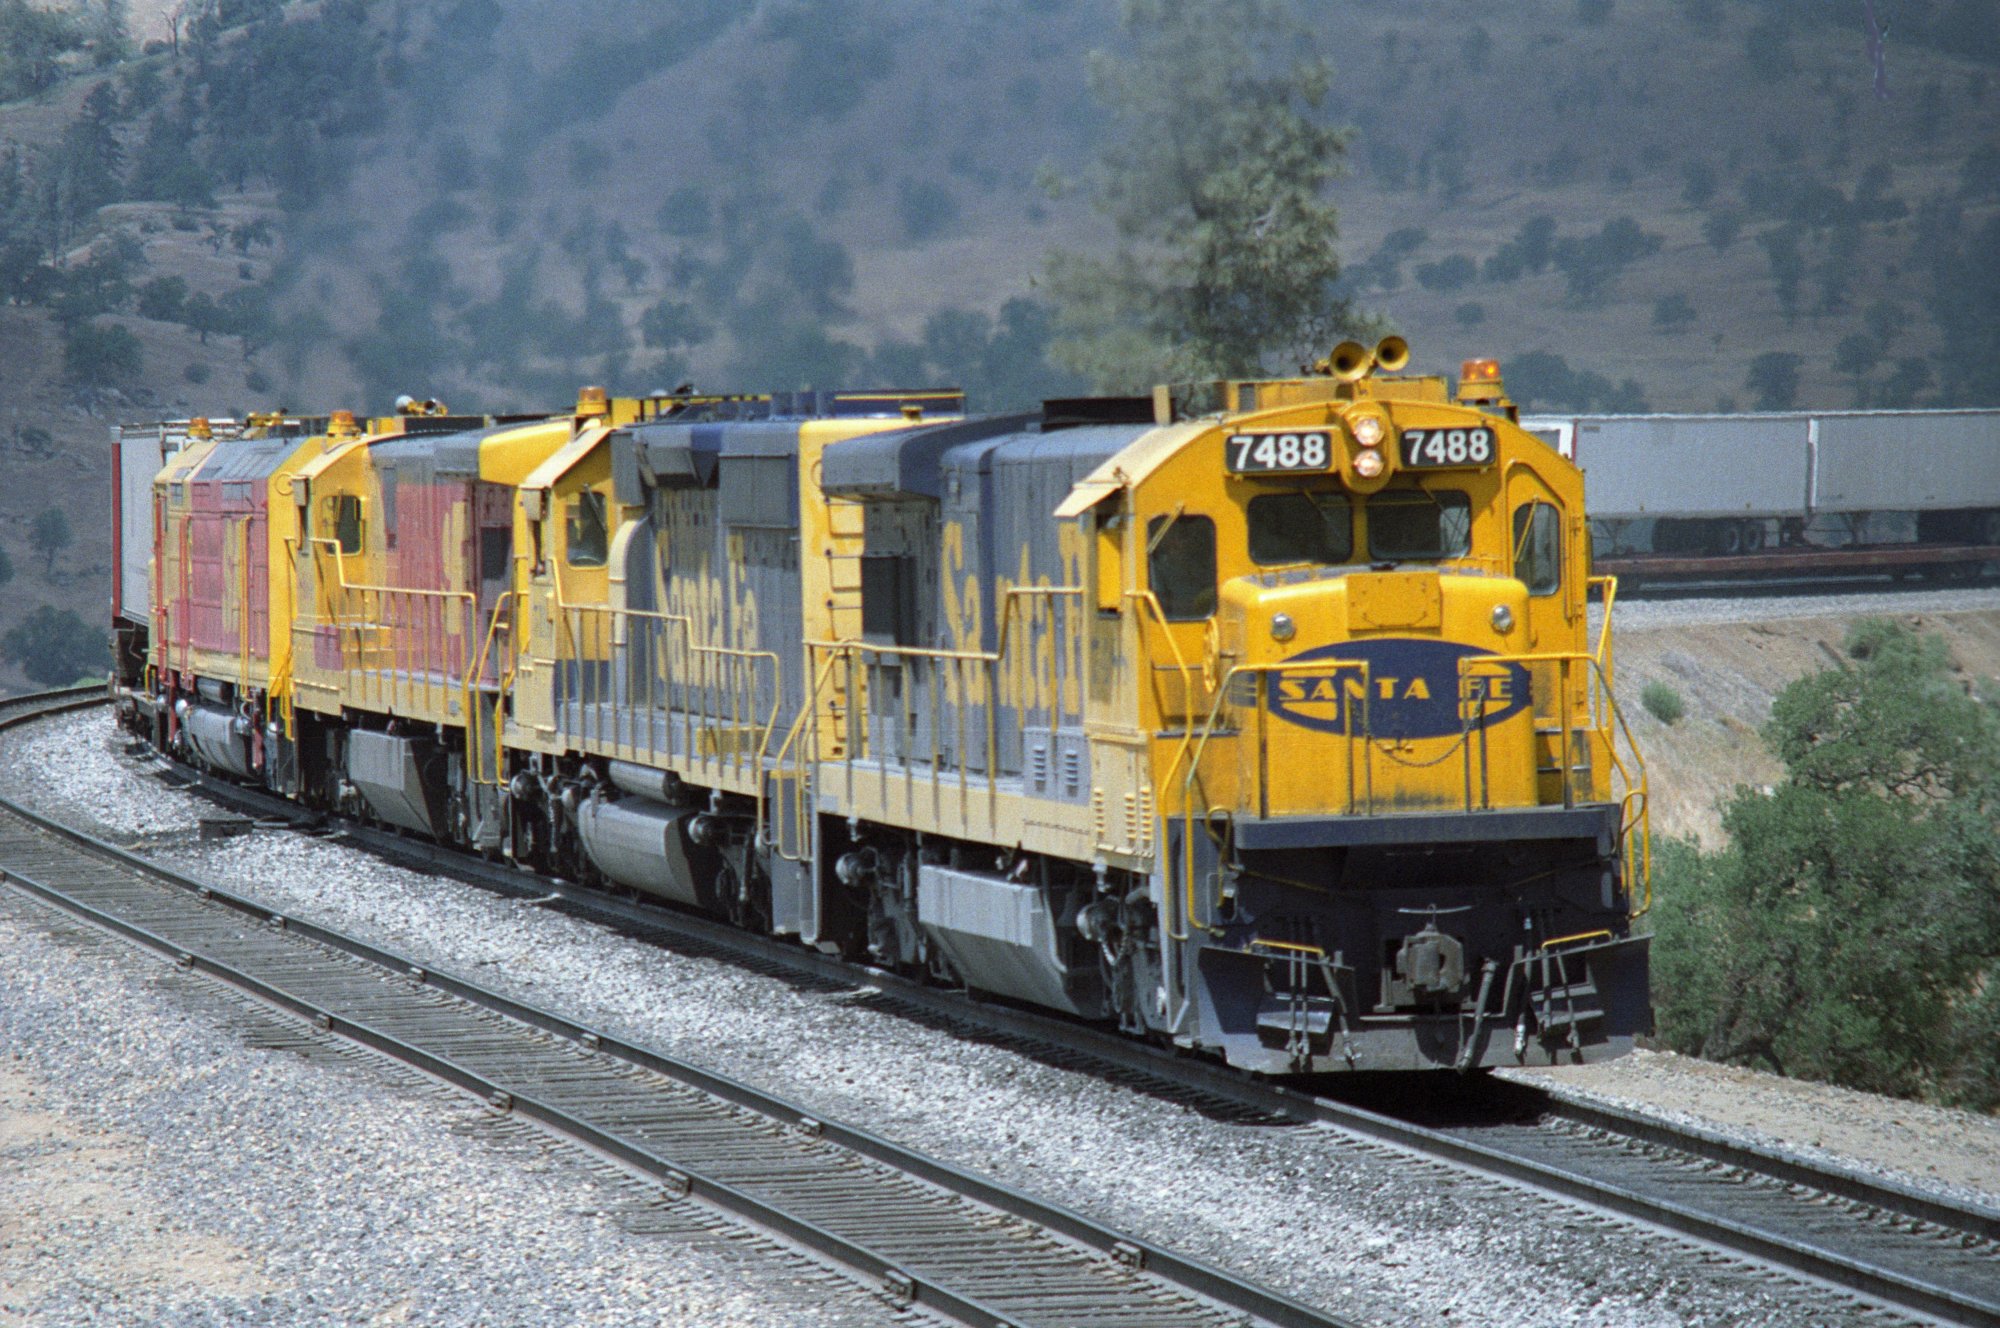
WM-143 -
SD45-2's are leading this train |
WM-144 |
 |
 |
|
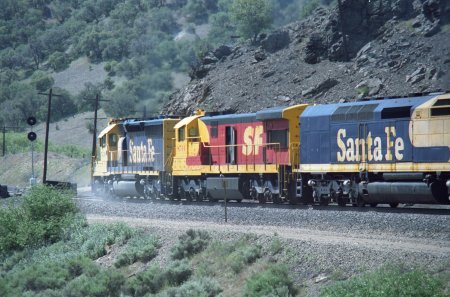
WM-145 -
4th unit is a Kodak F45 |
WM-146 -
plus a Kodak U-Boat |
 |
 |
|
WM-147 -
it is just an empty "bare table" train |
WM-148 -
last photo of this SF EB |
 |
 |
|
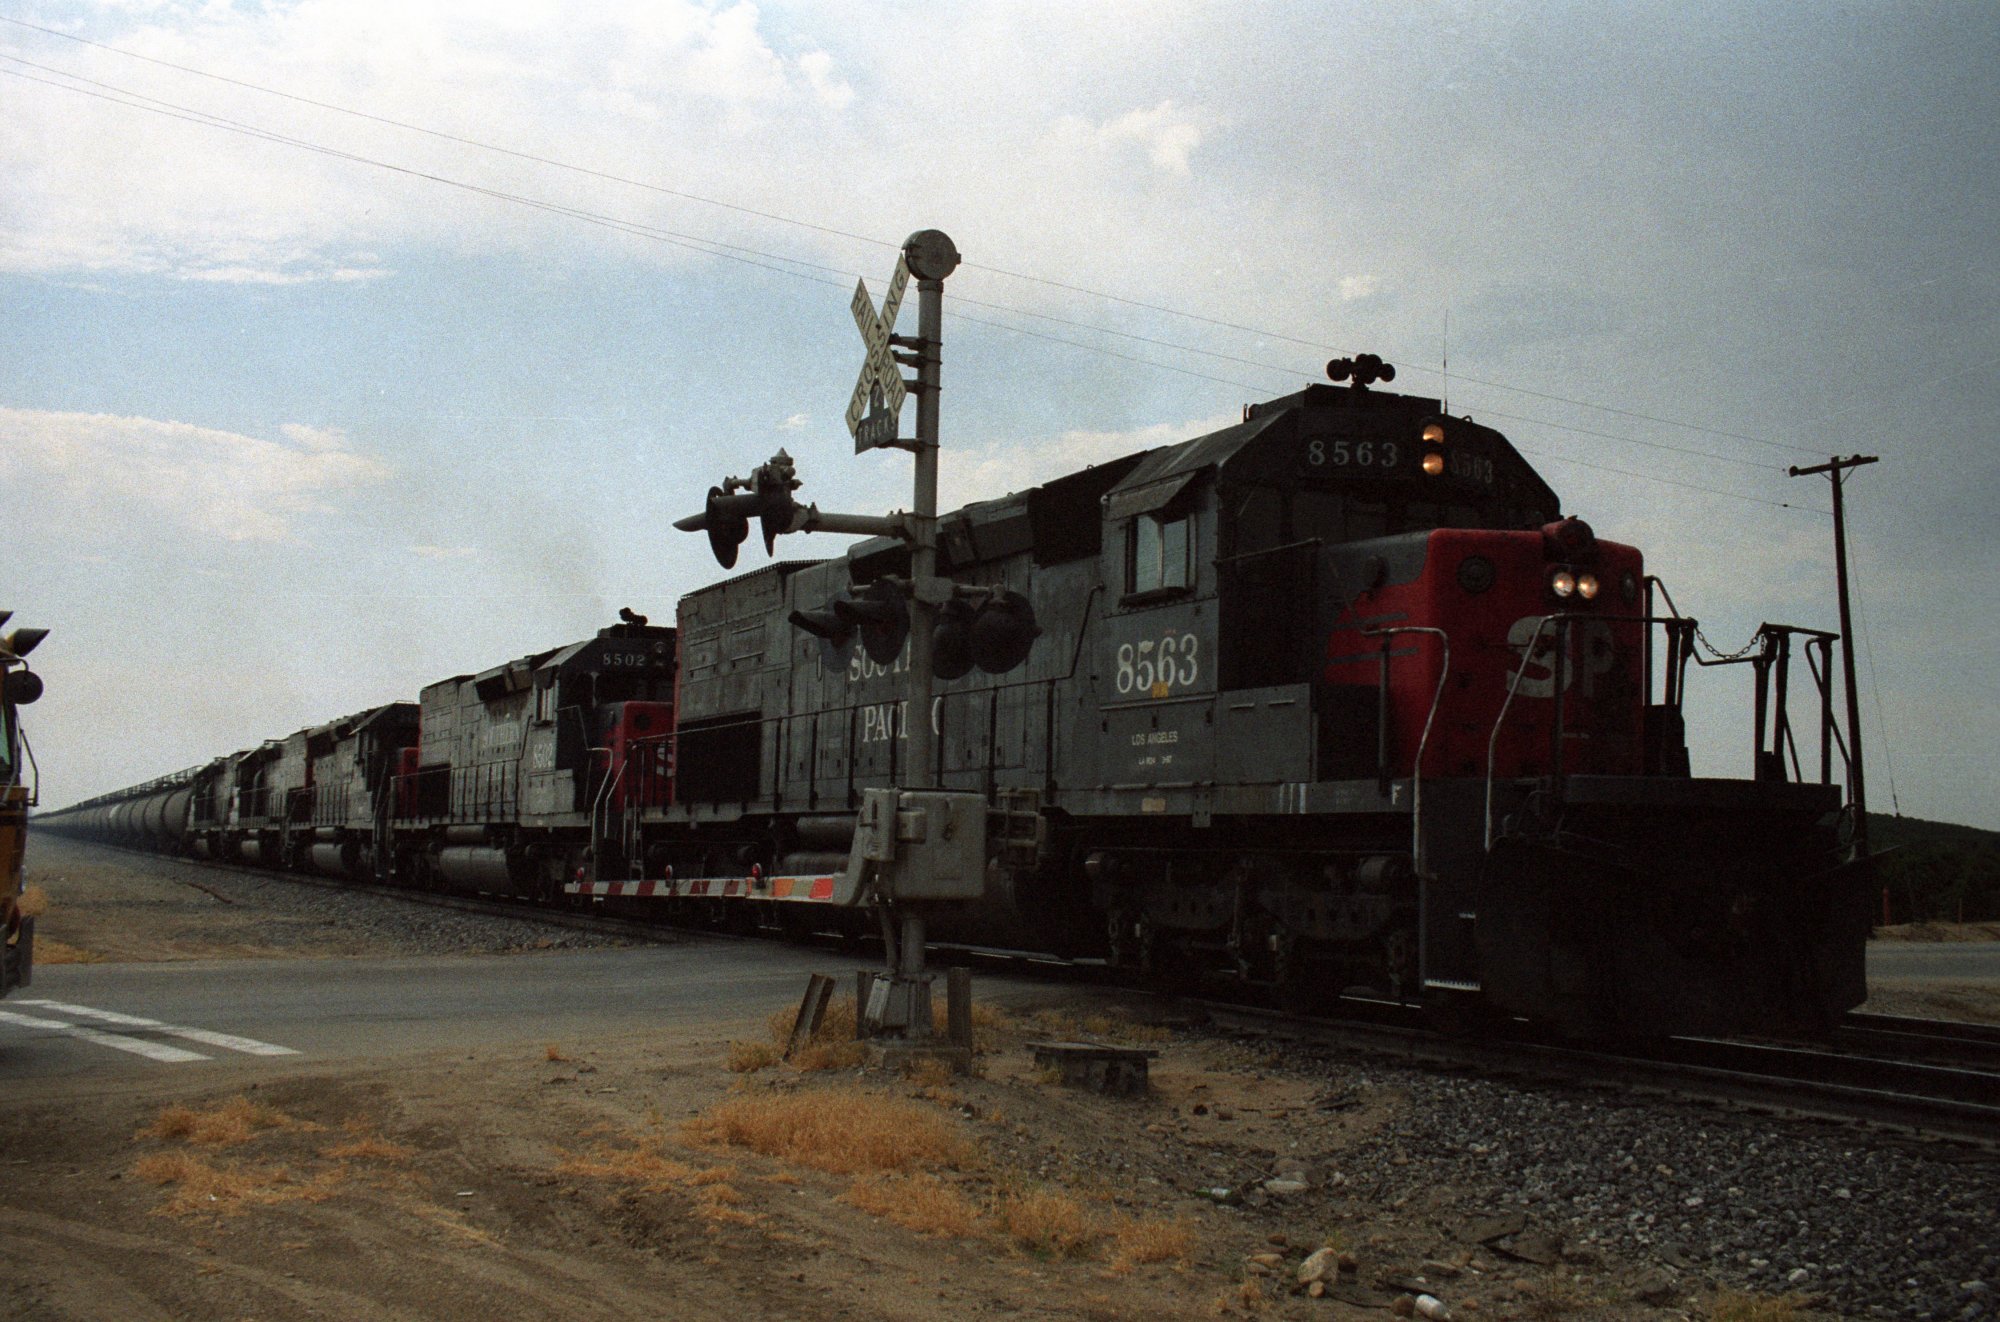
WM-149 -
SP worktrain w/SD9 |
WM-150 -
SF EB just above Caliente |
 |
 |
|
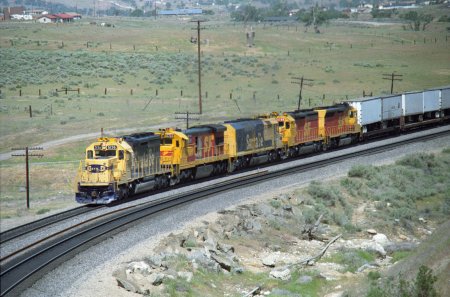
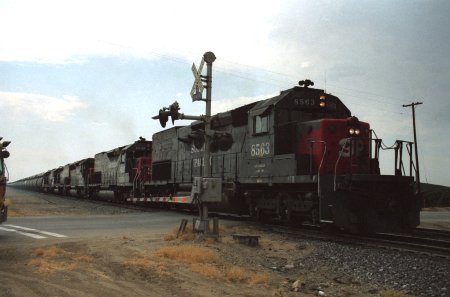
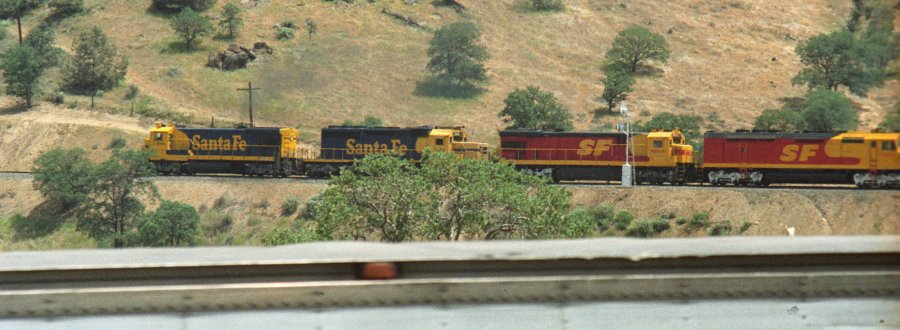
WM-151 - 8
Santa Fe Diesels are pulling this EB train |
WM-152 -
second unit is a GP30 |
 |
 |
|
WM-153 |
WM-154 -
going uphill toward Tunnel 1 |
 |
 |
|
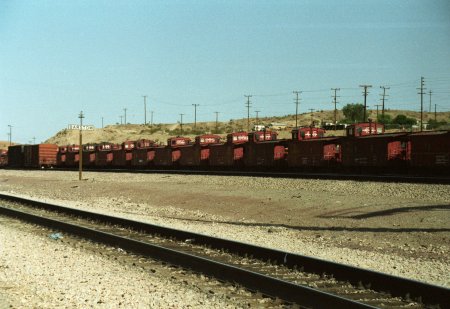
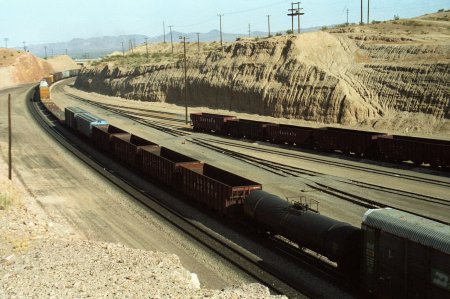
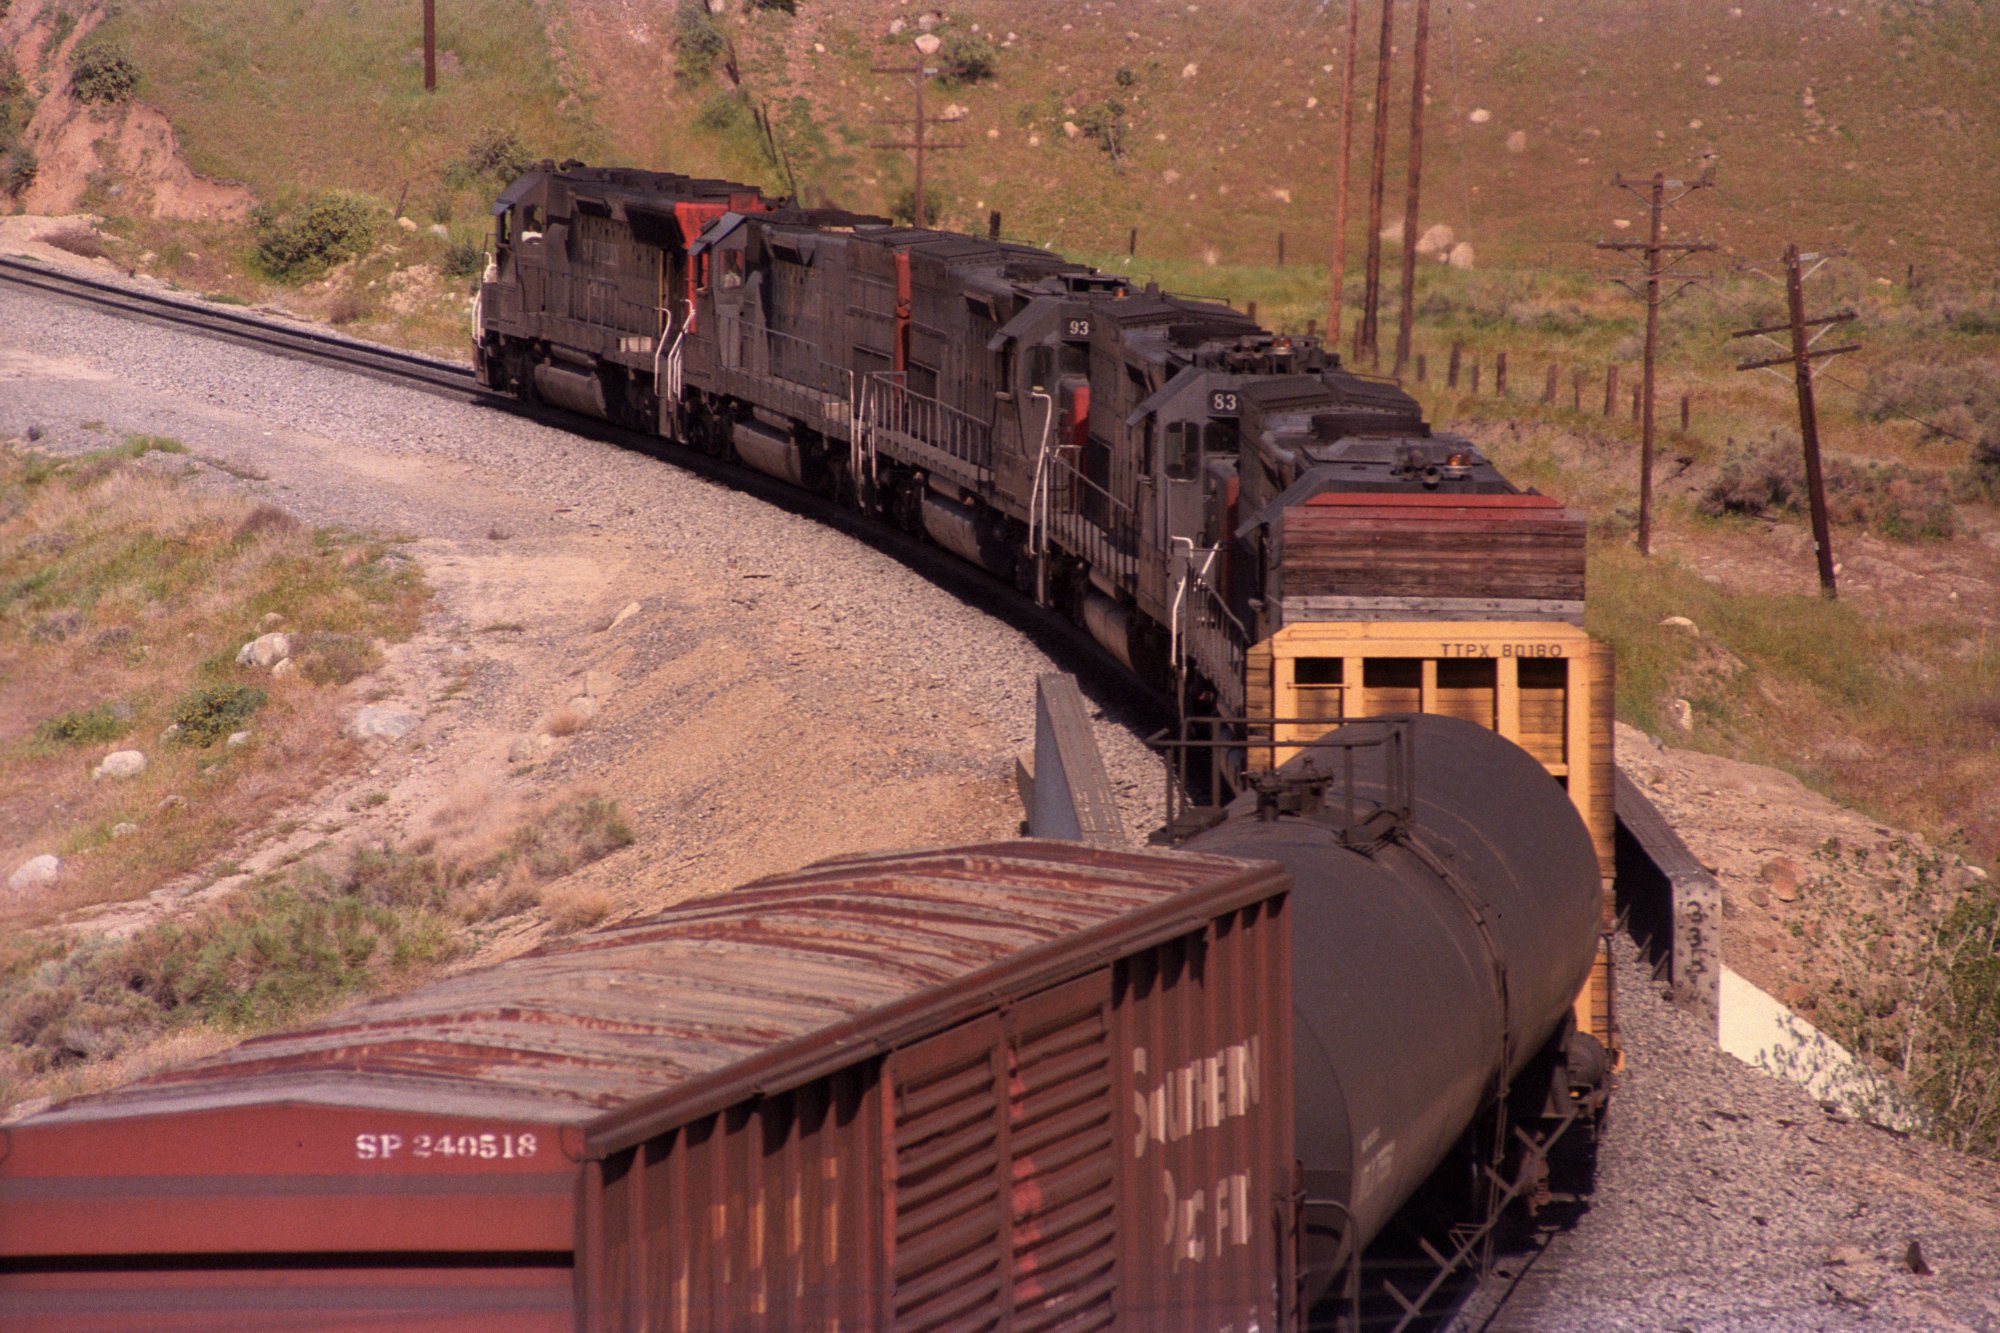
WM-155 at
the end are some tank cars |
WM-156 -
and a Caboose |
 |
 |
|
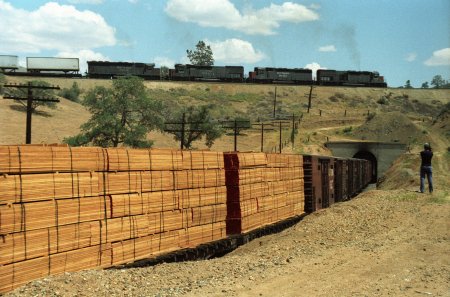
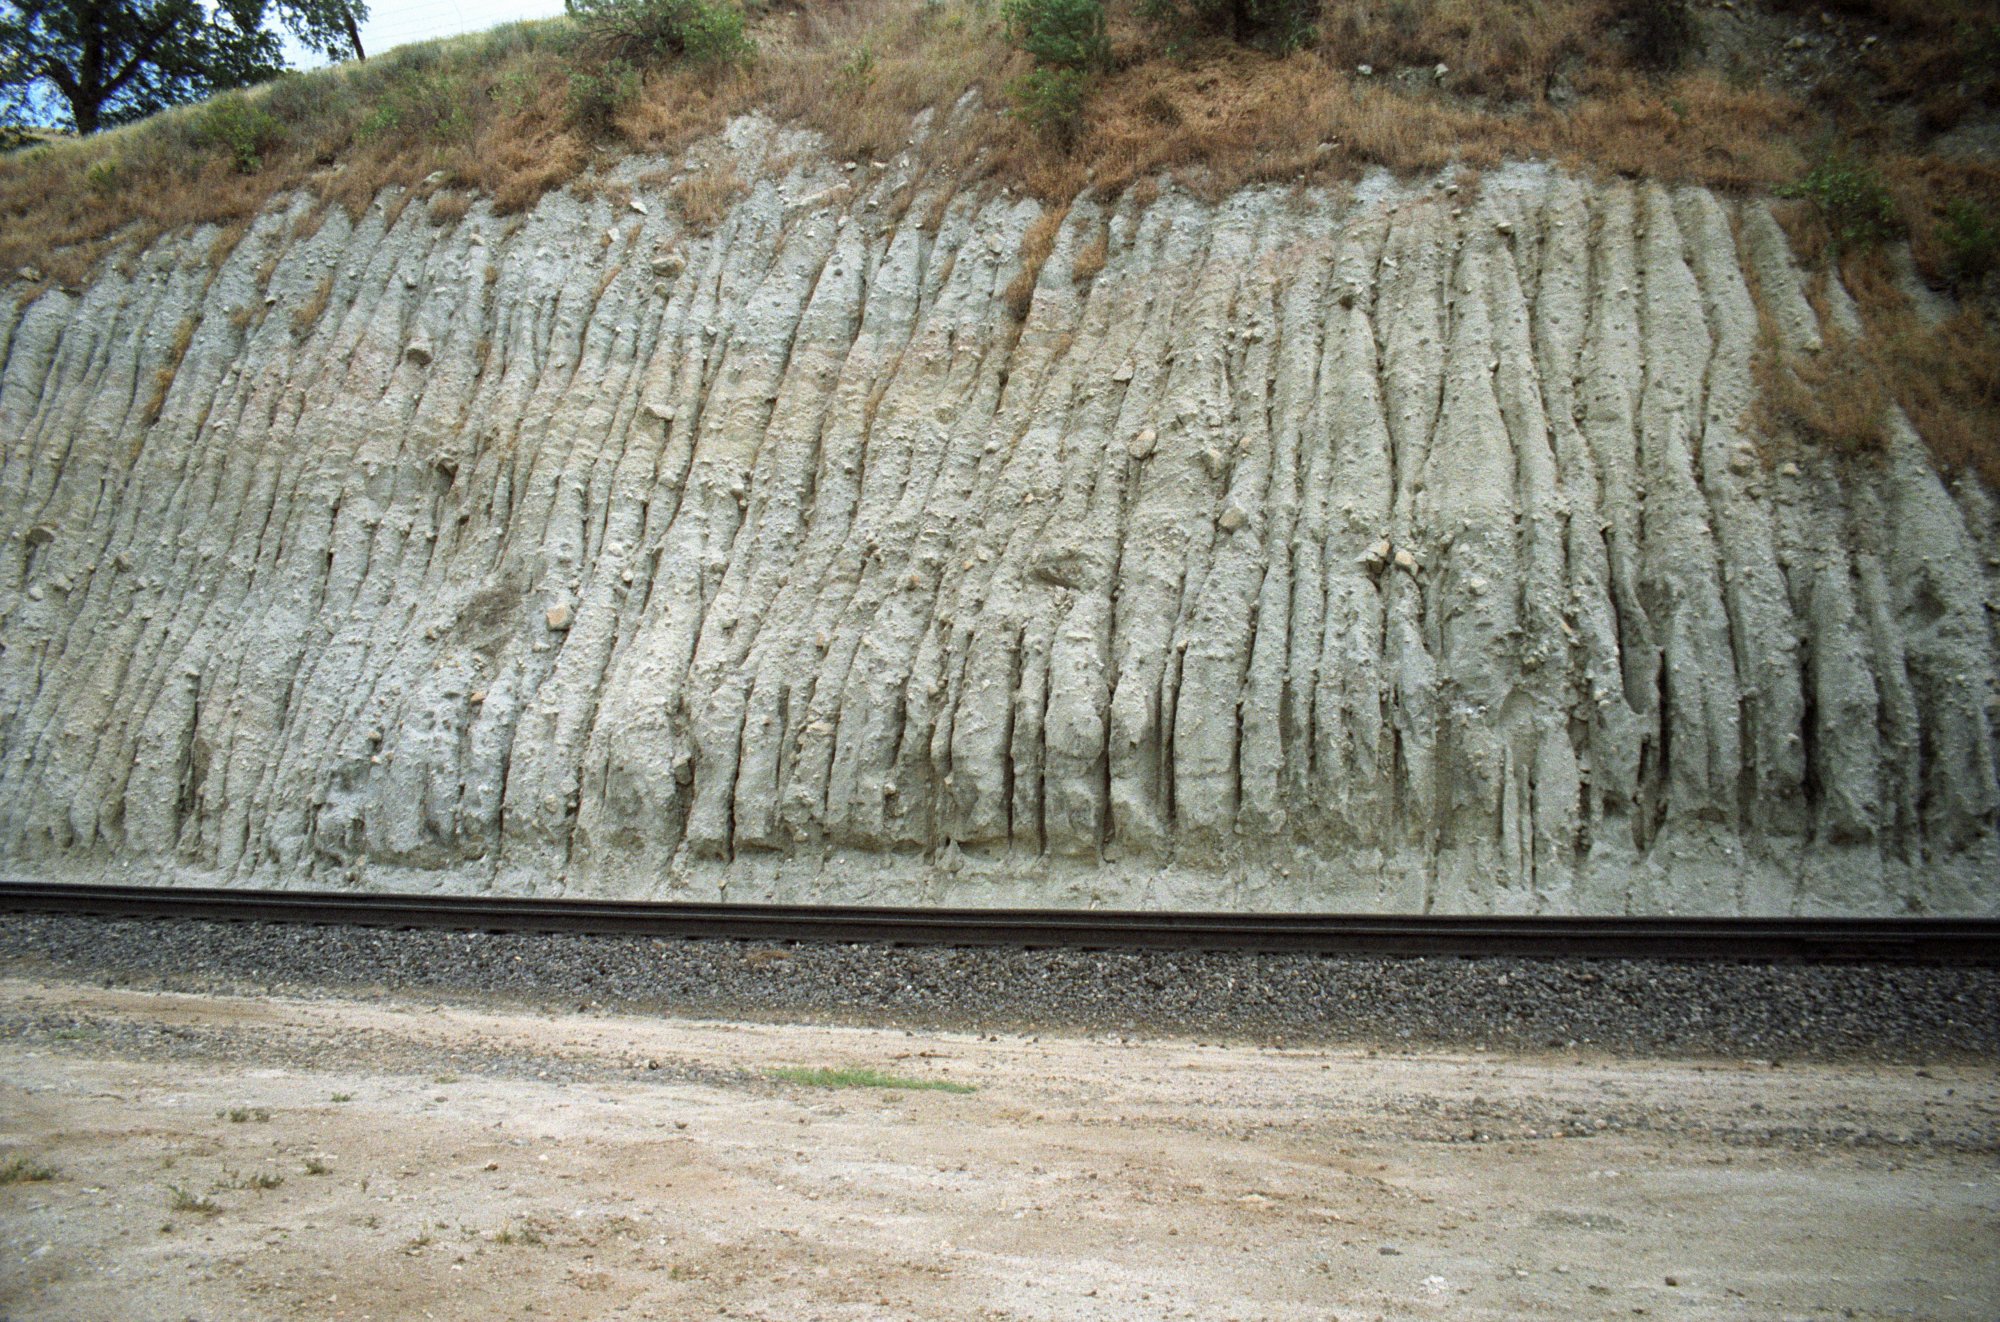
WM-157 -
Erosion of sandstone rocks (nice to copy for a layout) |
WM-158 -
outside Bakersfield comes the Tank train |
 |
 |
|
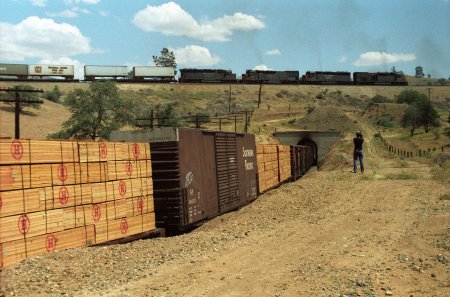
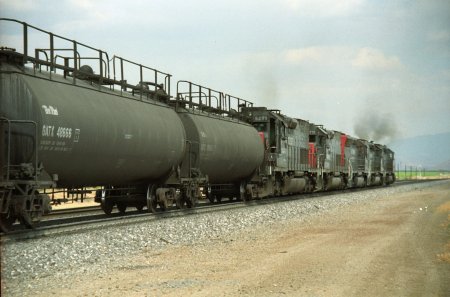
WM-159 -
the Tank Train needs a lot of power over Tehachapi |
WM-160 -
there are 5 units in front |
 |
 |
|
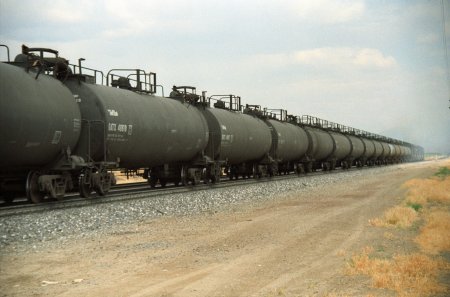
WM-161 |
WM-162 -
and 6 units as midtrain helpers |
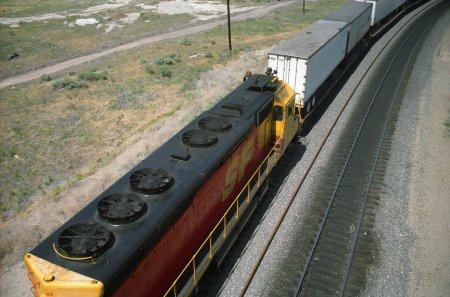
 |
 |
|
WM-163 -
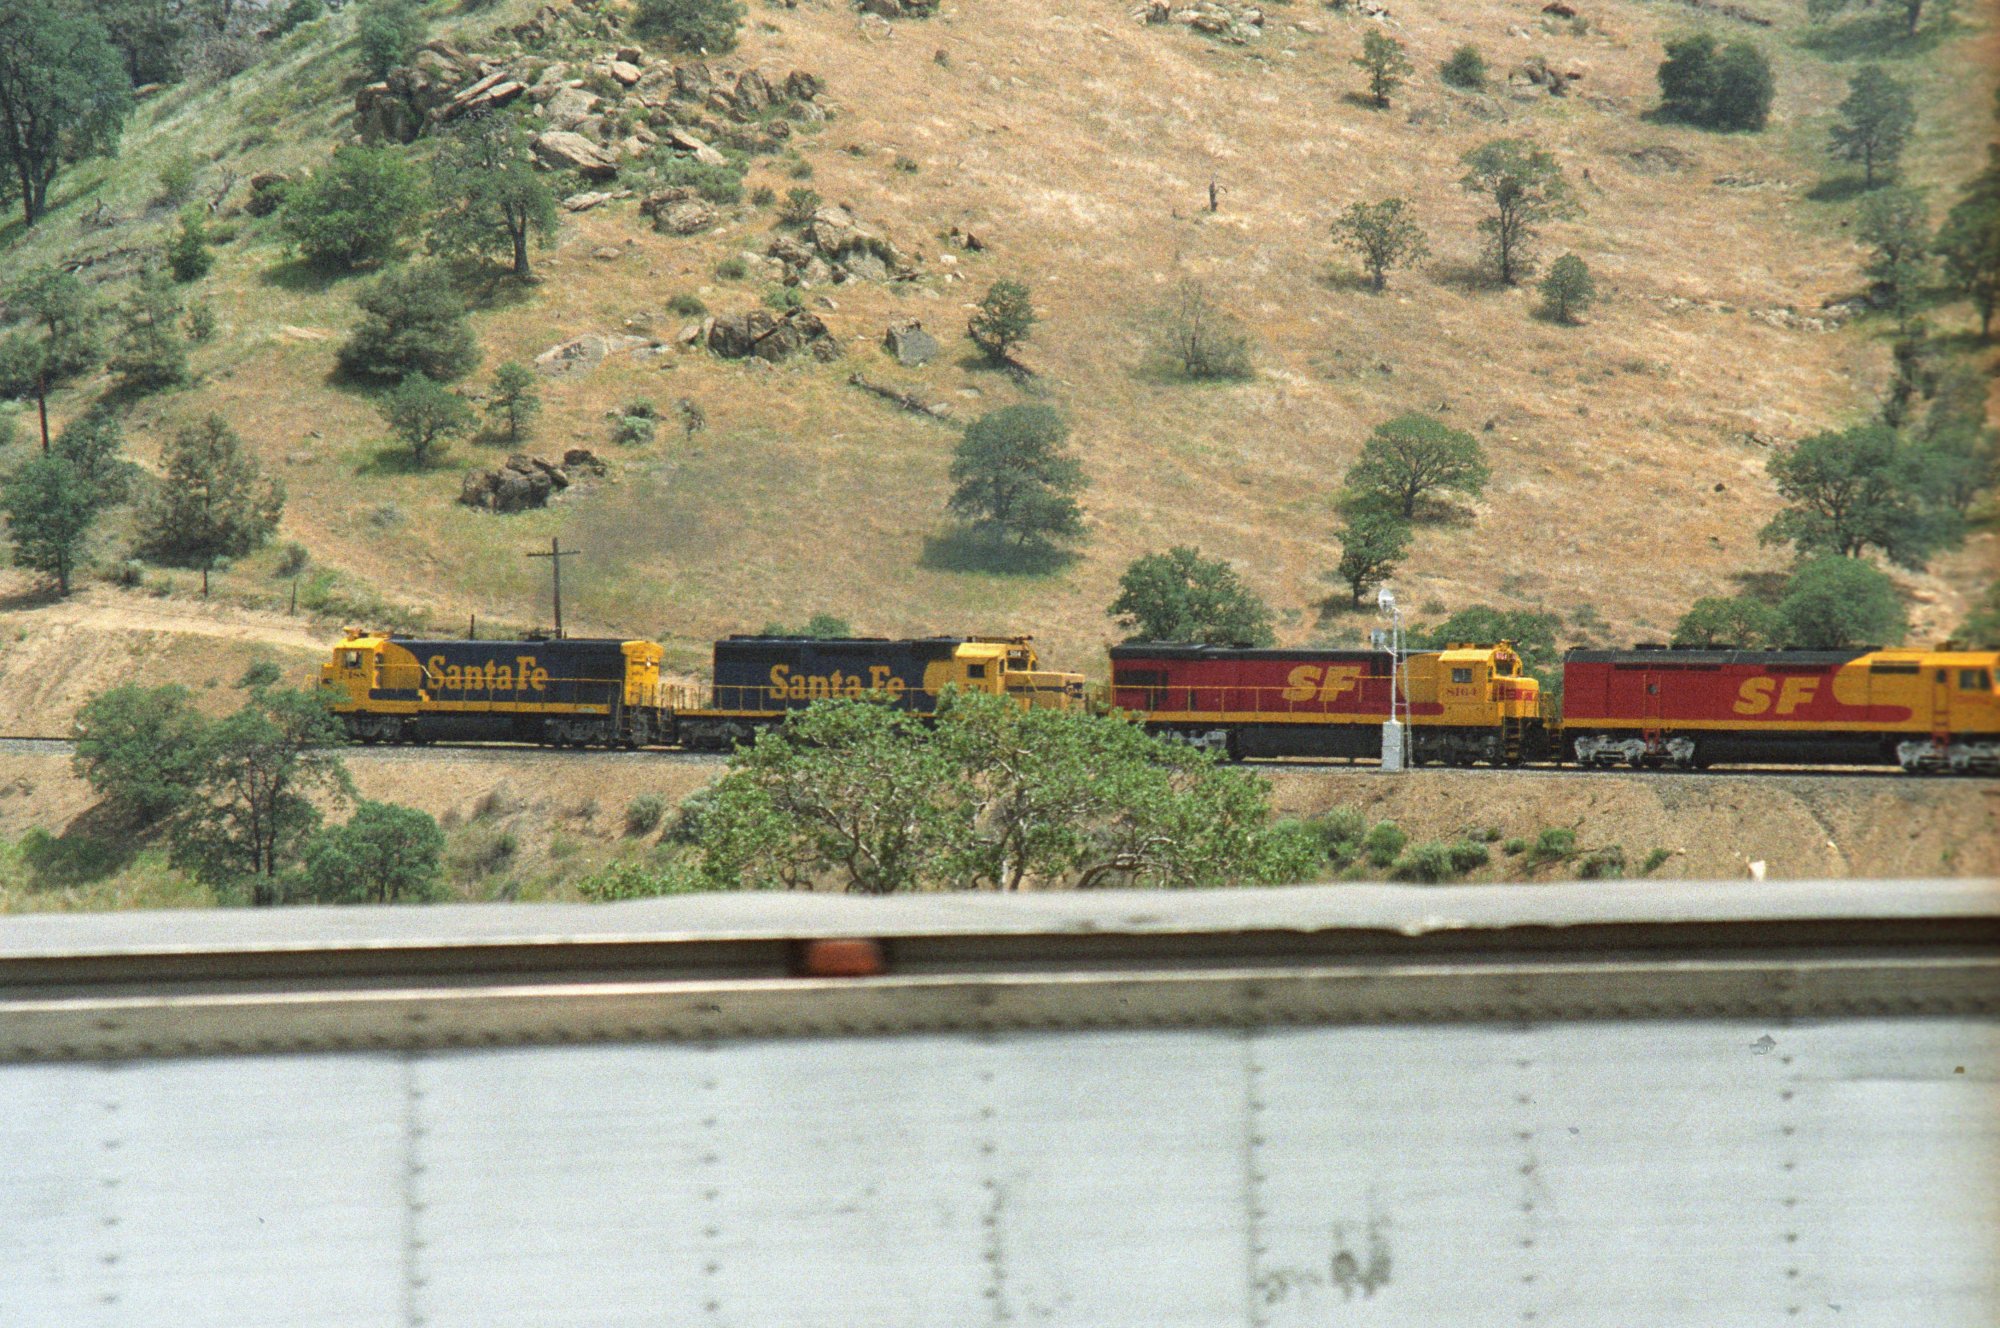
new location near Cable Crossover (SF NB) |
WM-164 -
another SF Kodak SD45-2 |
 |
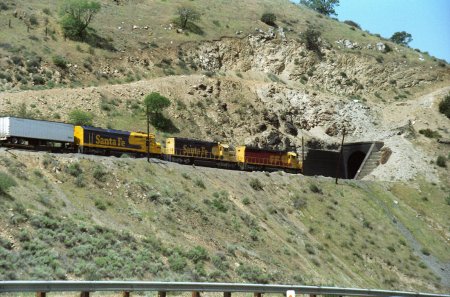
 |
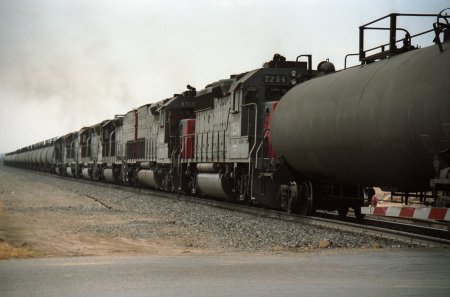
|
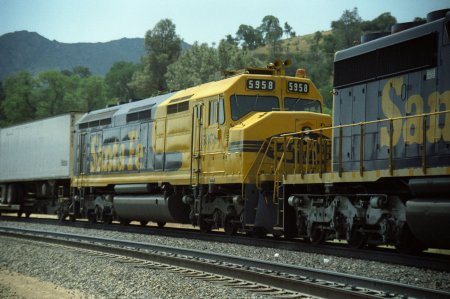
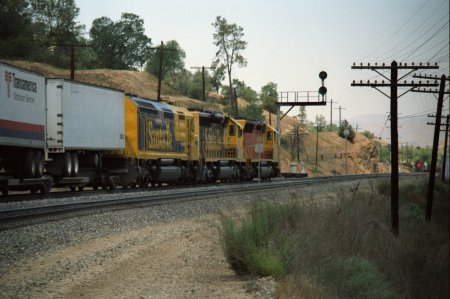
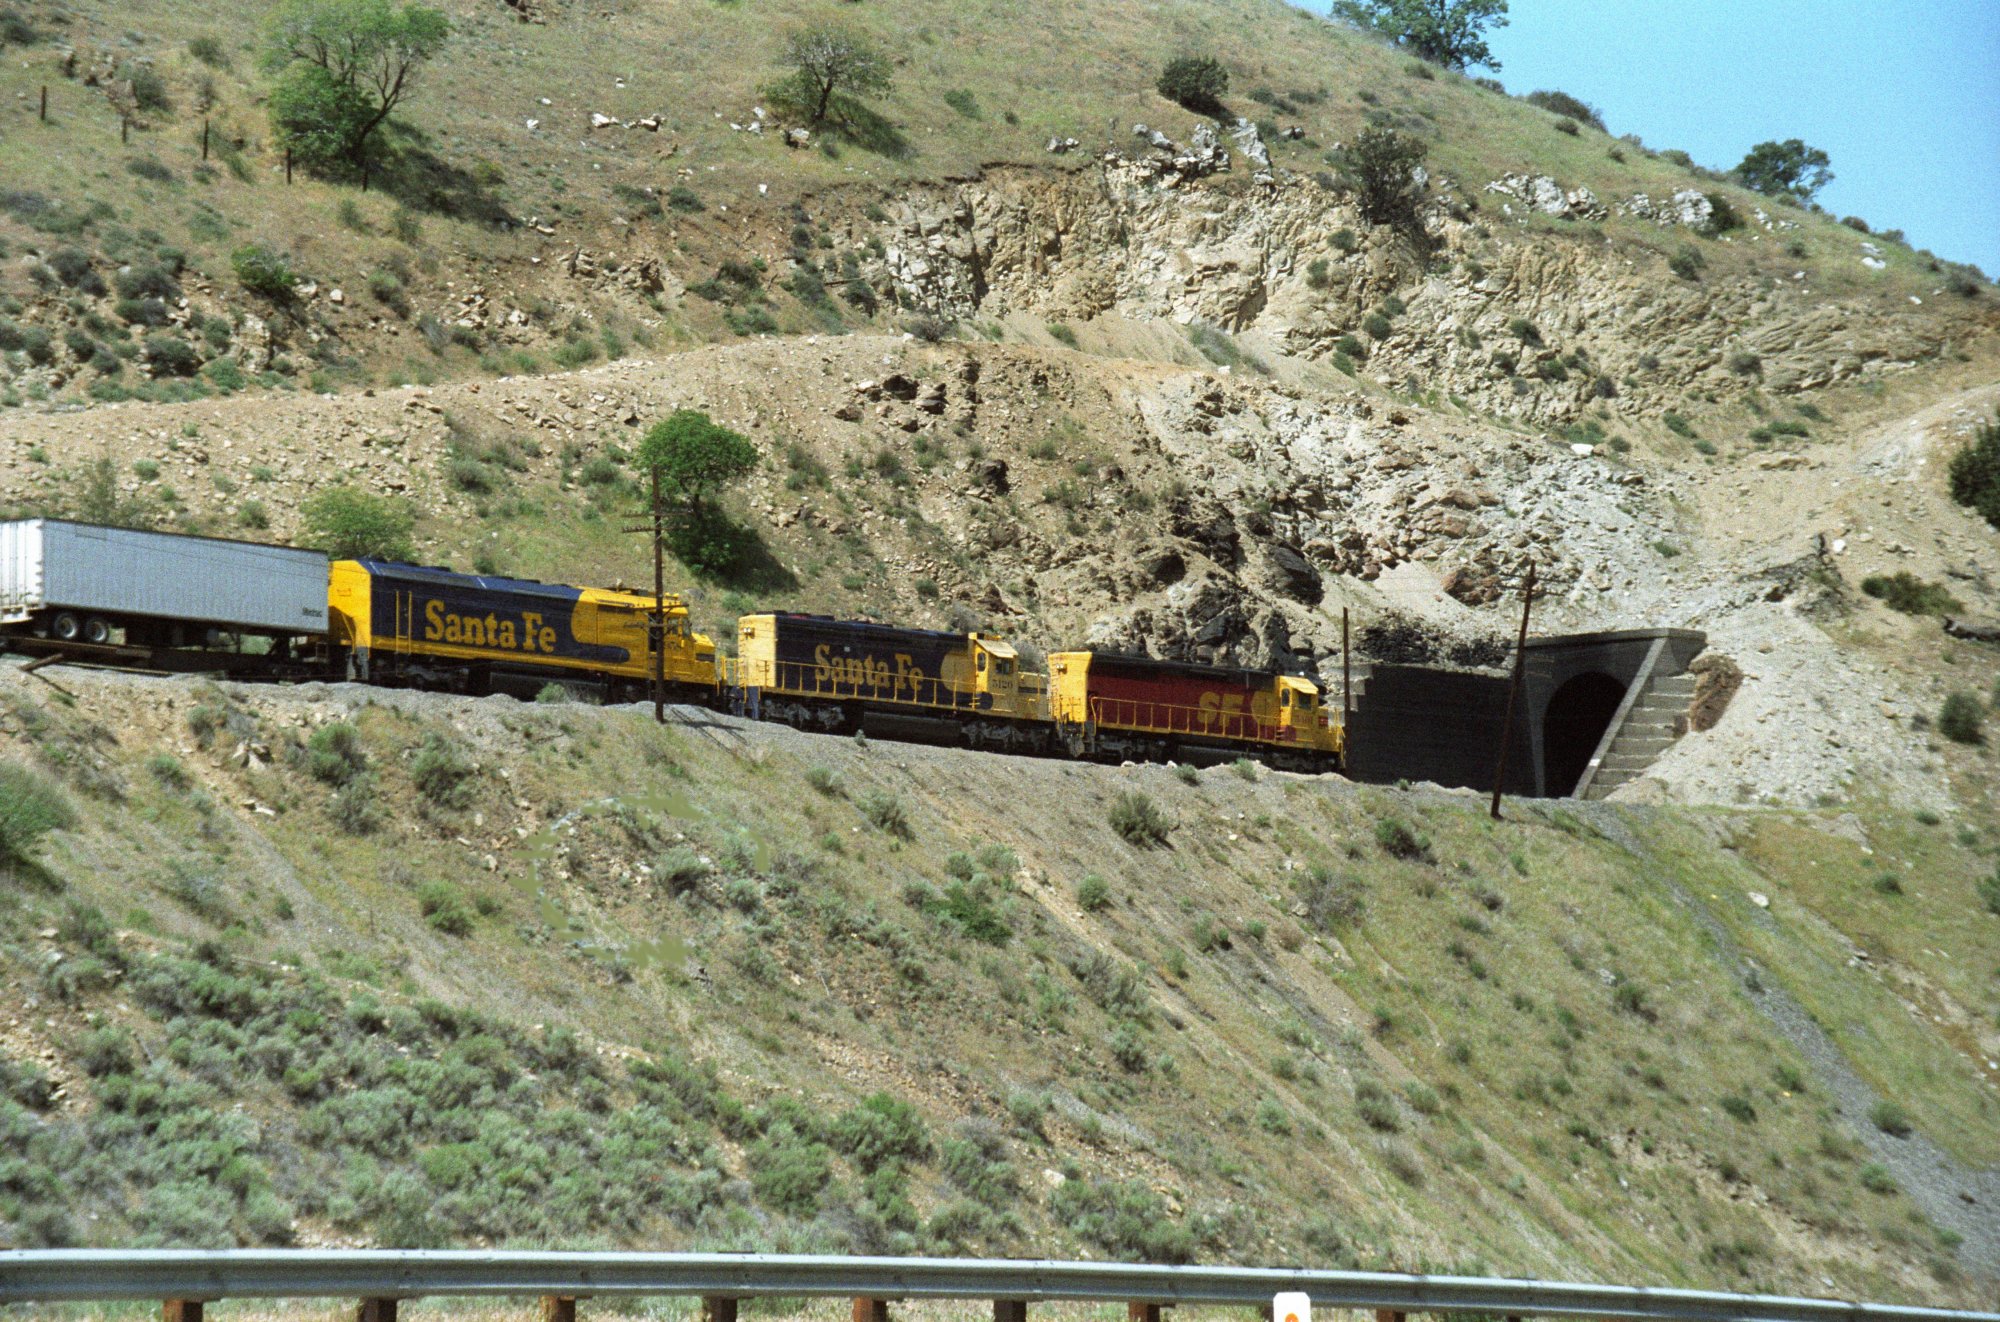
WM-165 -
AT&SF EMD F45 |
WM-166 -
SF NB end of train at Cable |
 |
 |
|
WM-167 -
yes, it is the same SF NB Train |
WM-168 -
it is going downhill at Tunnel 17 |
 |
 |
|
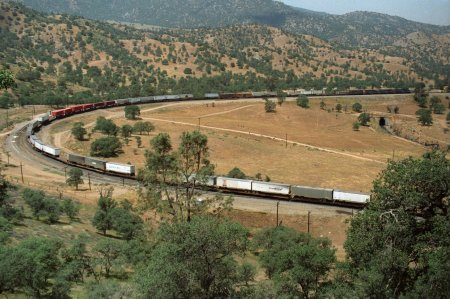
WM-169 -
still the same train at Woodford |
WM-170 |
 |
 |
|
WM-171 |
WM-172 -
last photo of this SF NB at Woodford |
 |
 |
|
WM-173 -
we are on top of the Loop looking down to Marcel |
WM-174 -
SP WB snaking down at Marcel and going thru Tunnel 10 |
 |
 |
|
WM-175 -
the locos are entering the Loop after passing Tunnel 10 |
WM-176 |
 |
 |
|
WM-177 -
same train |
WM-178 -
the locos are passing the Loop Ranch |
 |
 |
|
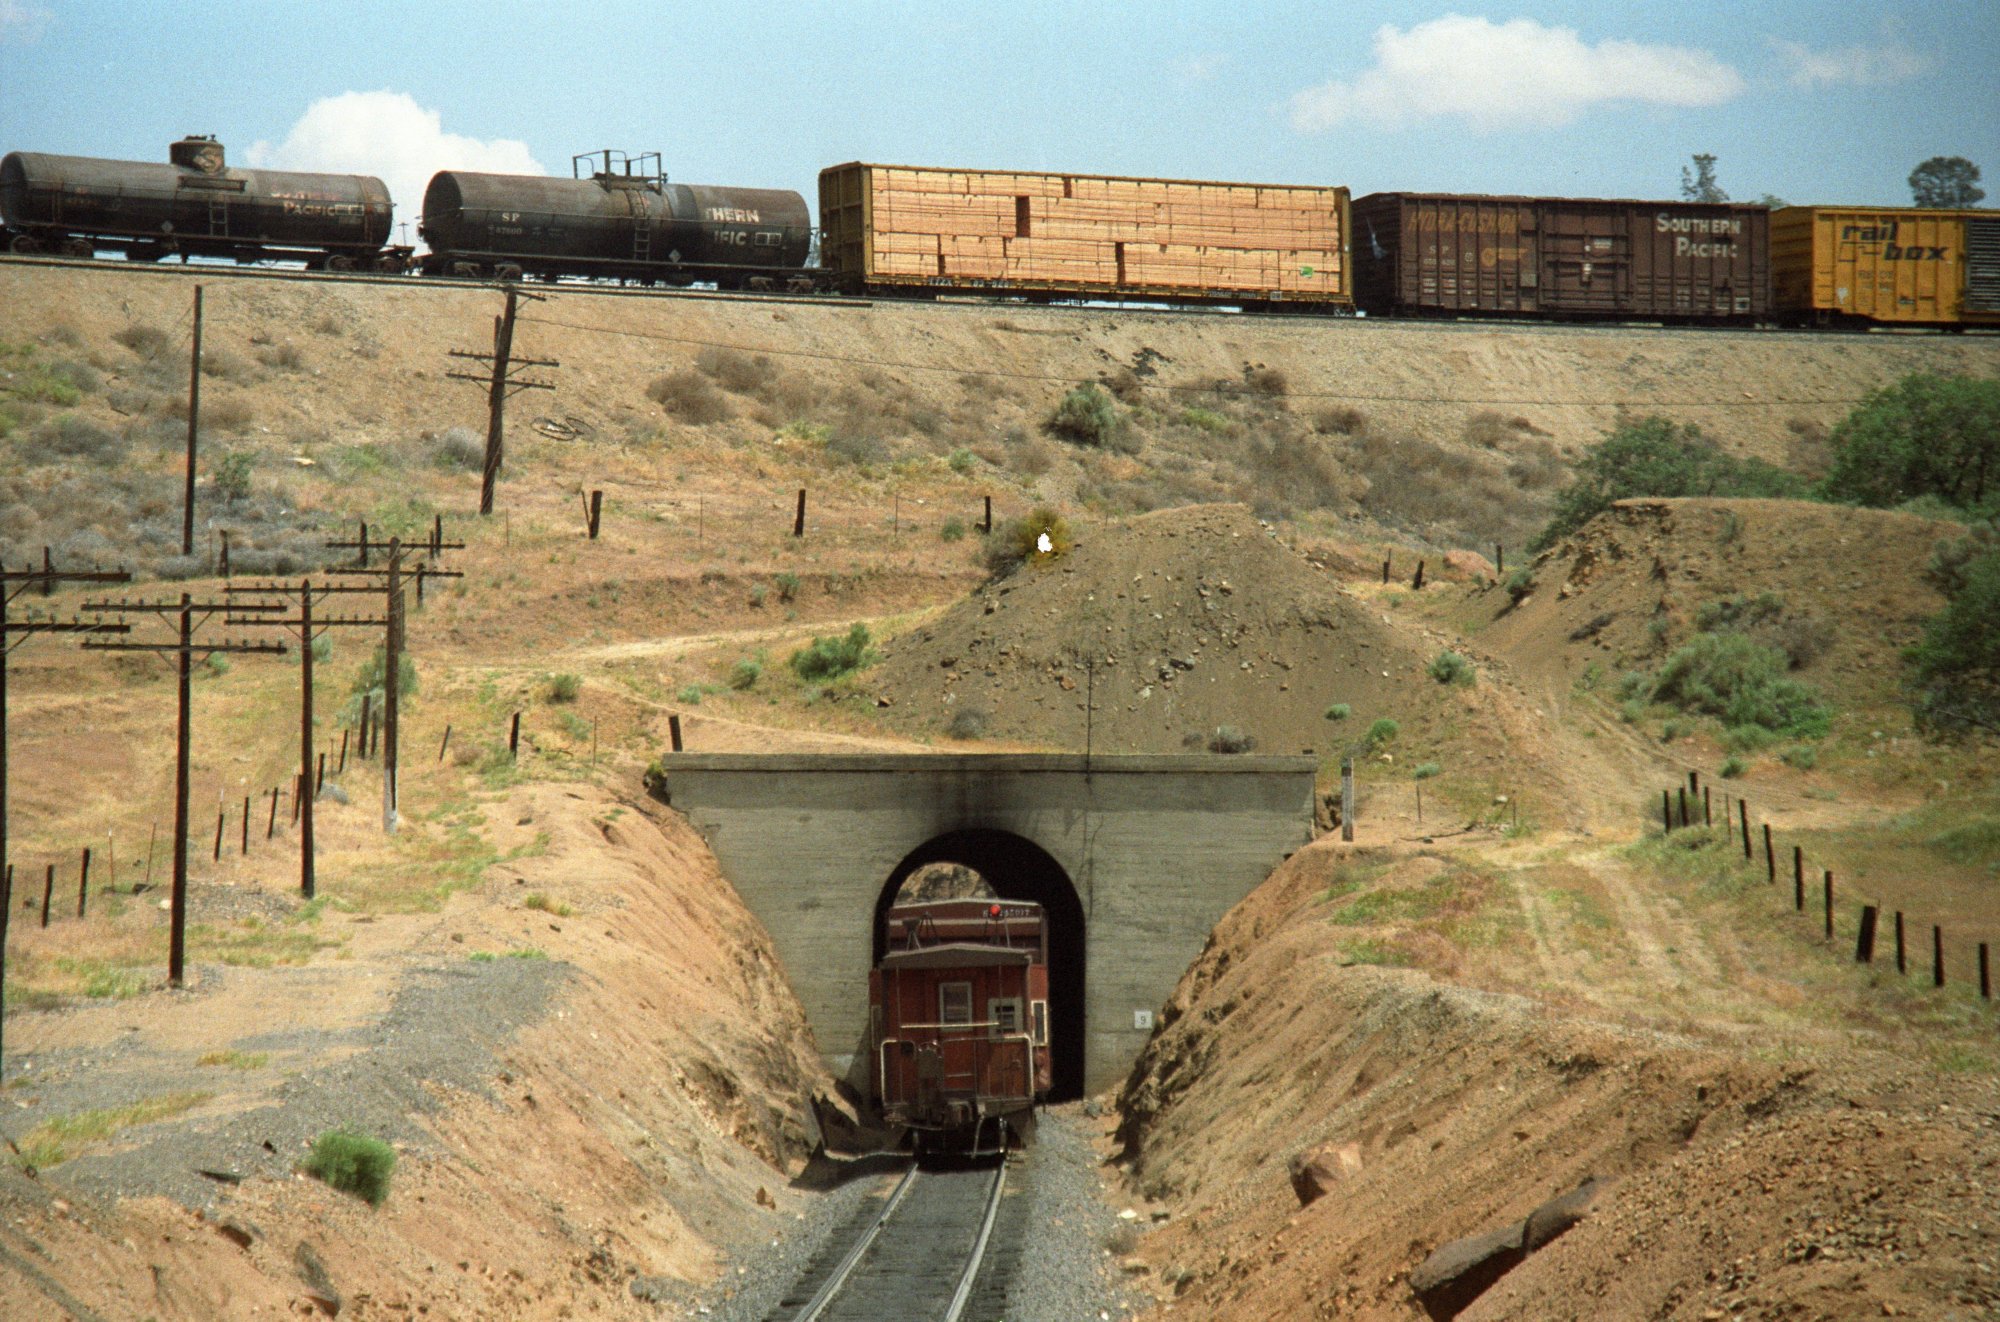
WM-179 -
and entering the Loop Tunnel (9) (last photo) |
WM-180 -
SP EB below the Loop |
 |
 |
|
WM-181 -
the lead units just passed the Loop Tunnel (9) |
WM-182 -
going around the Loop Hill |
 |
 |
|
WM-183 -
soon, the leading units will pass over his own train |
WM-184 -
smoke of the mid train helpers while front is above |
 |
 |
|
WM-185 -
colorful lashup |
WM-186 -
now the train will go thru the Tunnel 10 |
 |
 |
|
WM-187 -
after Tunnel 10, our Train is passing Marcel |
WM-188 -
there are 7 mid train helpers |
|
|
 |
|
WM-189 |
WM-190 -
red lettering of last mid-train helper |
 |
 |
|
WM-191 -
endless SP EB snaking up Marcel |
WM-192 -
open coil cars |
 |
 |
|
WM-193 -
last "smoky" photo of our SP EB train |
WM-194 -
next is a SF EB passing the Loop Ranch |
 |
 |
|
WM-195 -
nice loco combination on the Loop |
WM-196 -
coming around the Loop Hill |
 |
 |
|
WM-197 |
WM-198 -
the locos are rolling of the Loop Tunnel 9 |
 |
 |
|
WM-199 -
Kodak EMD F45 is engine no. 4 |
WM-200 -
rolling around the Loop |
 |
|
WM-201 -
soon, the 4 diesels (and the whole train) will enter Tunnel 10 going uphill
toward Tehachapi |


