|
Part 2: Tehachapi (from Mojave to Bakersfield
and back) |
 |
 |
|
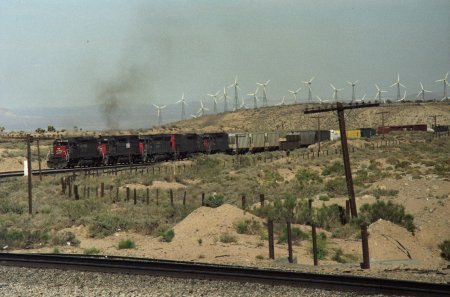
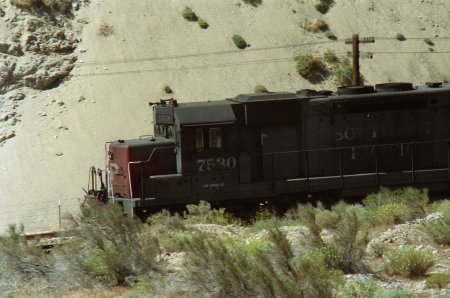
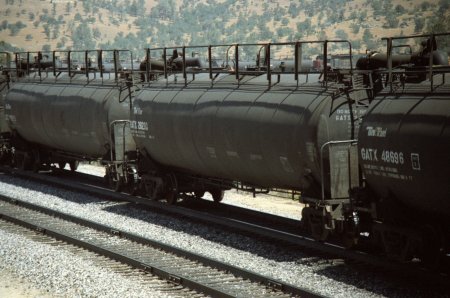
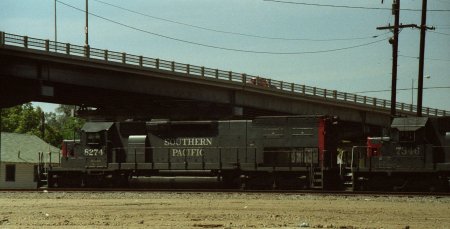
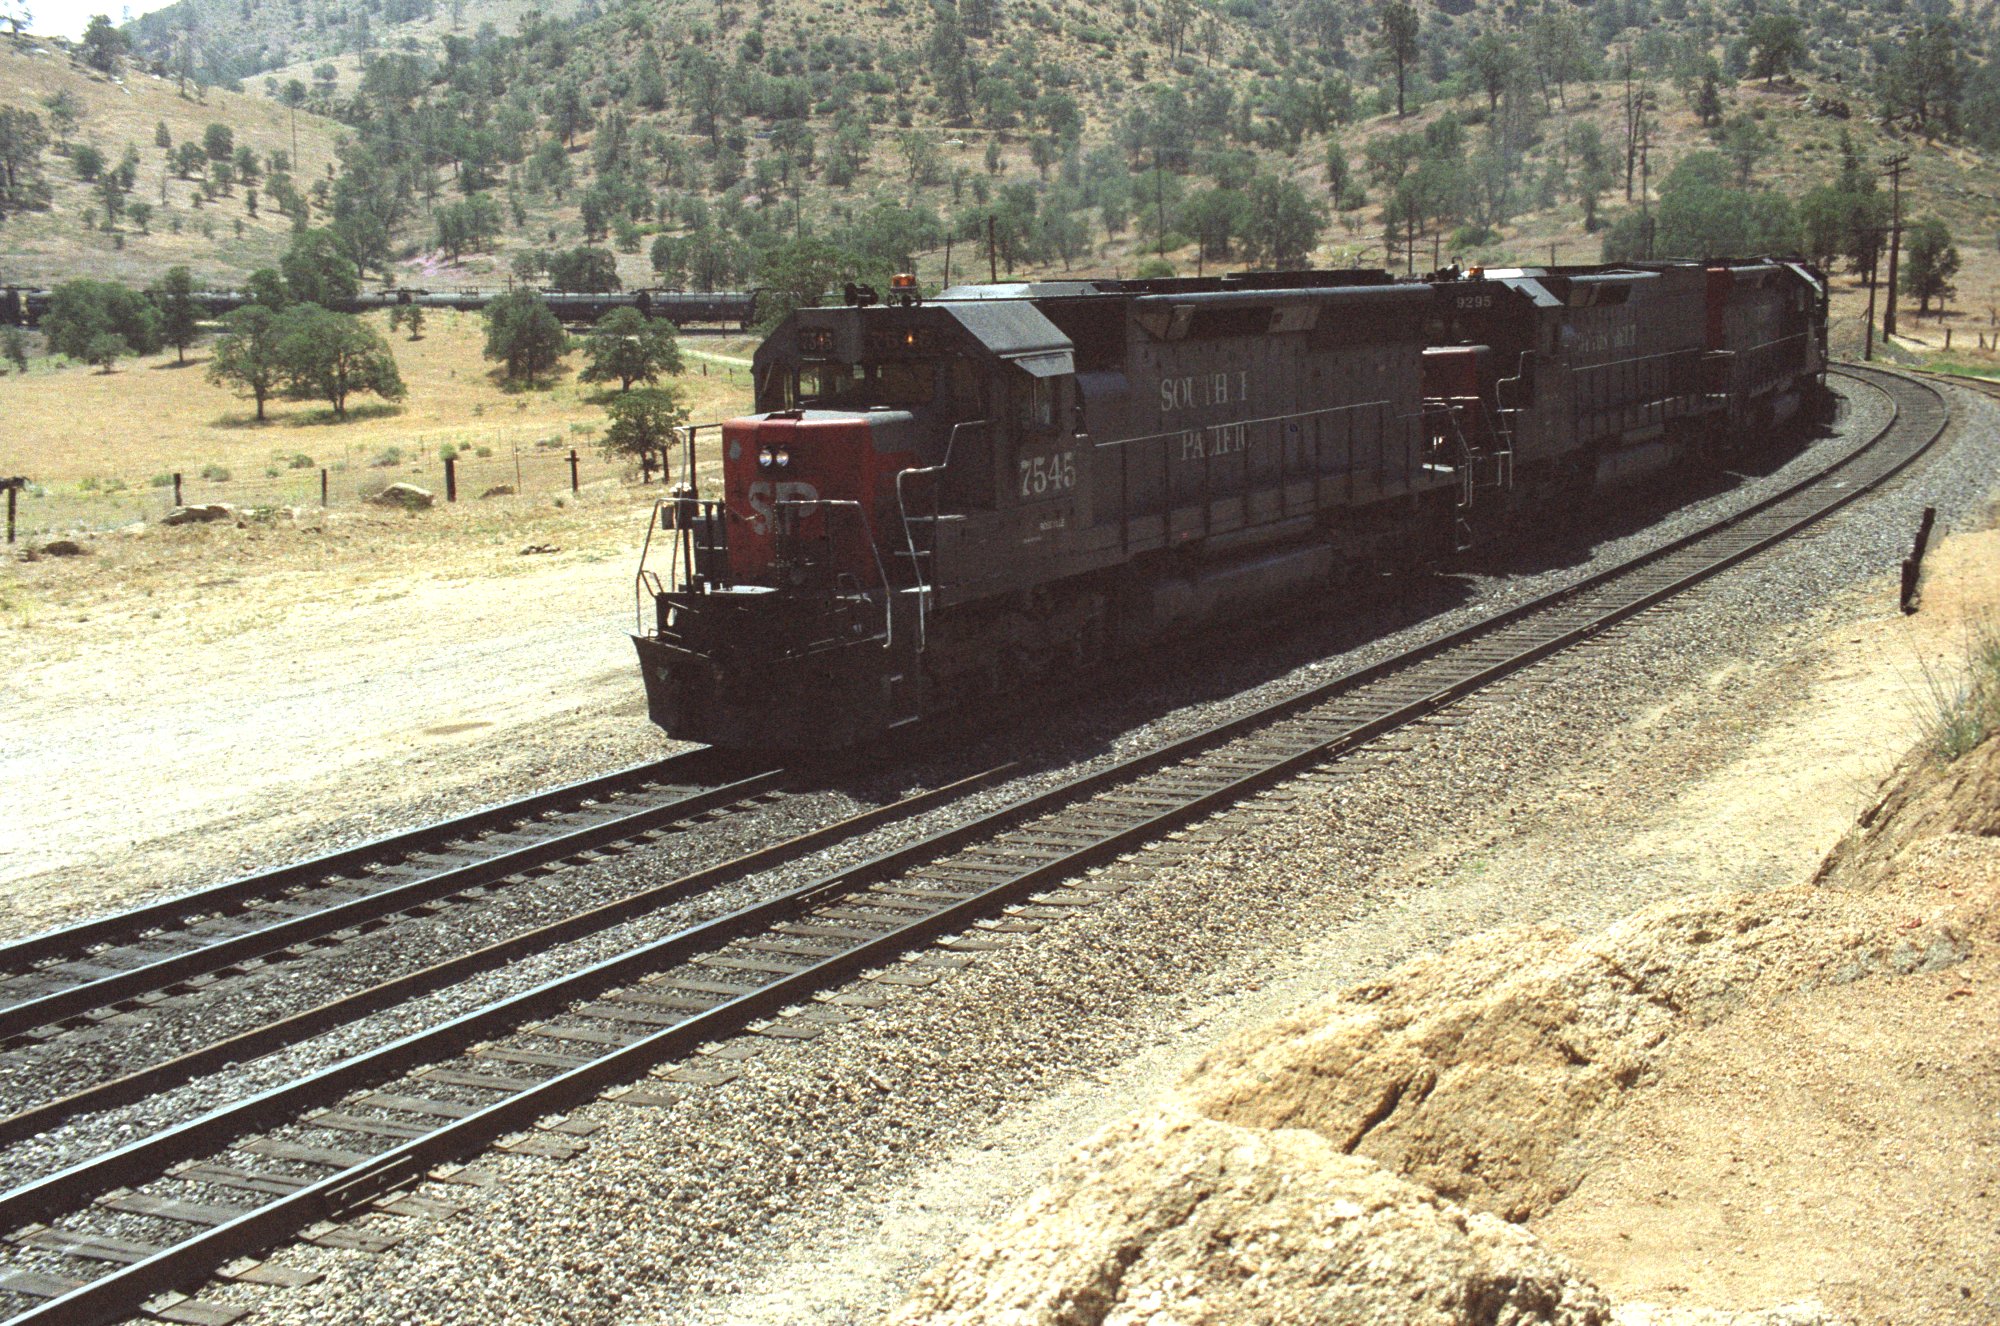
WM-084 -
just outside Mojave, SP NB manifest |
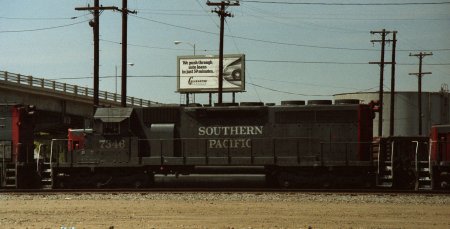
WM-085 -
this location is Warren |
 |
 |
|
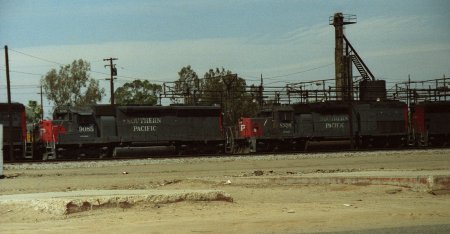
WM-086 |
WM-087 |
 |
 |
|
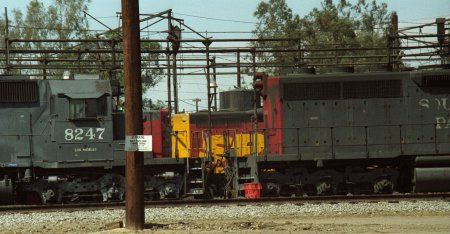
WM-088 |
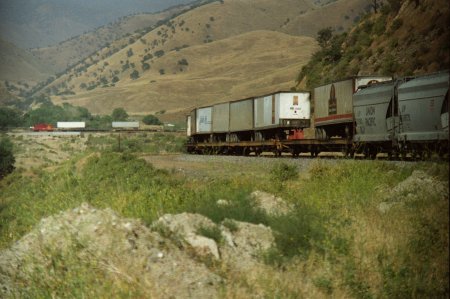
WM-089 -
last photo of this SP NB w/D&RGW Caboose |
 |
 |
|
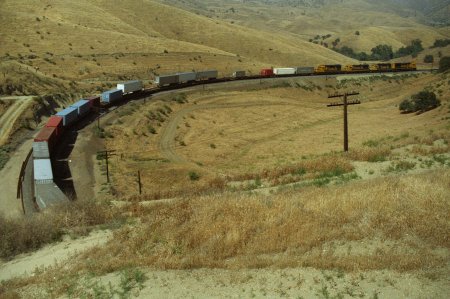
WM-090 -
SF SB (EB) |
WM-091 -
SF SB (EB) mid train DPU's |
 |
 |
|
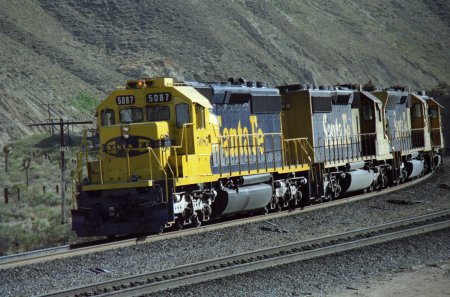
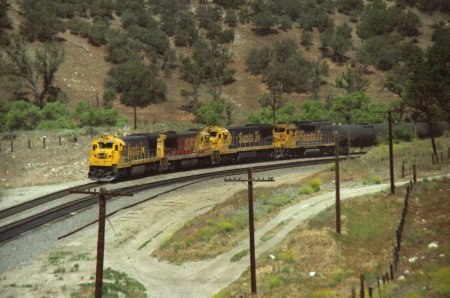
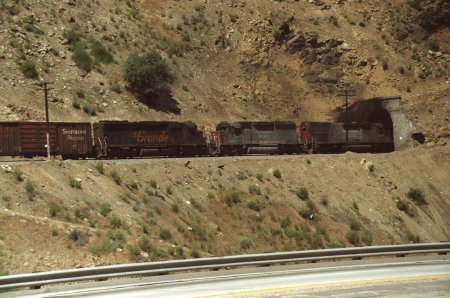
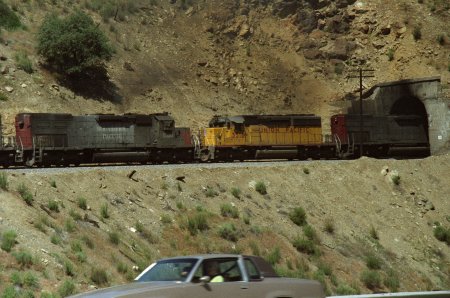
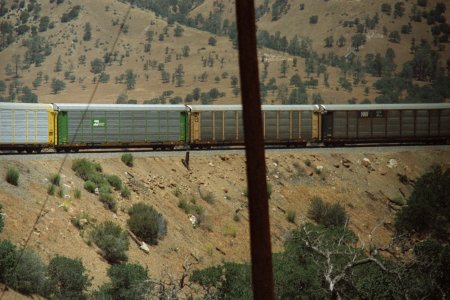
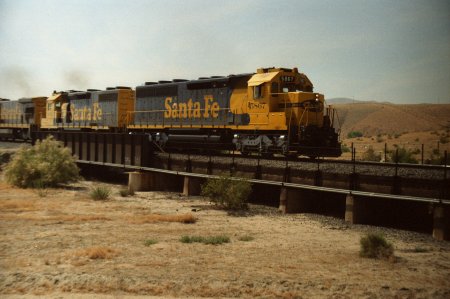
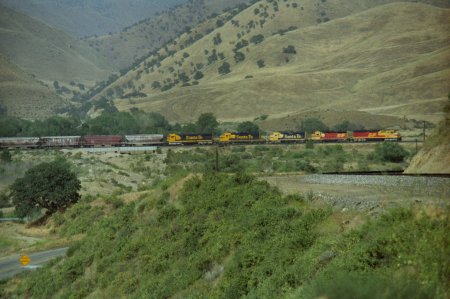
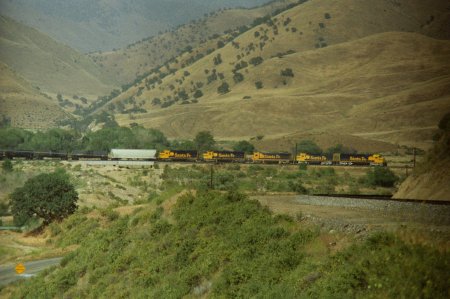
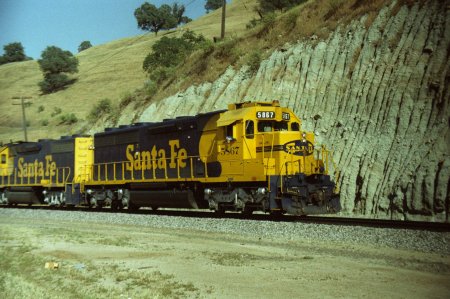
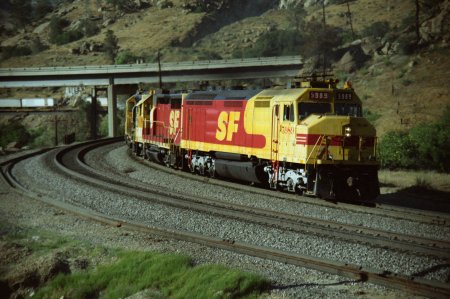
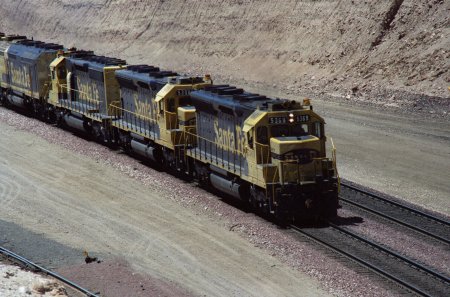
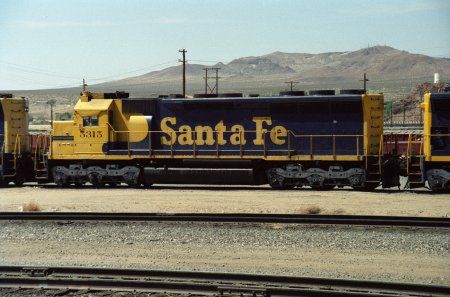
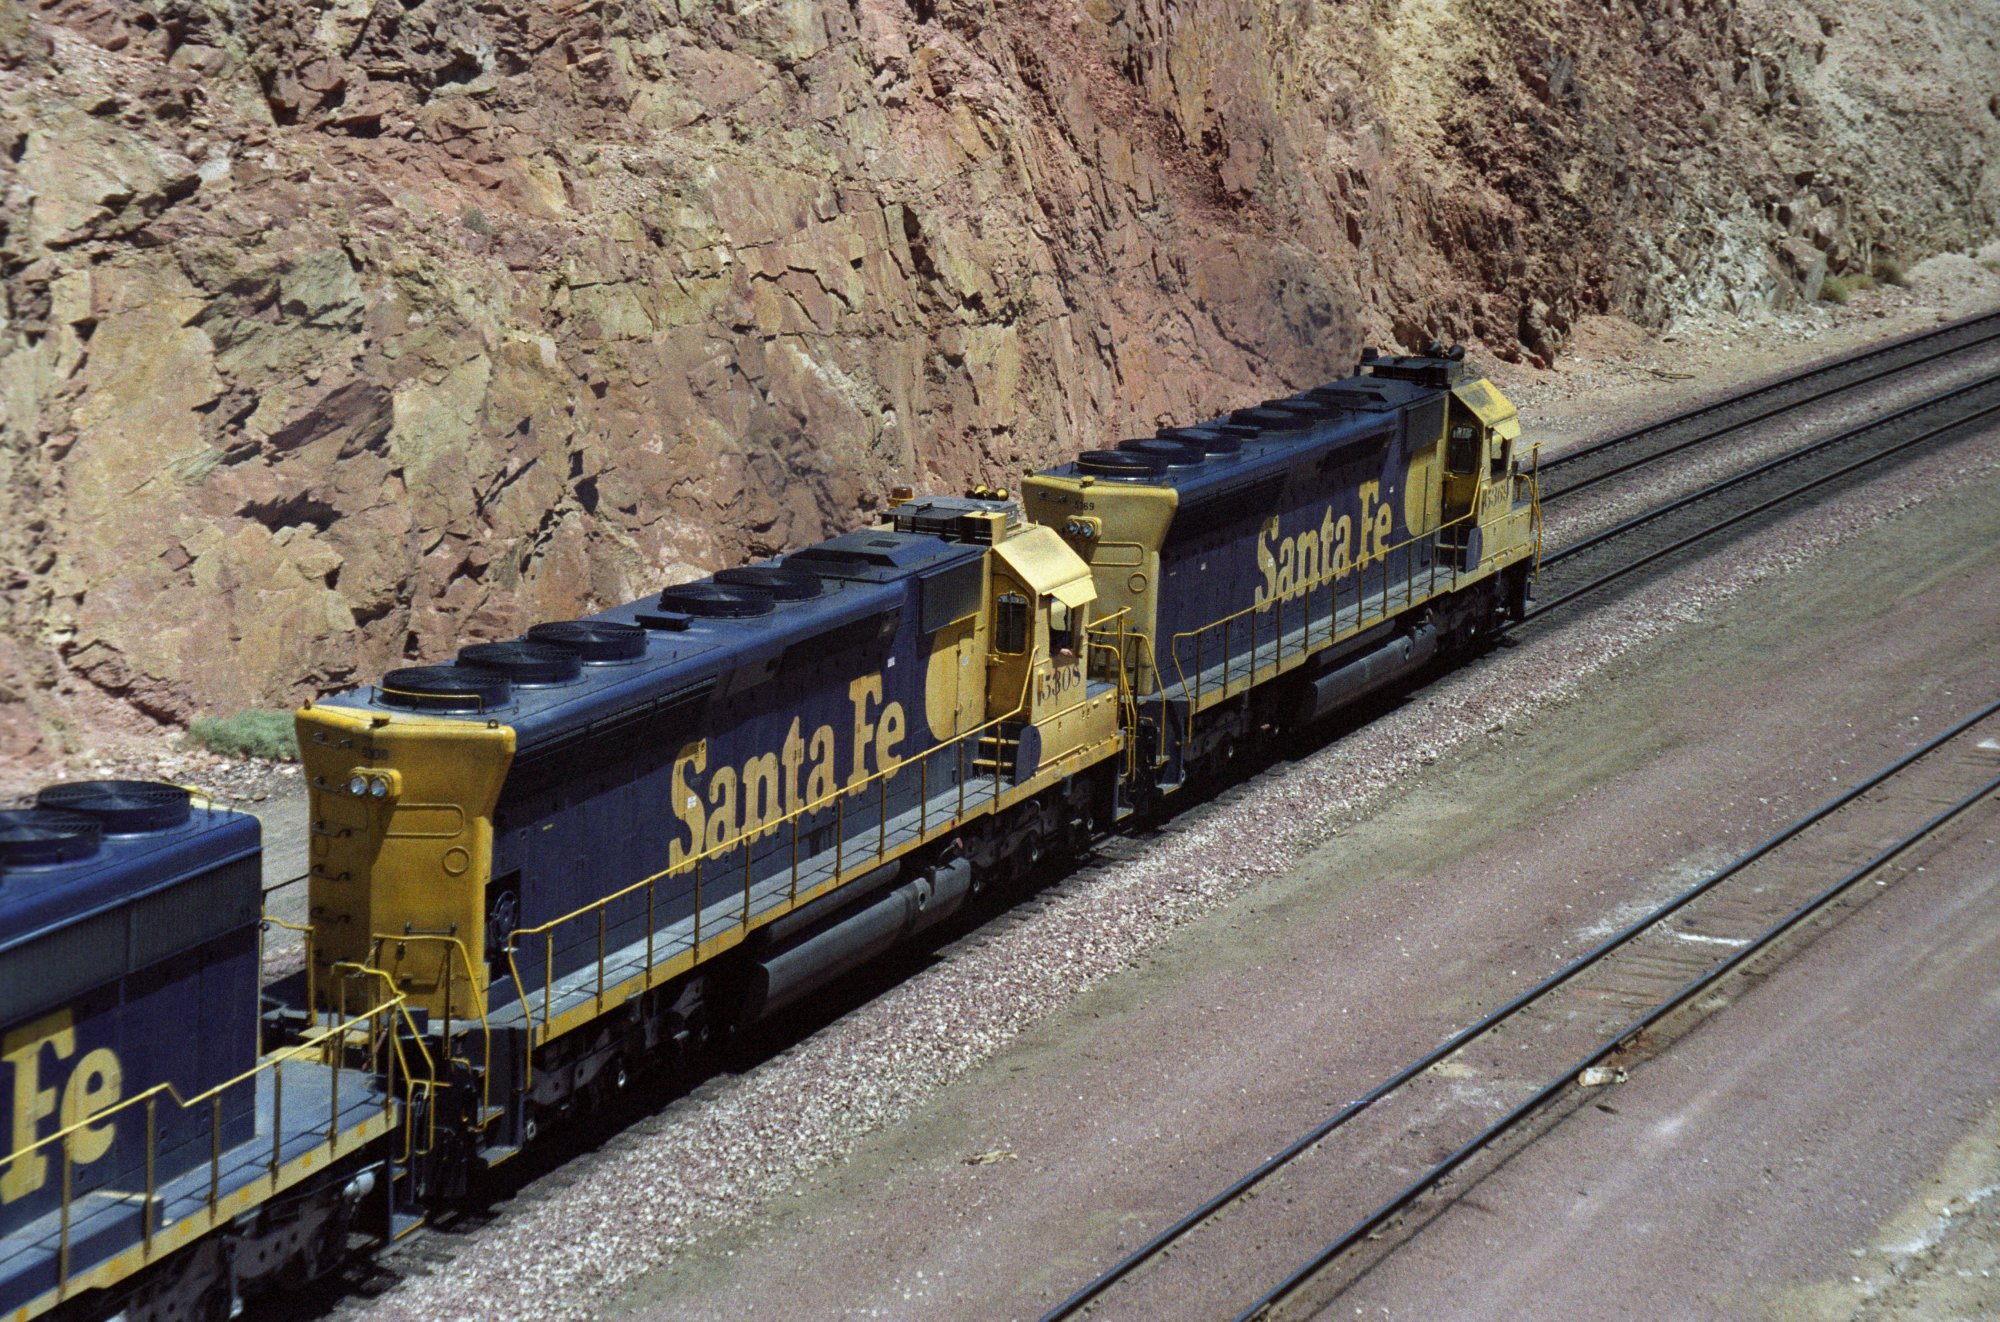
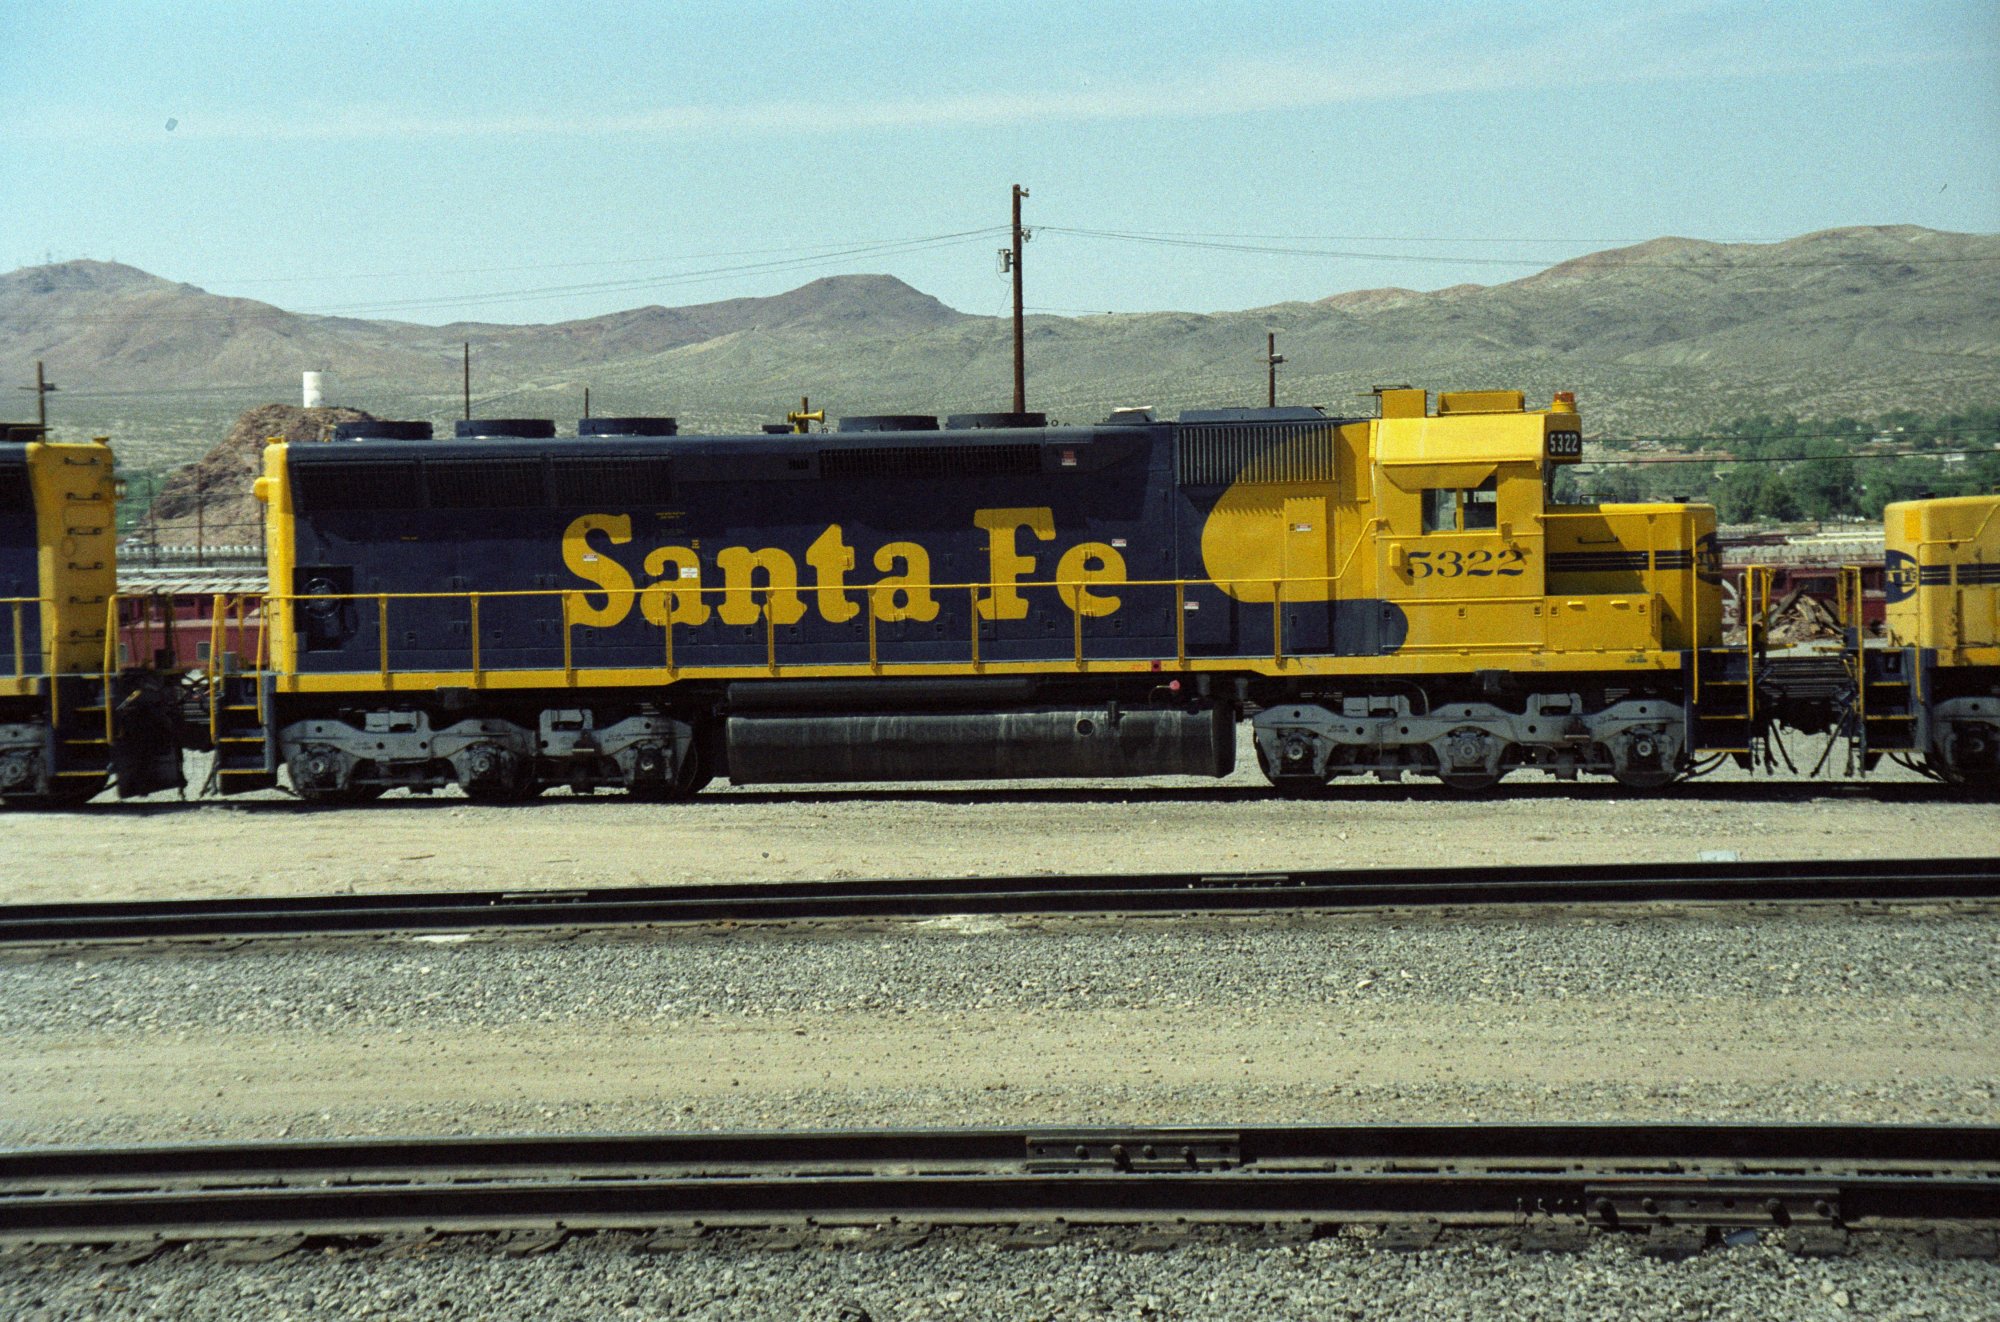
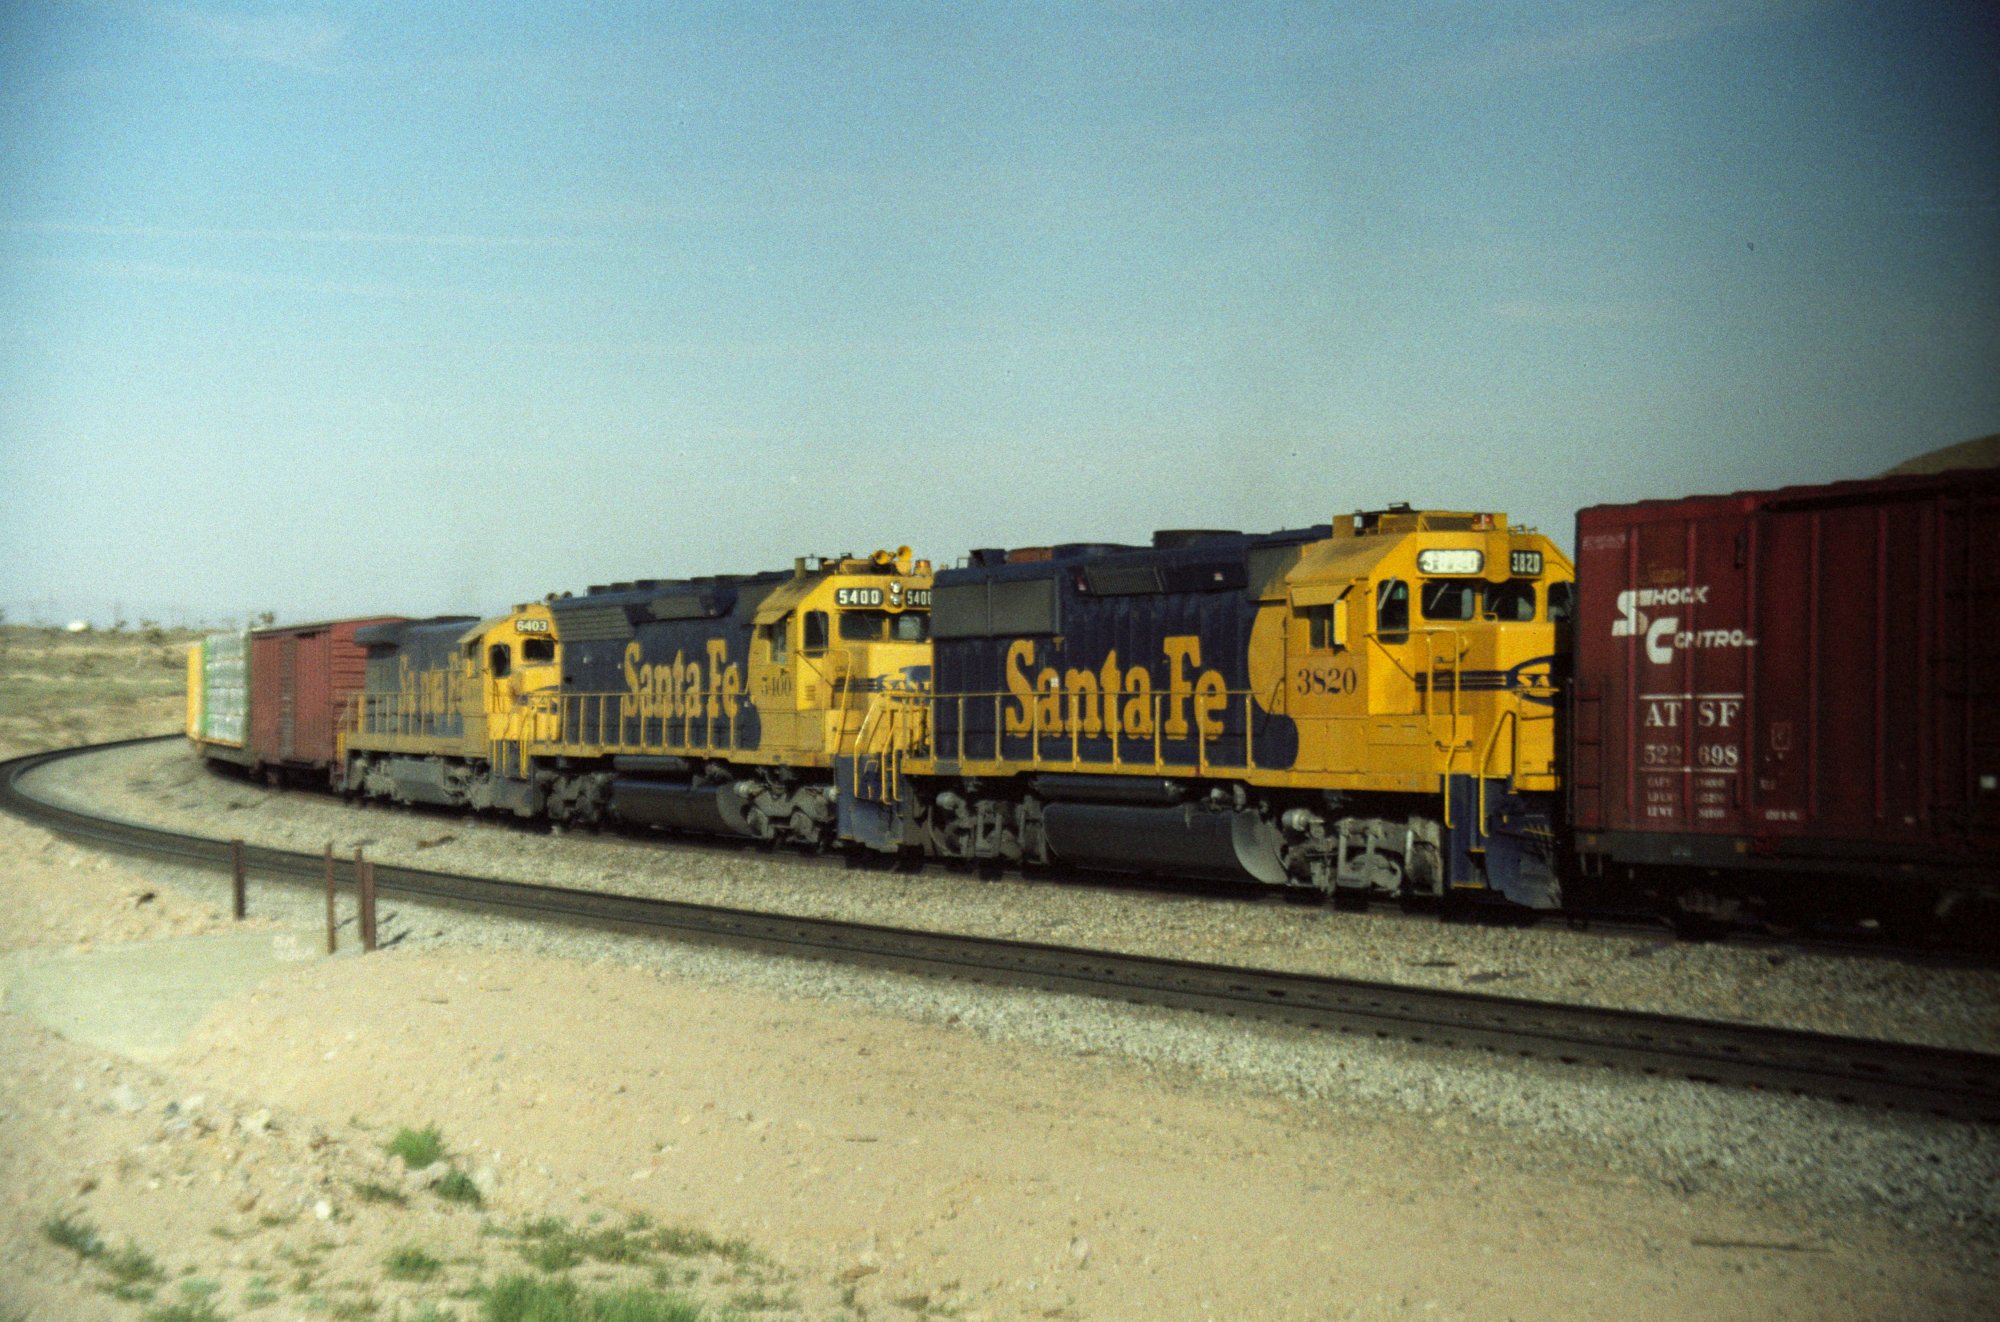
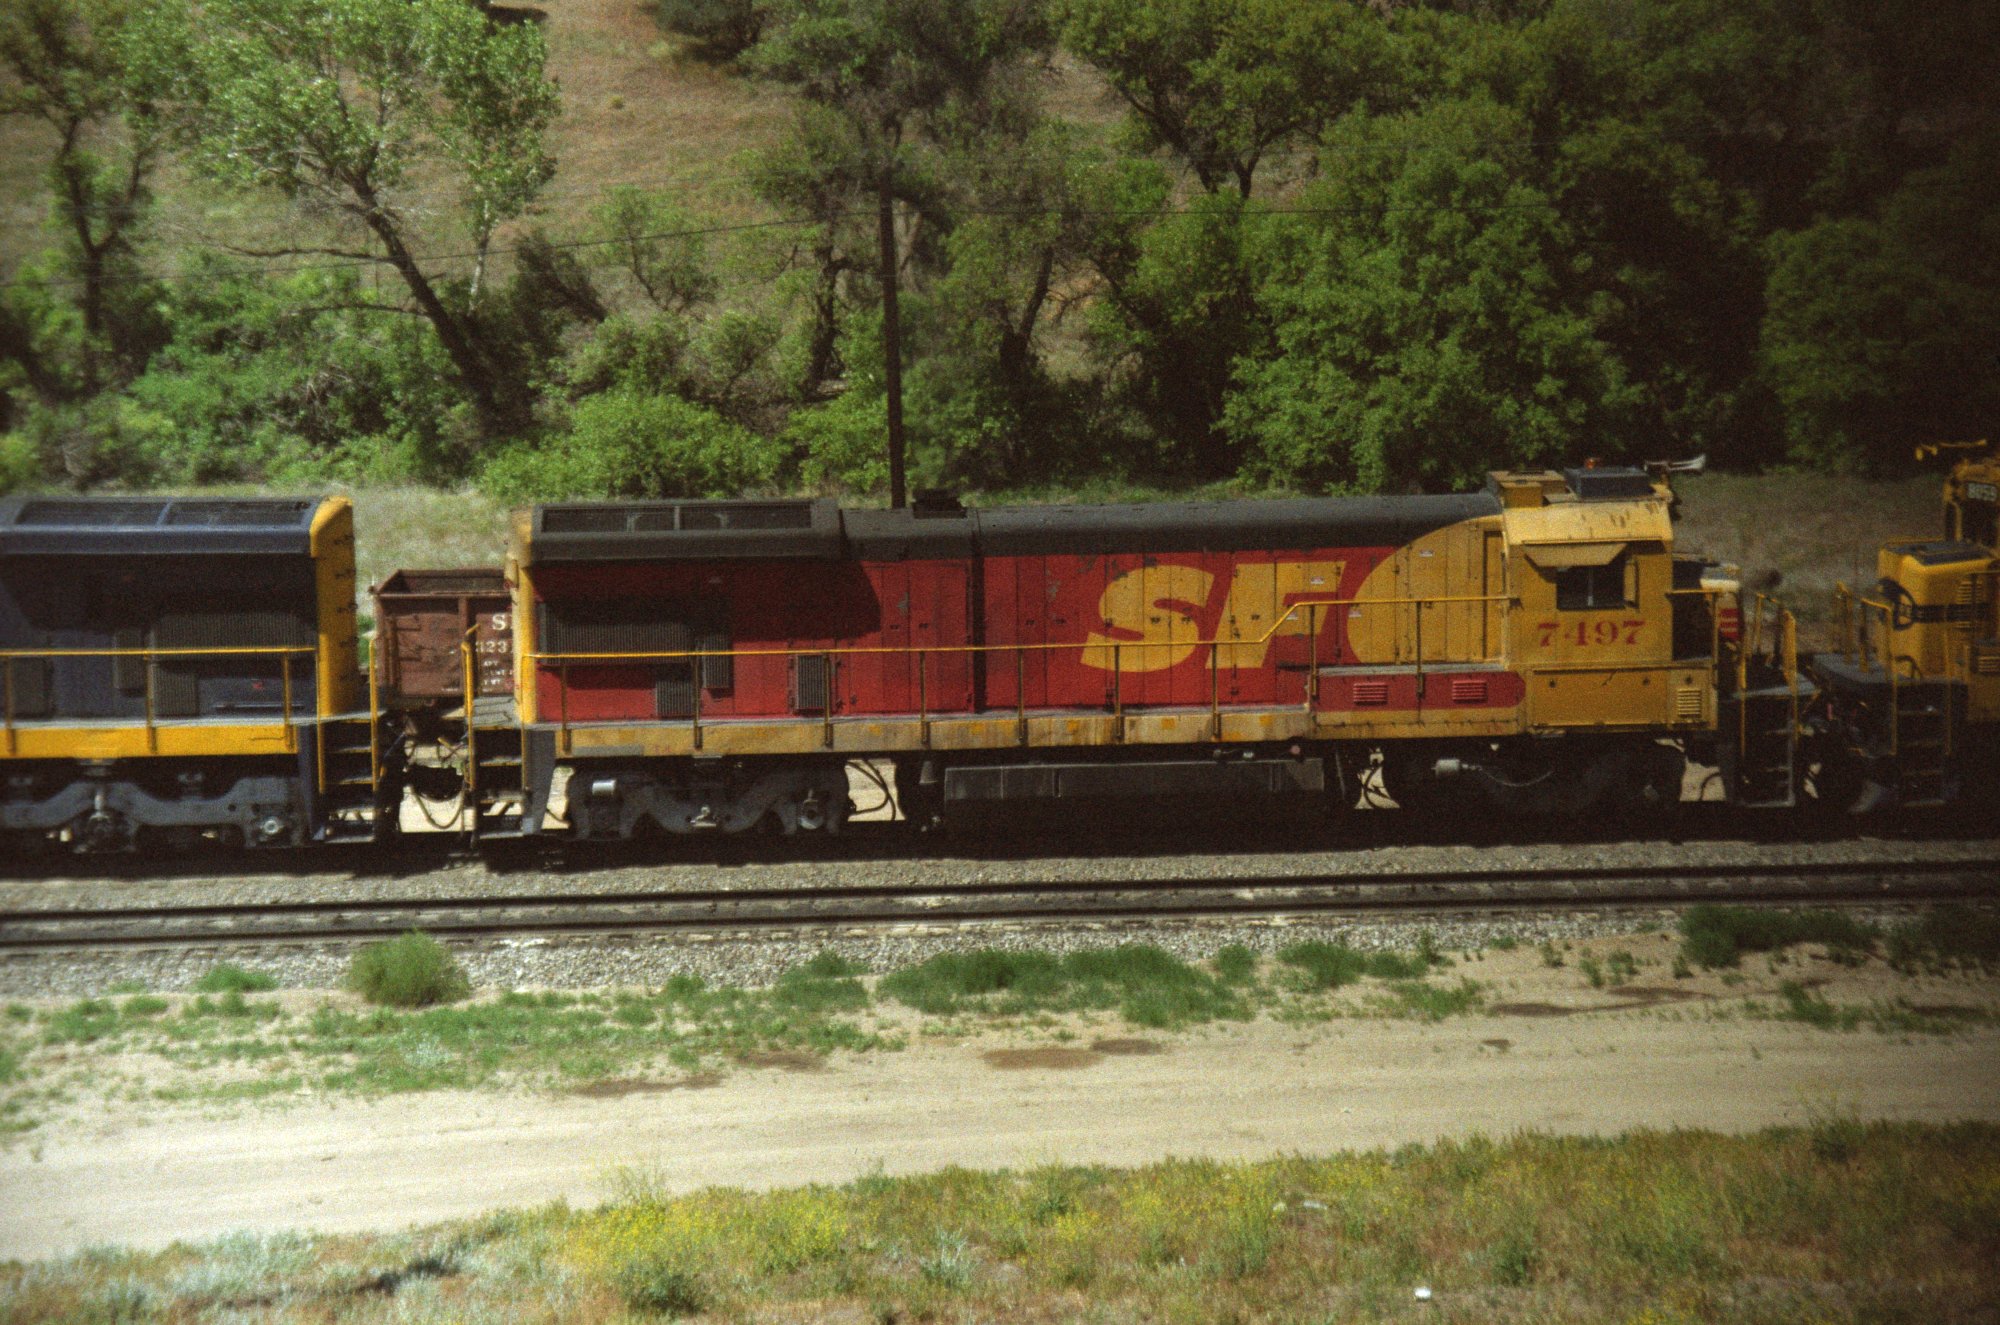
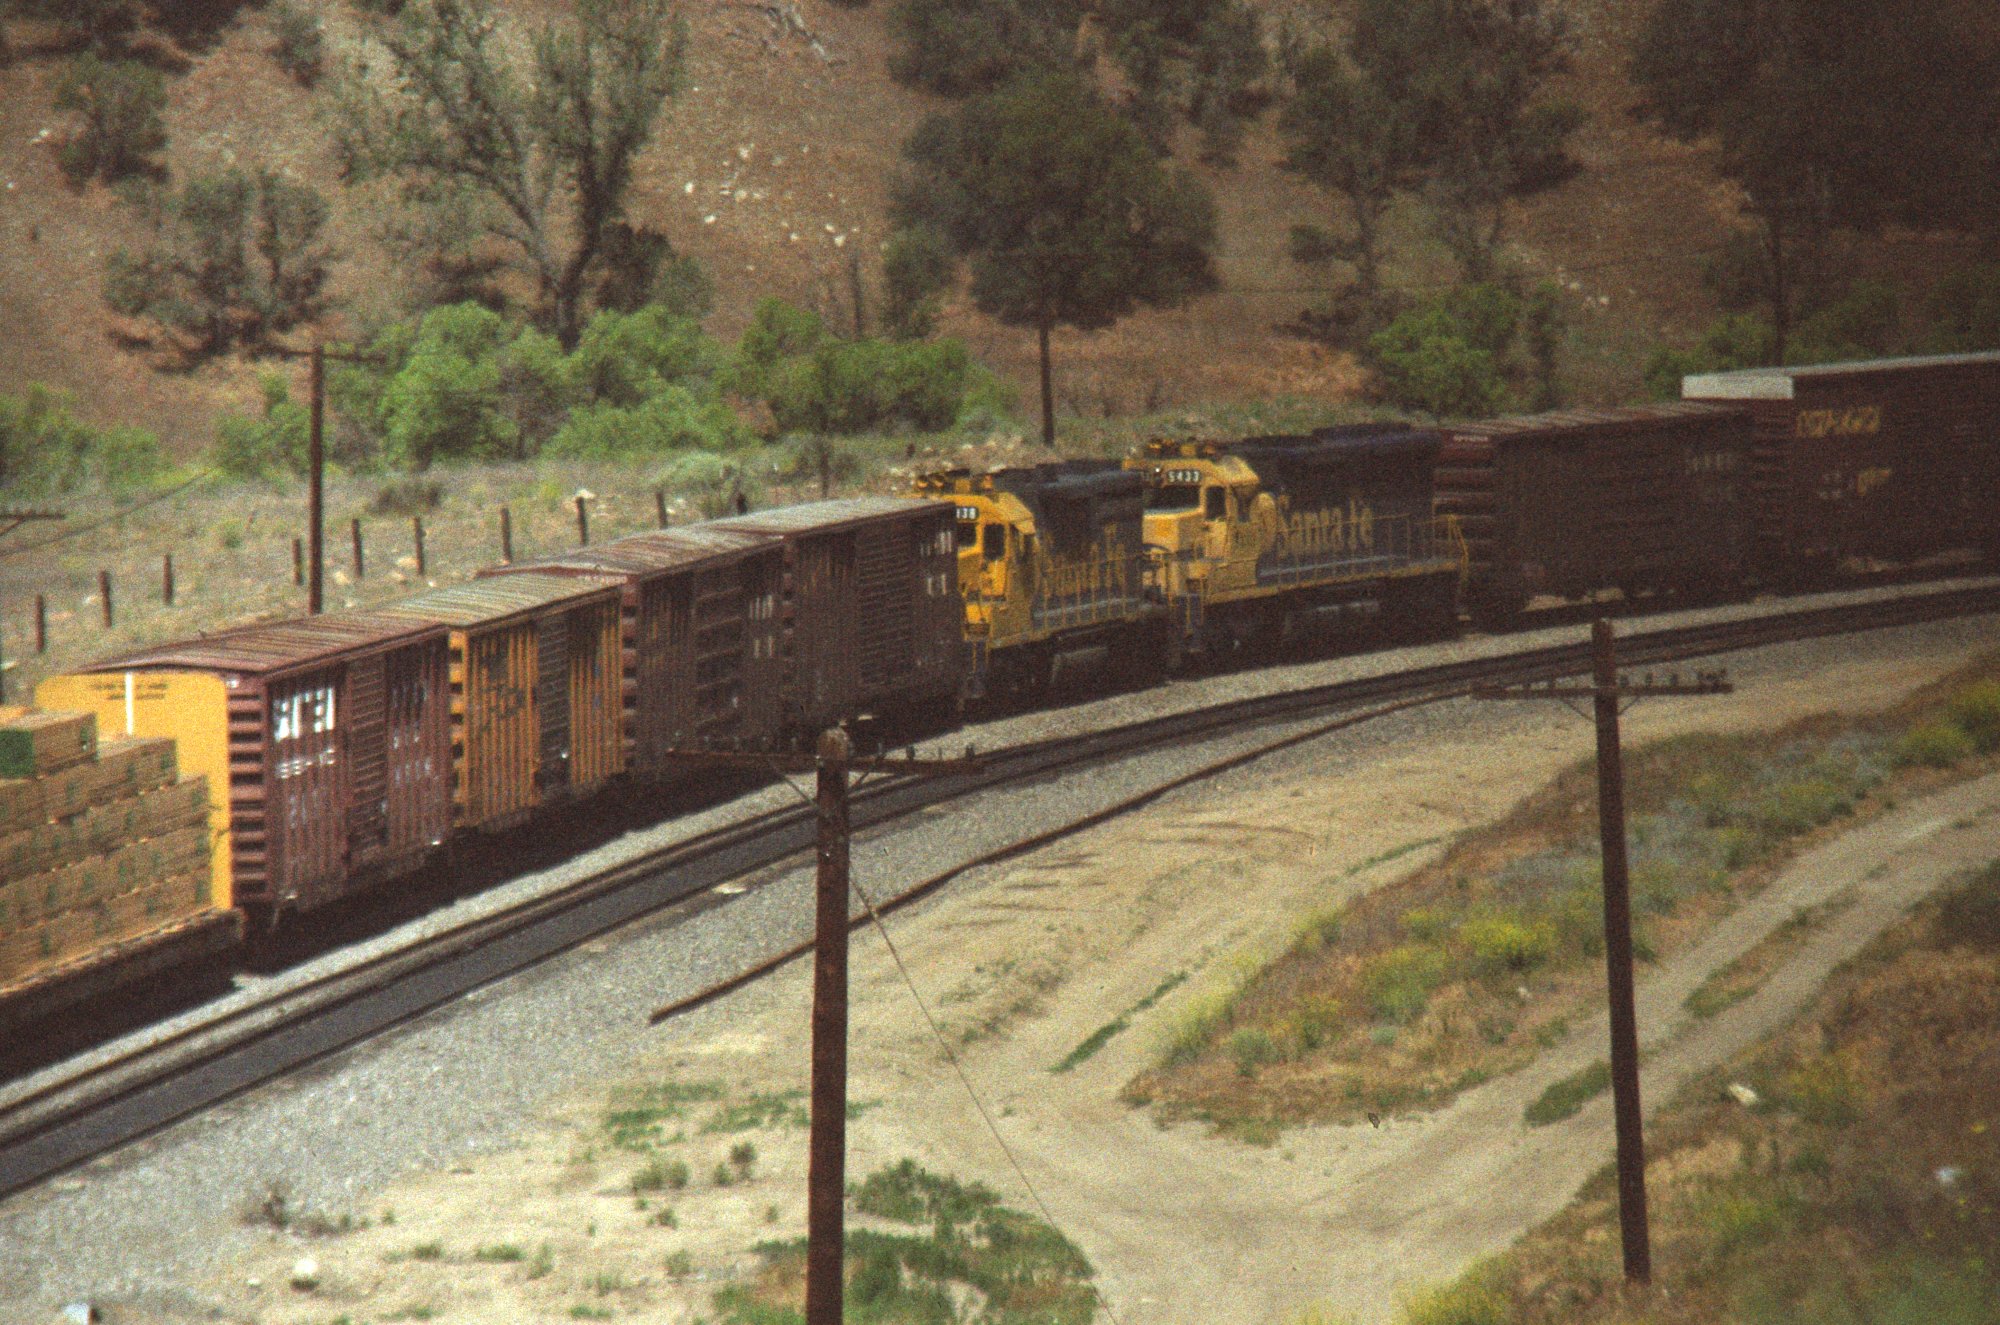
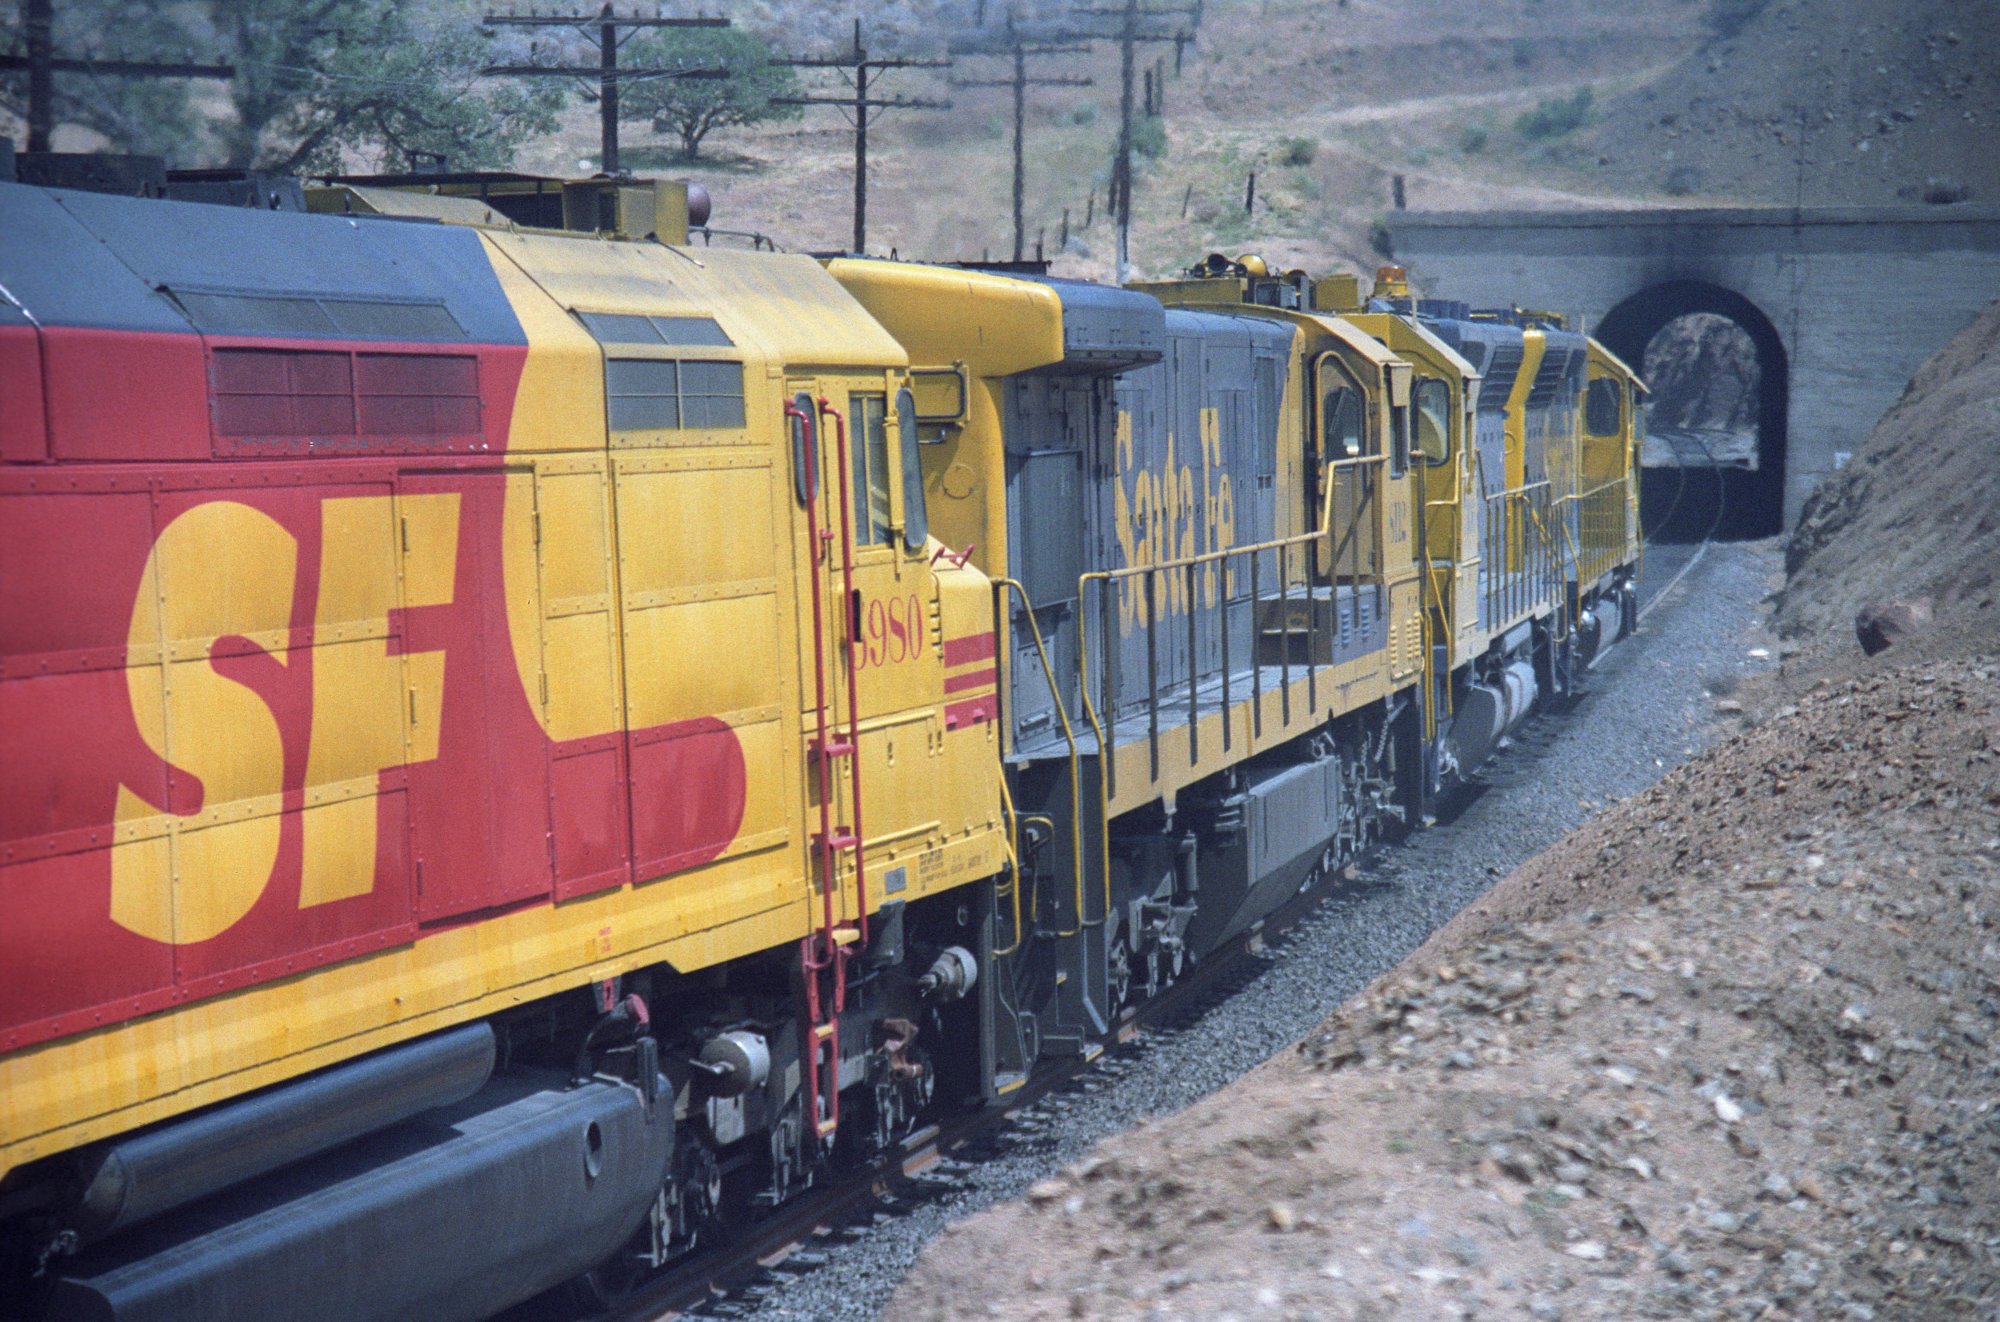
WM-092 -
SF NB w/SF30C |
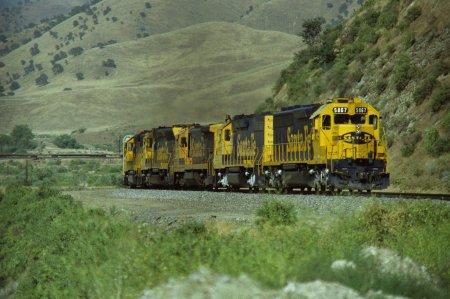
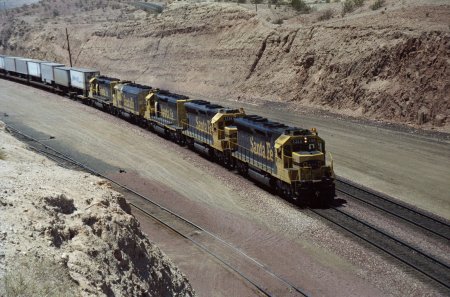
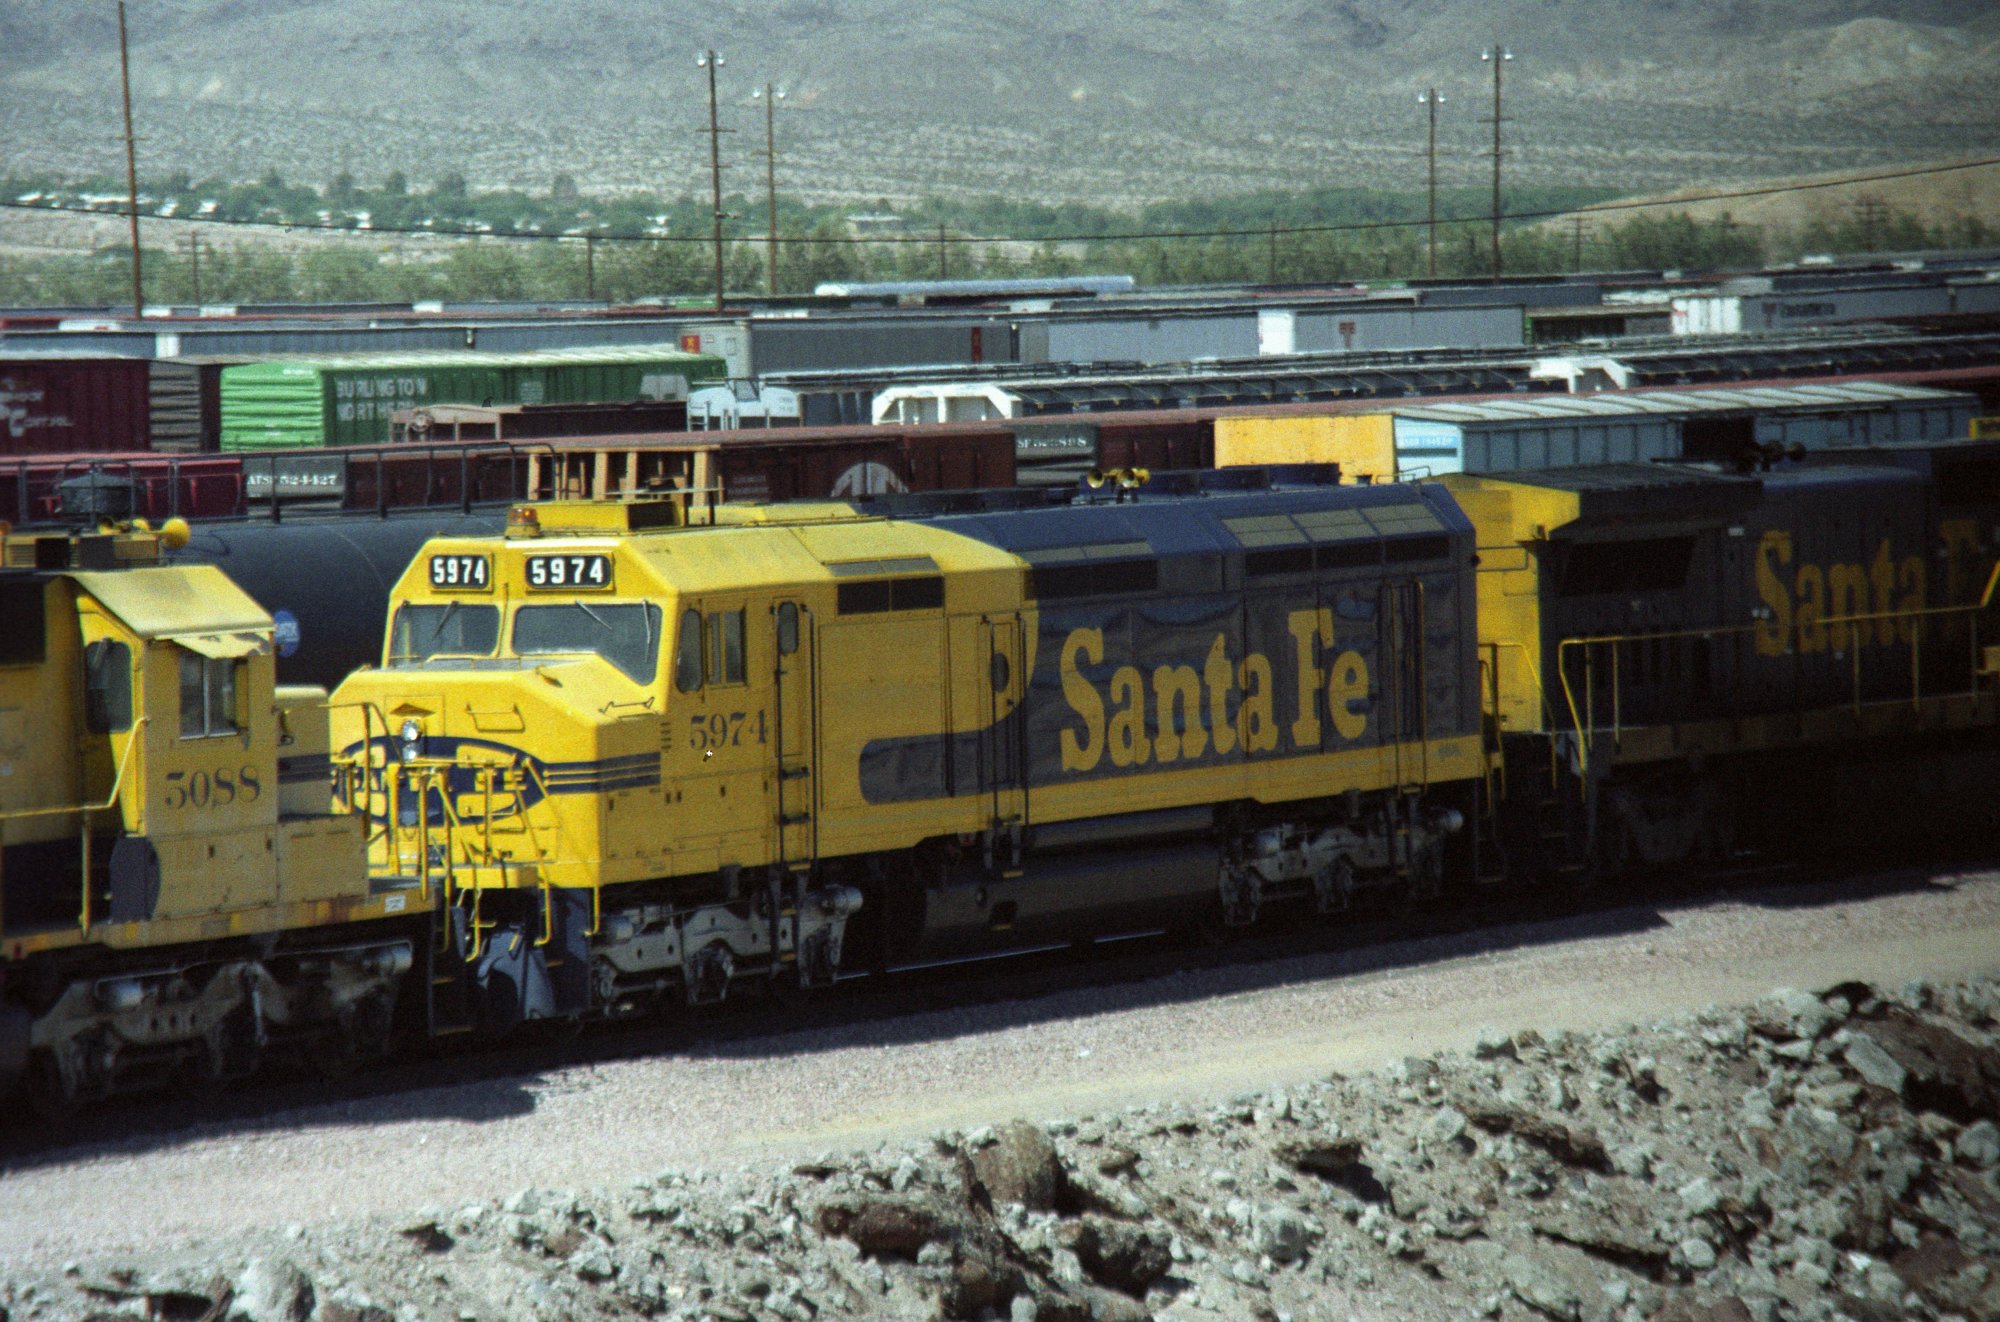
WM-093 -
3rd unit = F45 |
 |
 |
|
WM-094 - |
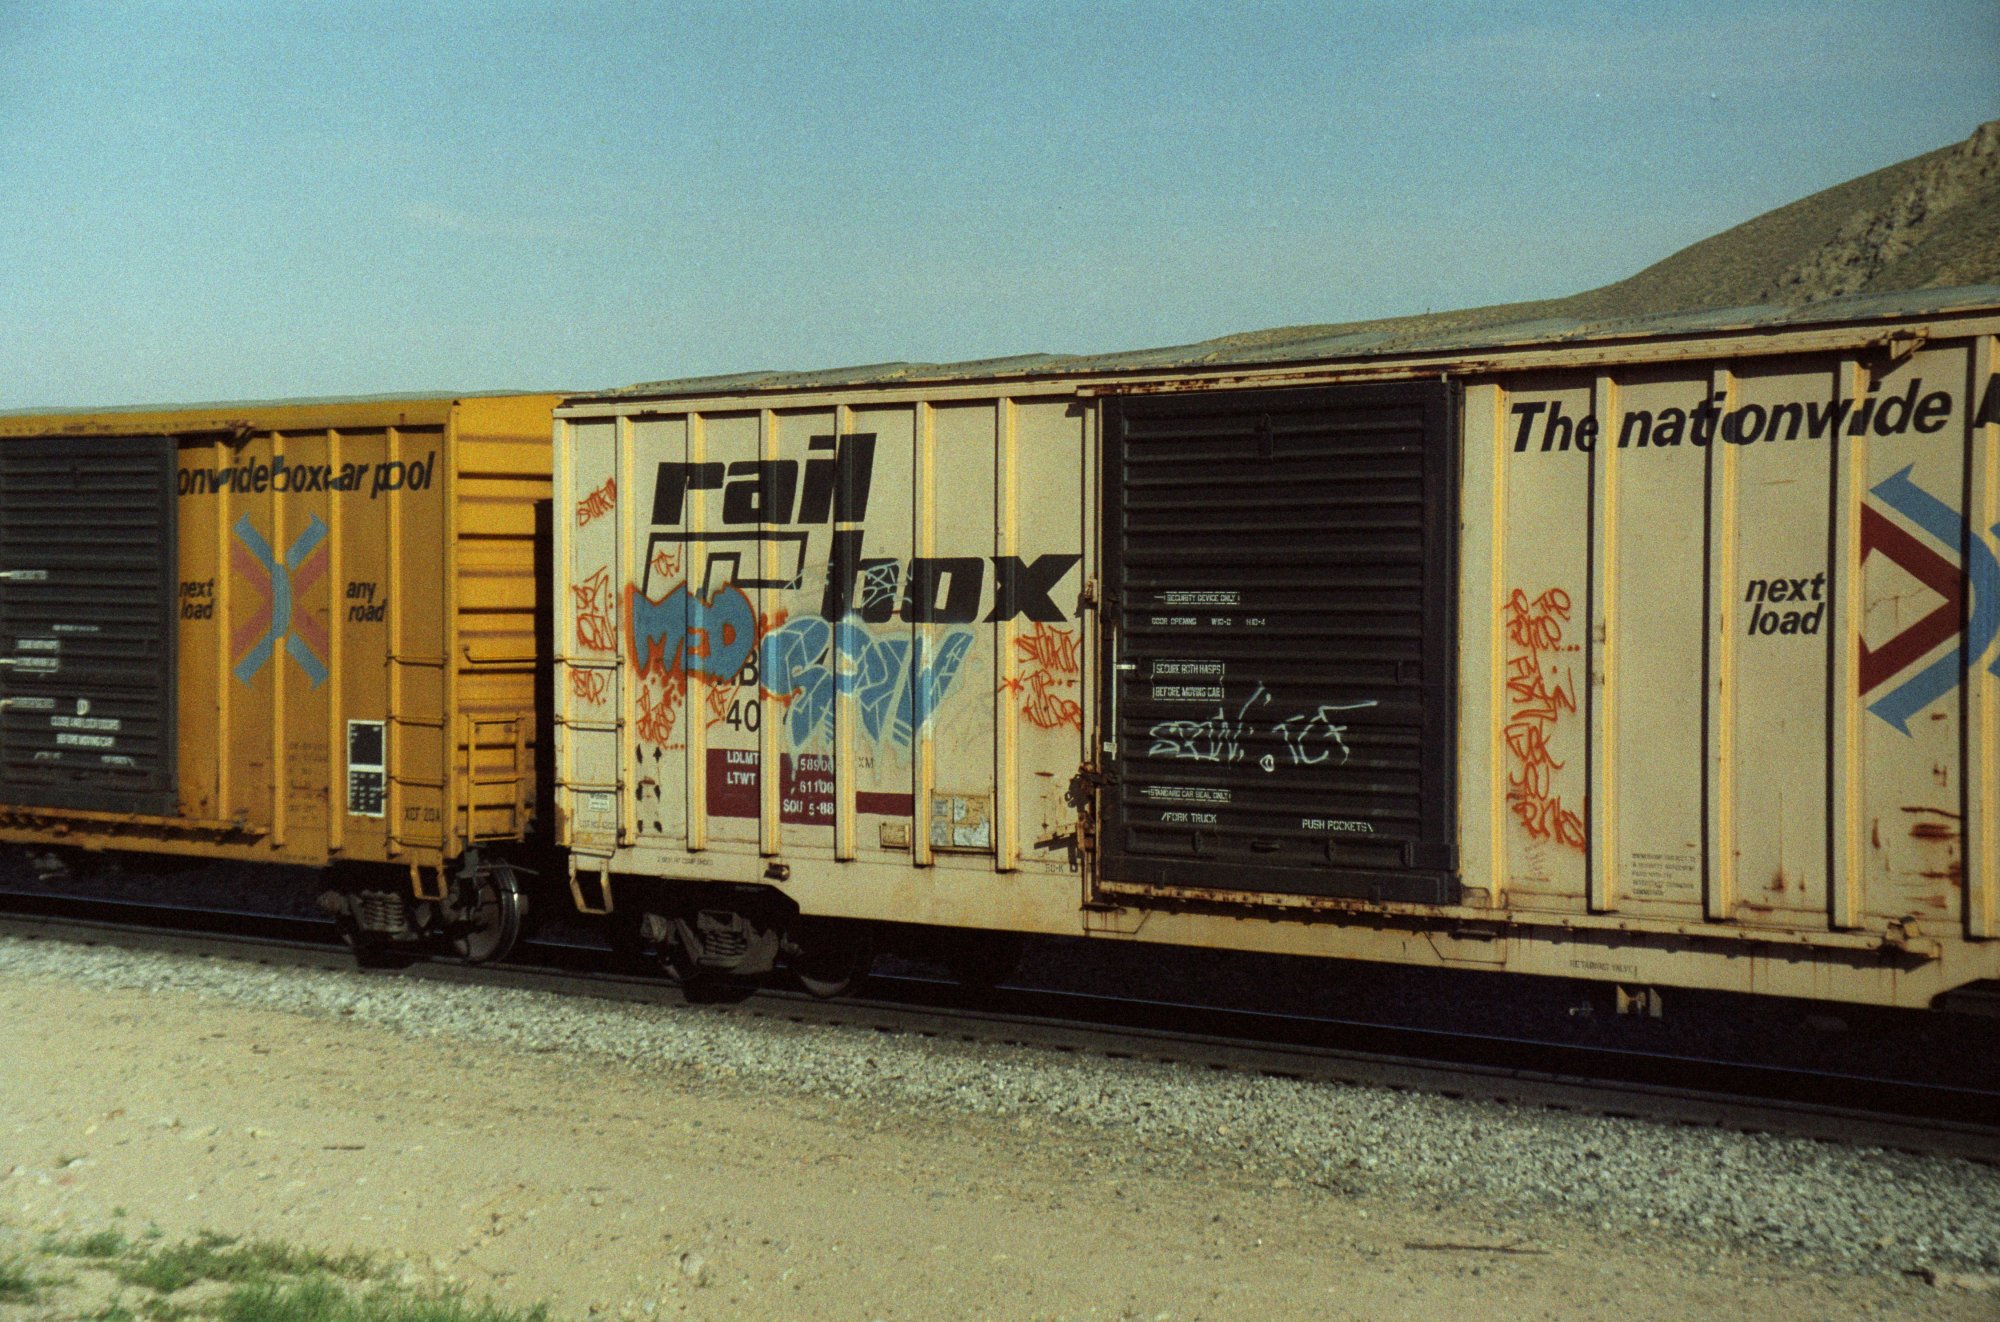
WM-095 -
Railbox w/Graffiti (last photo) |
 |
 |
|
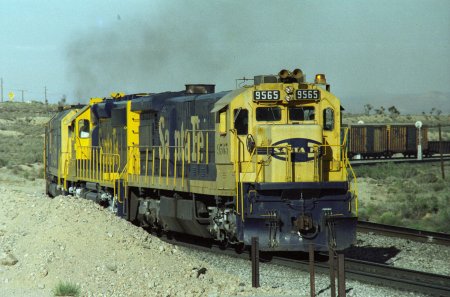
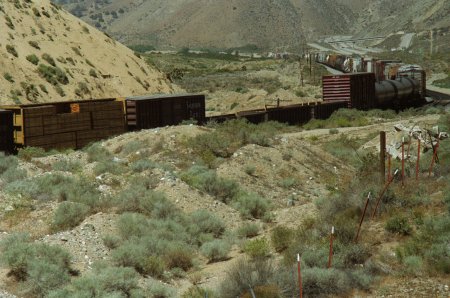
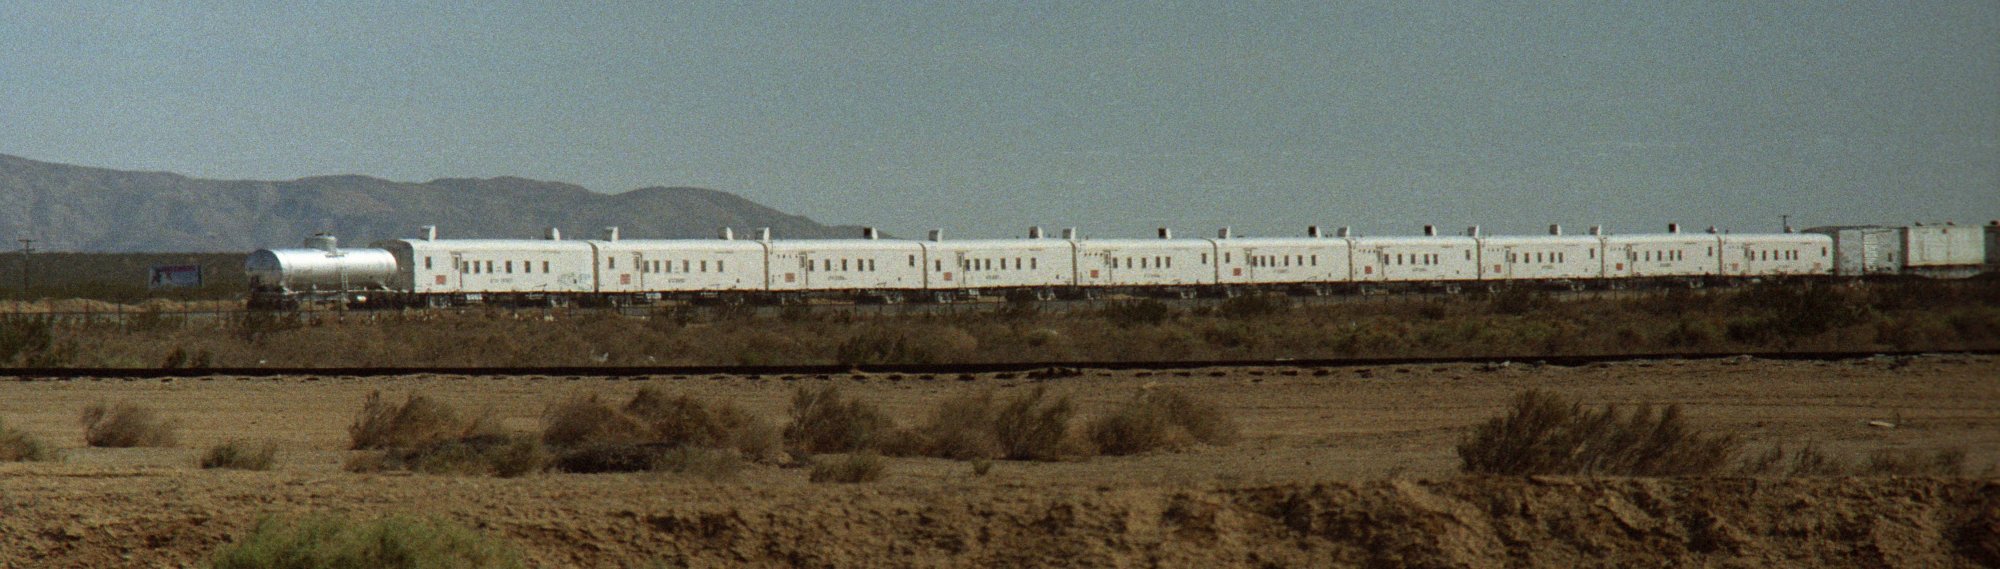
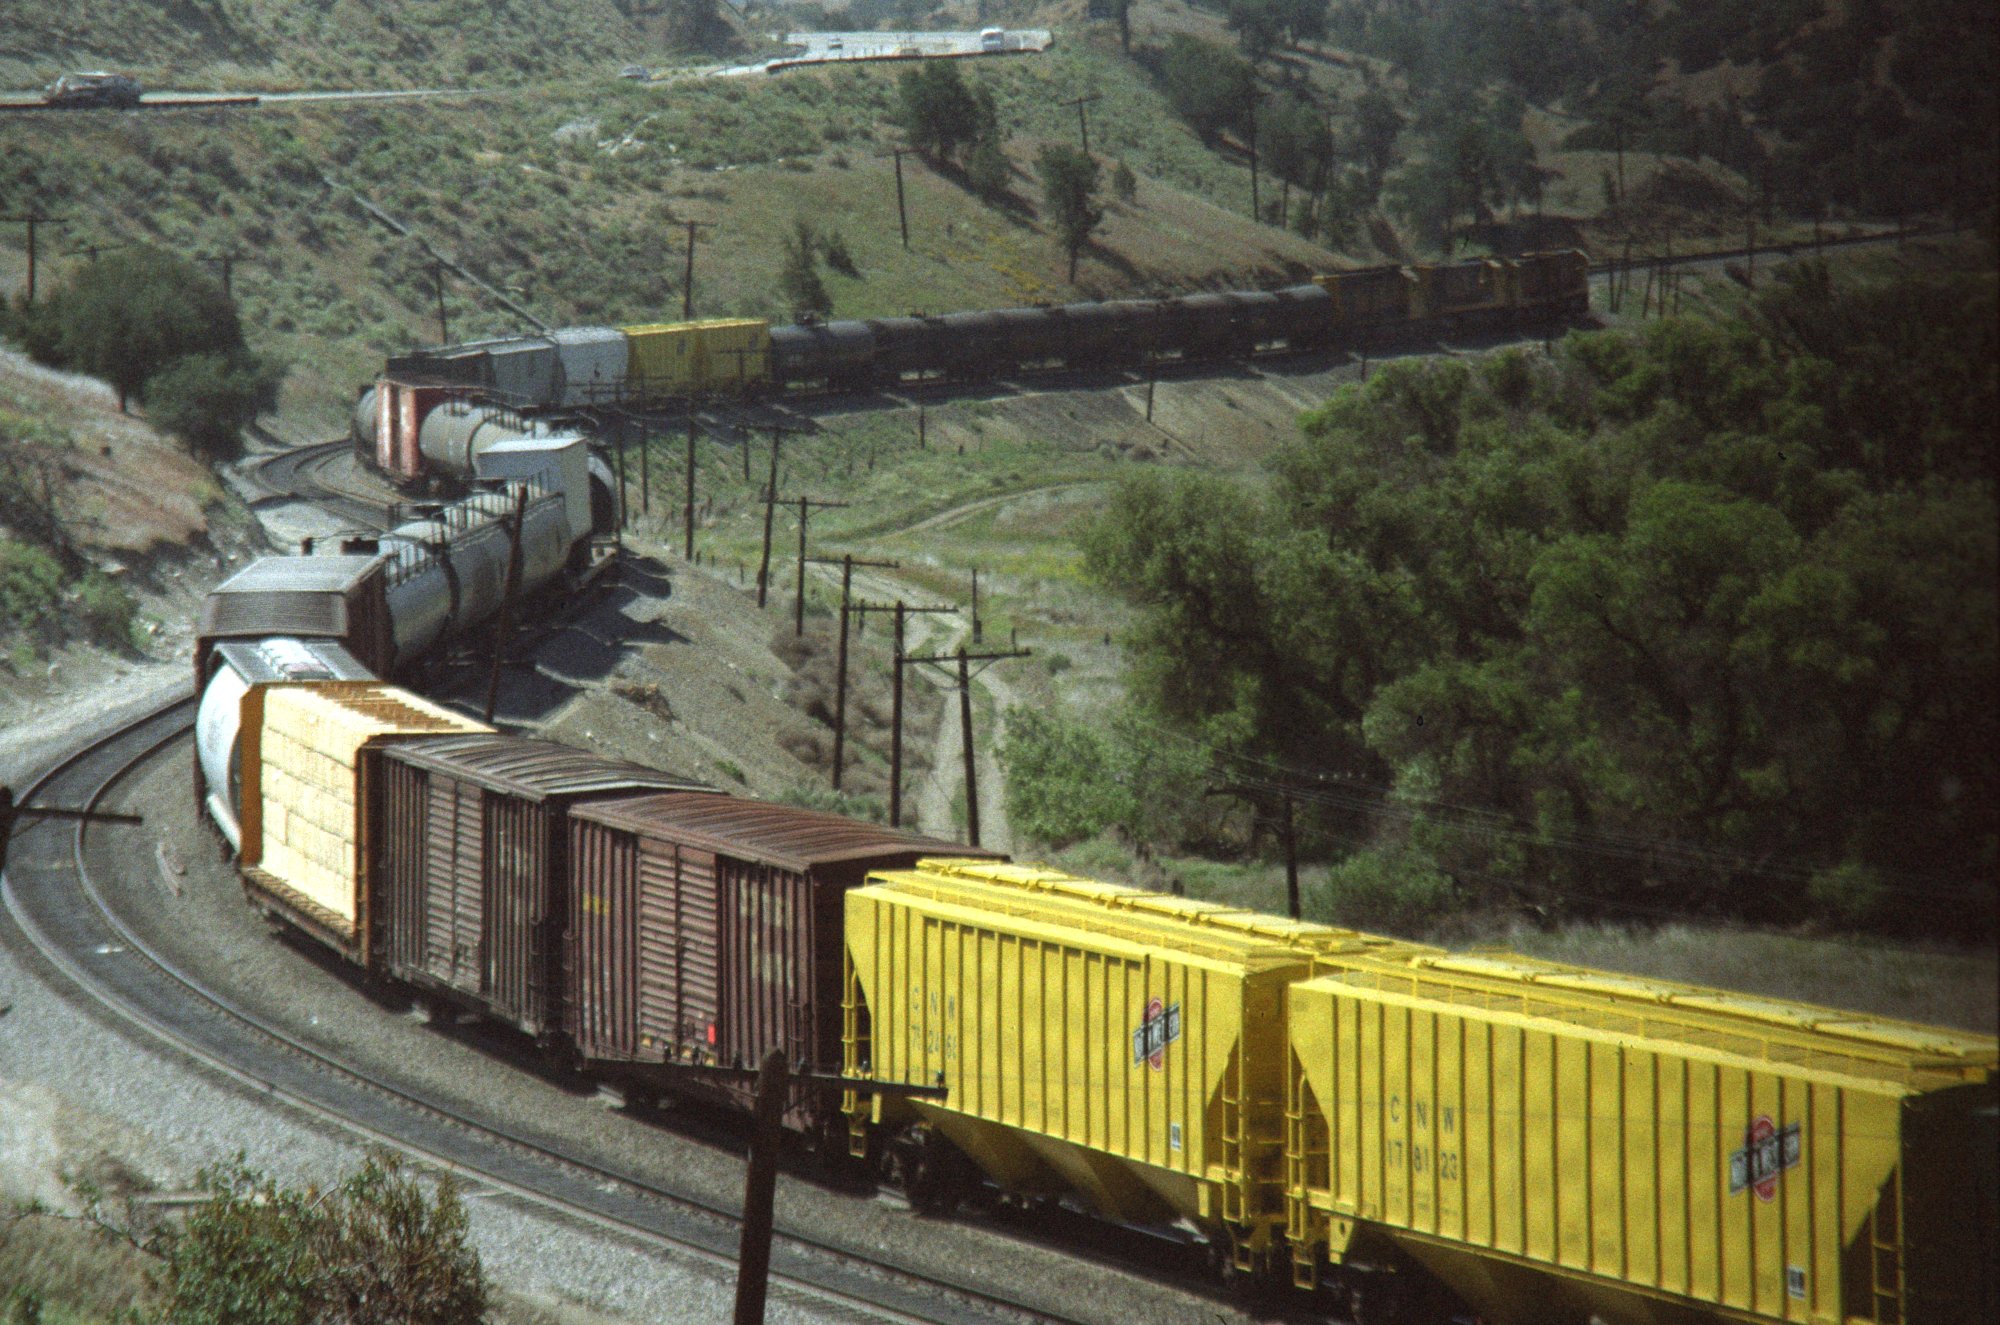
WM-096 -
work equipment train in storage |
WM-097 |
 |
 |
|
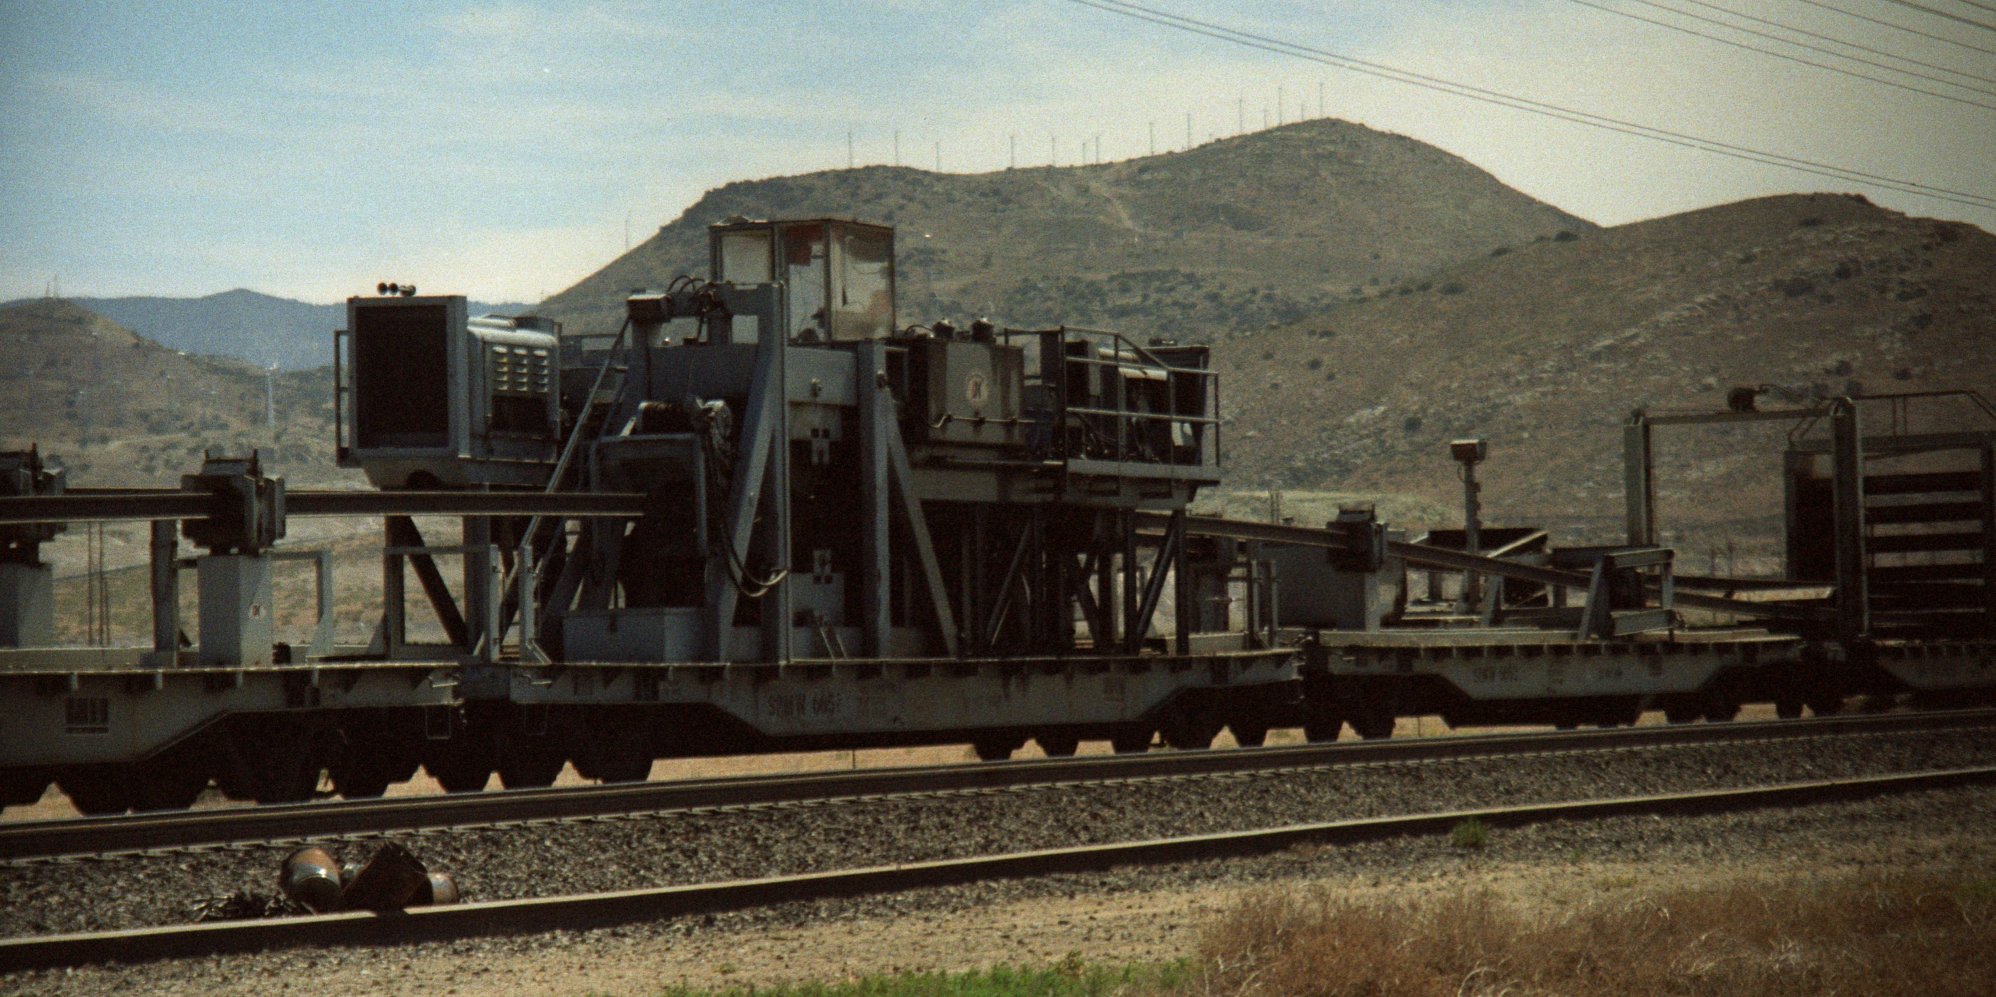
WM-098 -
there was some special equipment . . . |
WM-099 . .
. when we drove along the tracks just before Tehachapi |
 |
 |
|
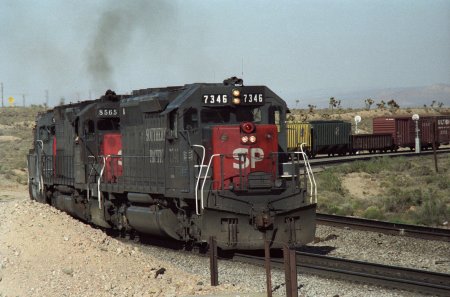
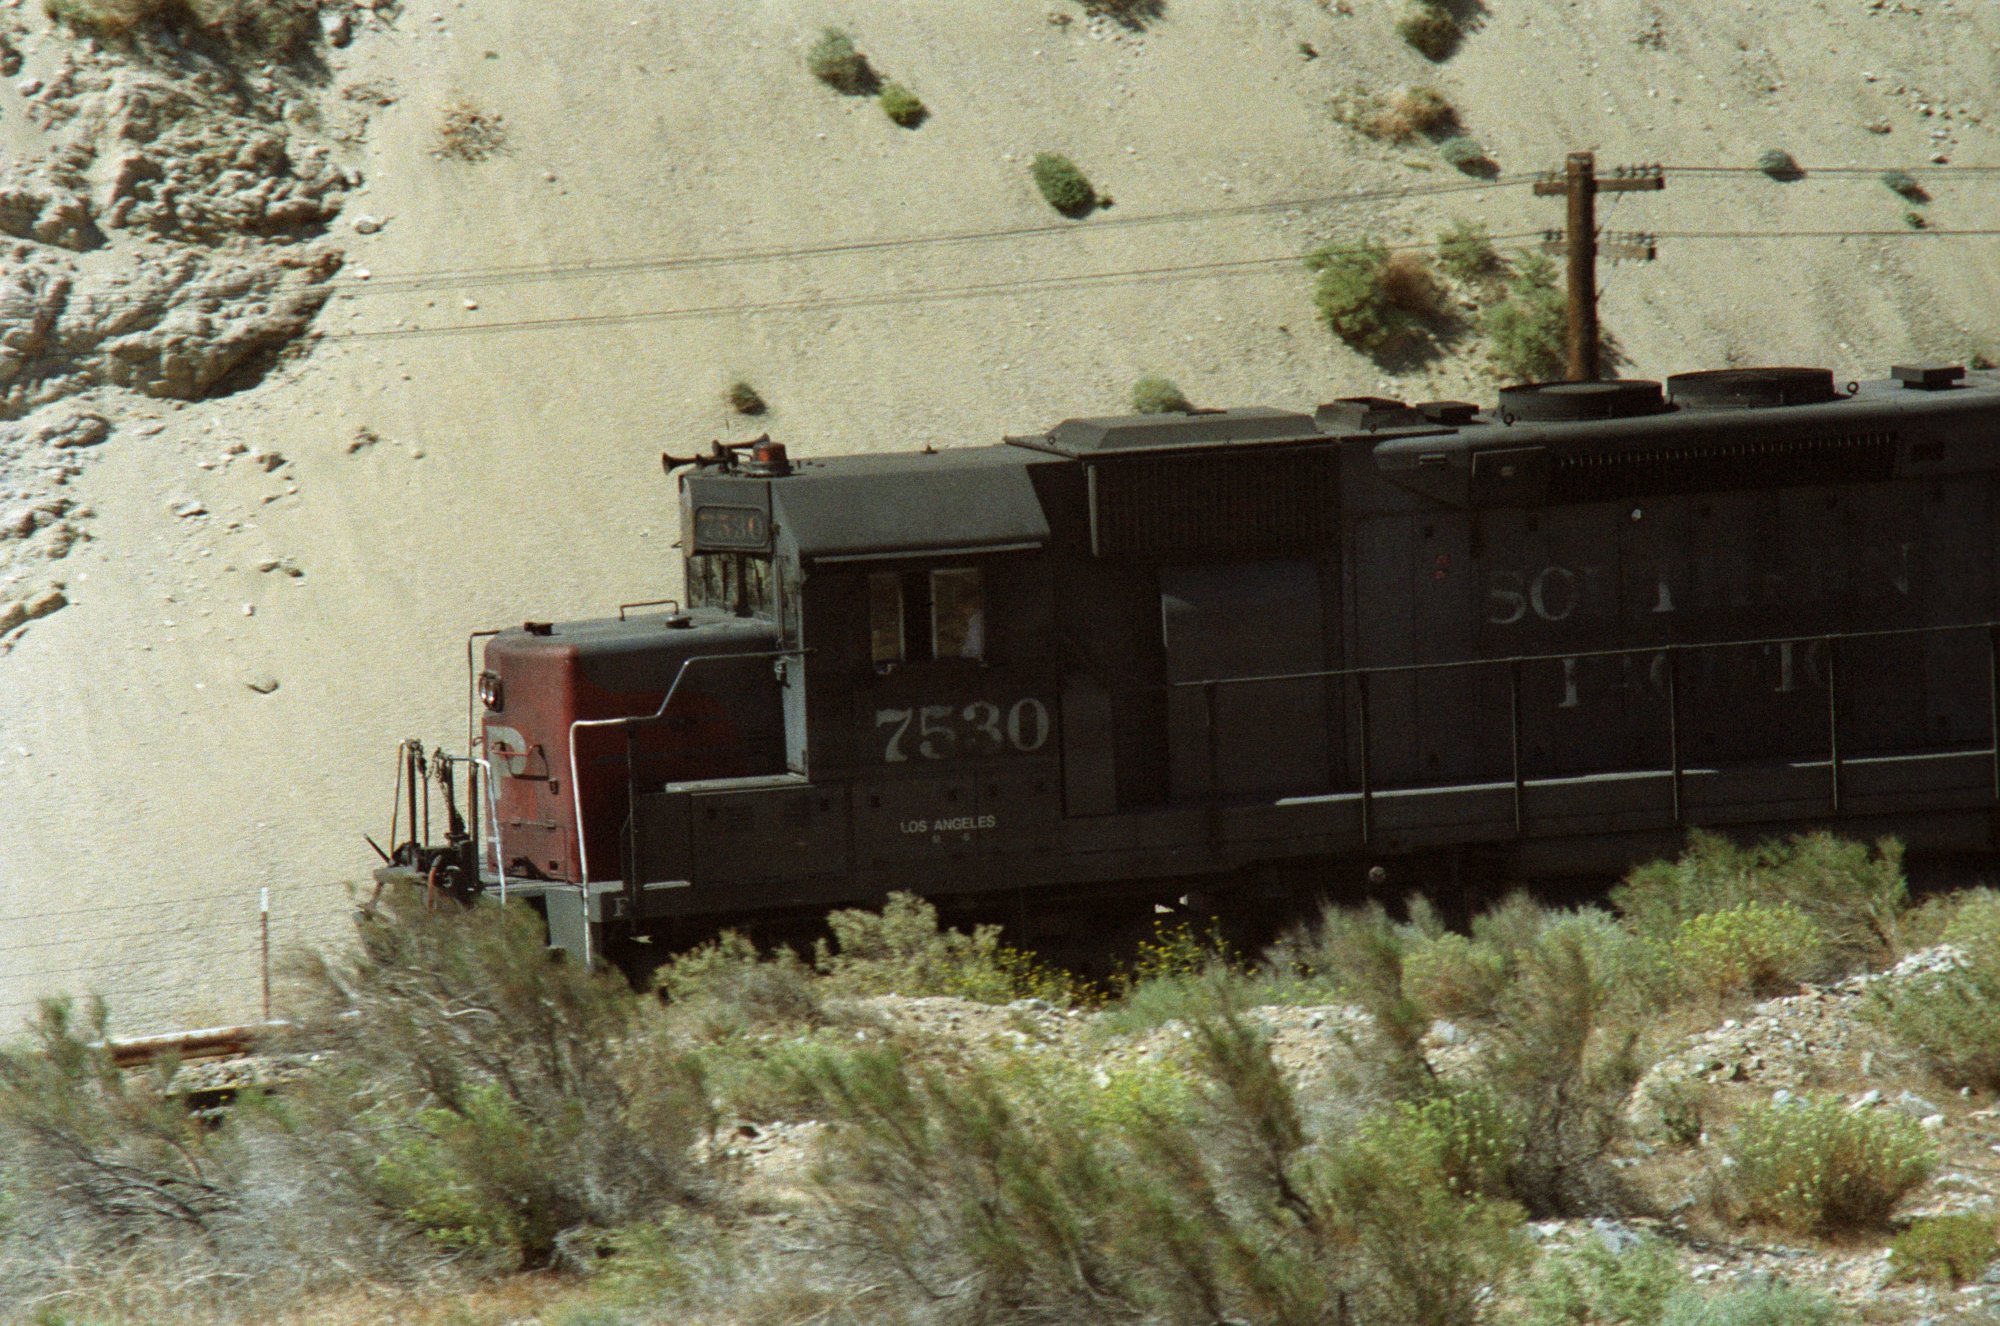
WM-100 -
SP SB Manifest going down to Mojave |
WM-101 -
same train at Cameron |
 |
 |
|
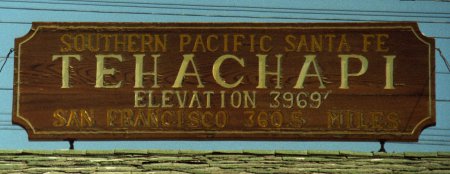
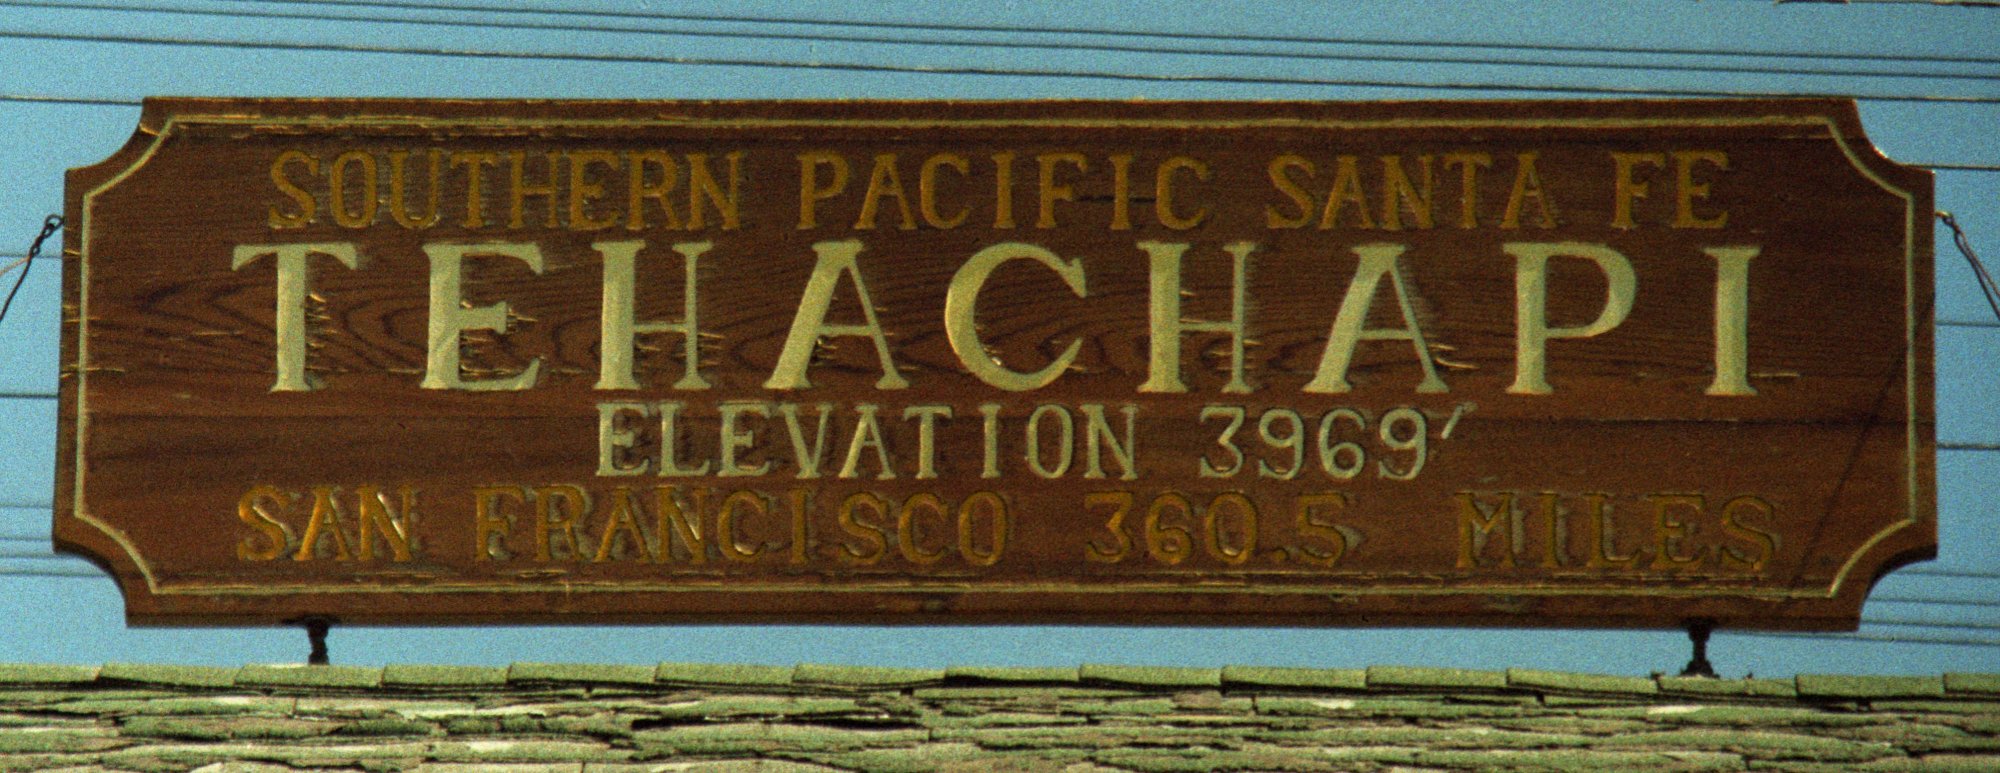
WM-102 -
Tehachapi Sign on top of the Depot |
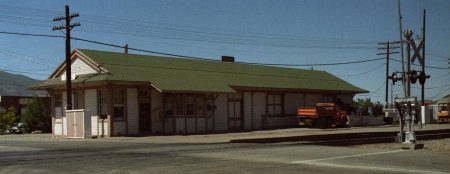
WM-103 -
Tehachapi Depot |
 |
 |
|
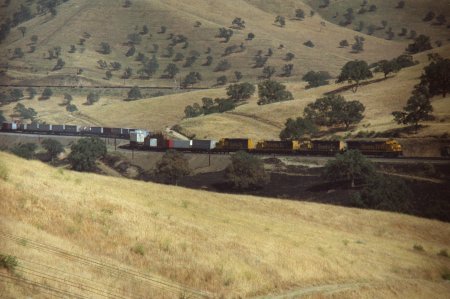
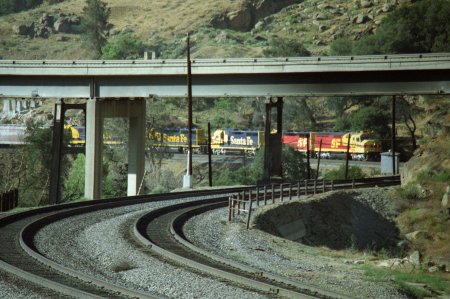
WM-104 -
SF EB going uphill to Tehachapi |
WM-105 -
we are at Cable |
 |
 |
|
WM-106 |
WM-107 |
 |
 |
|
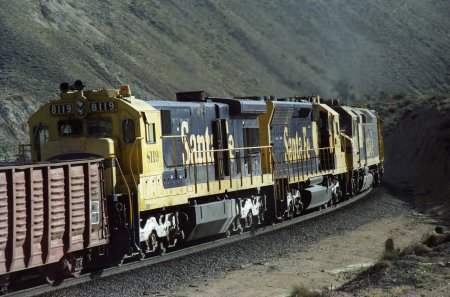
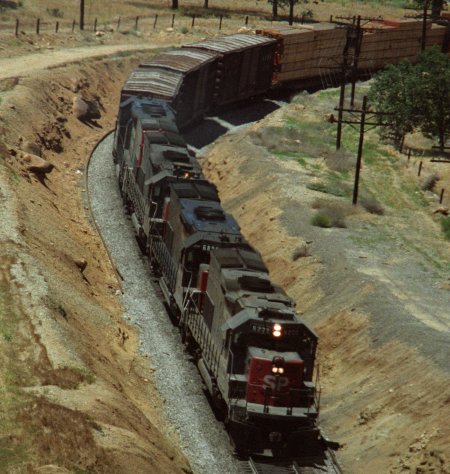
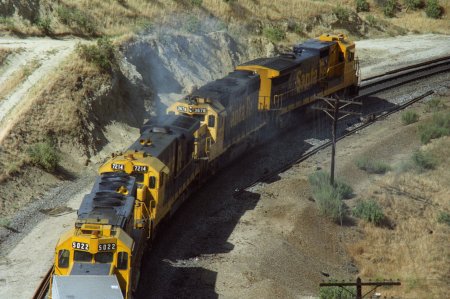
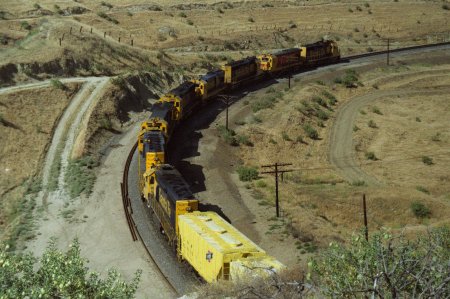
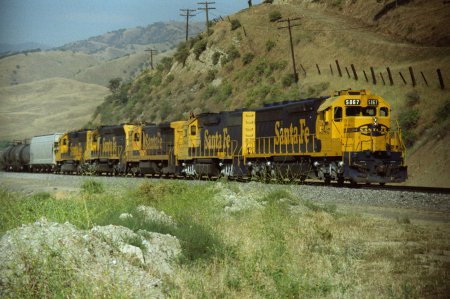
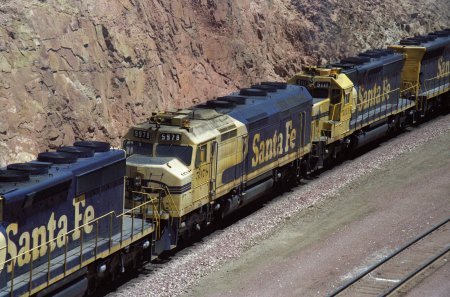
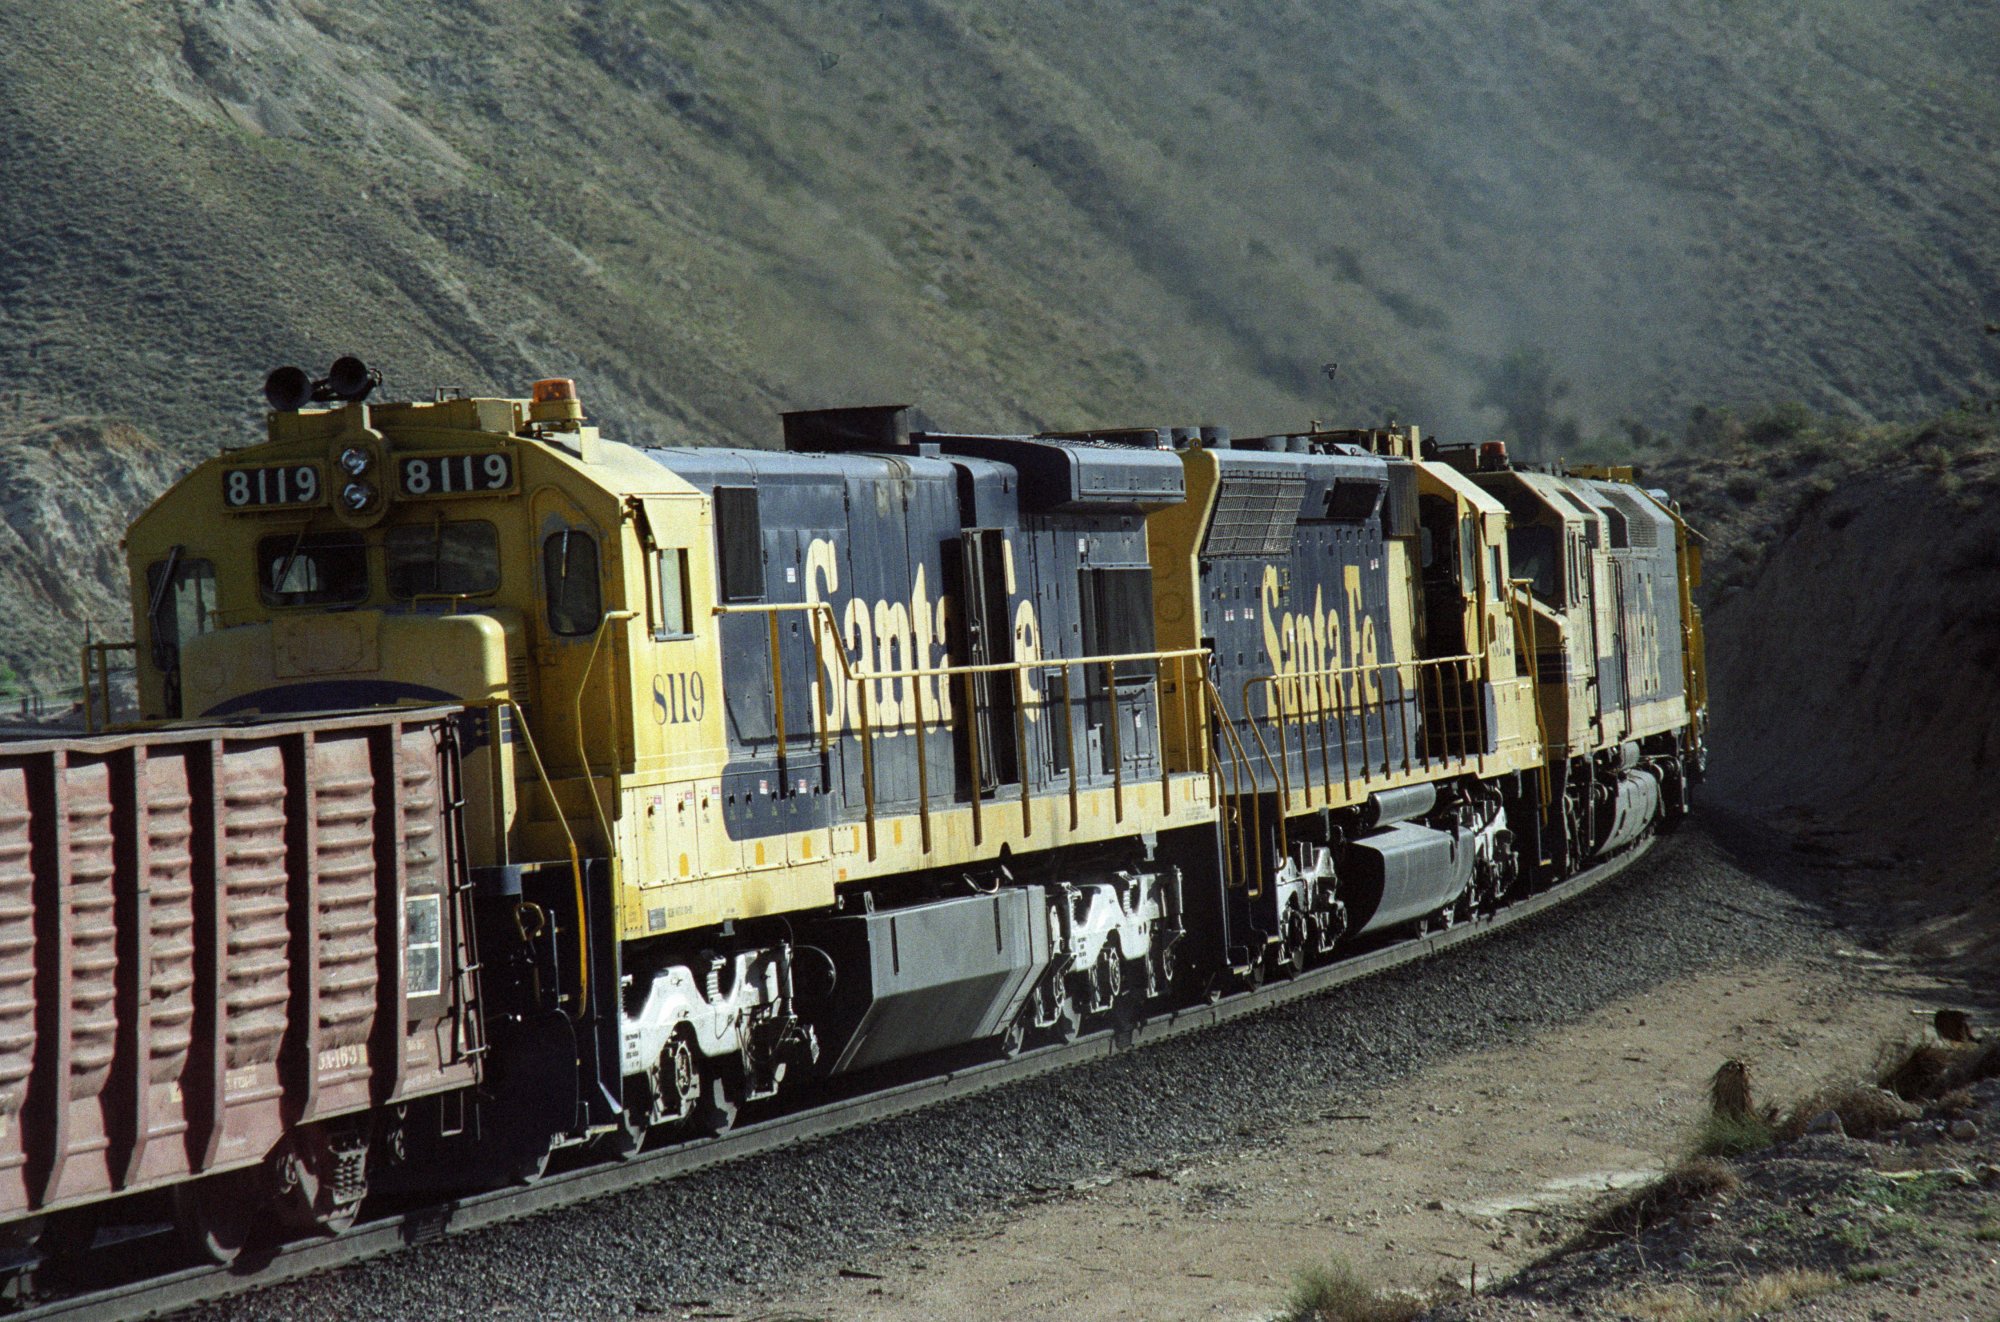
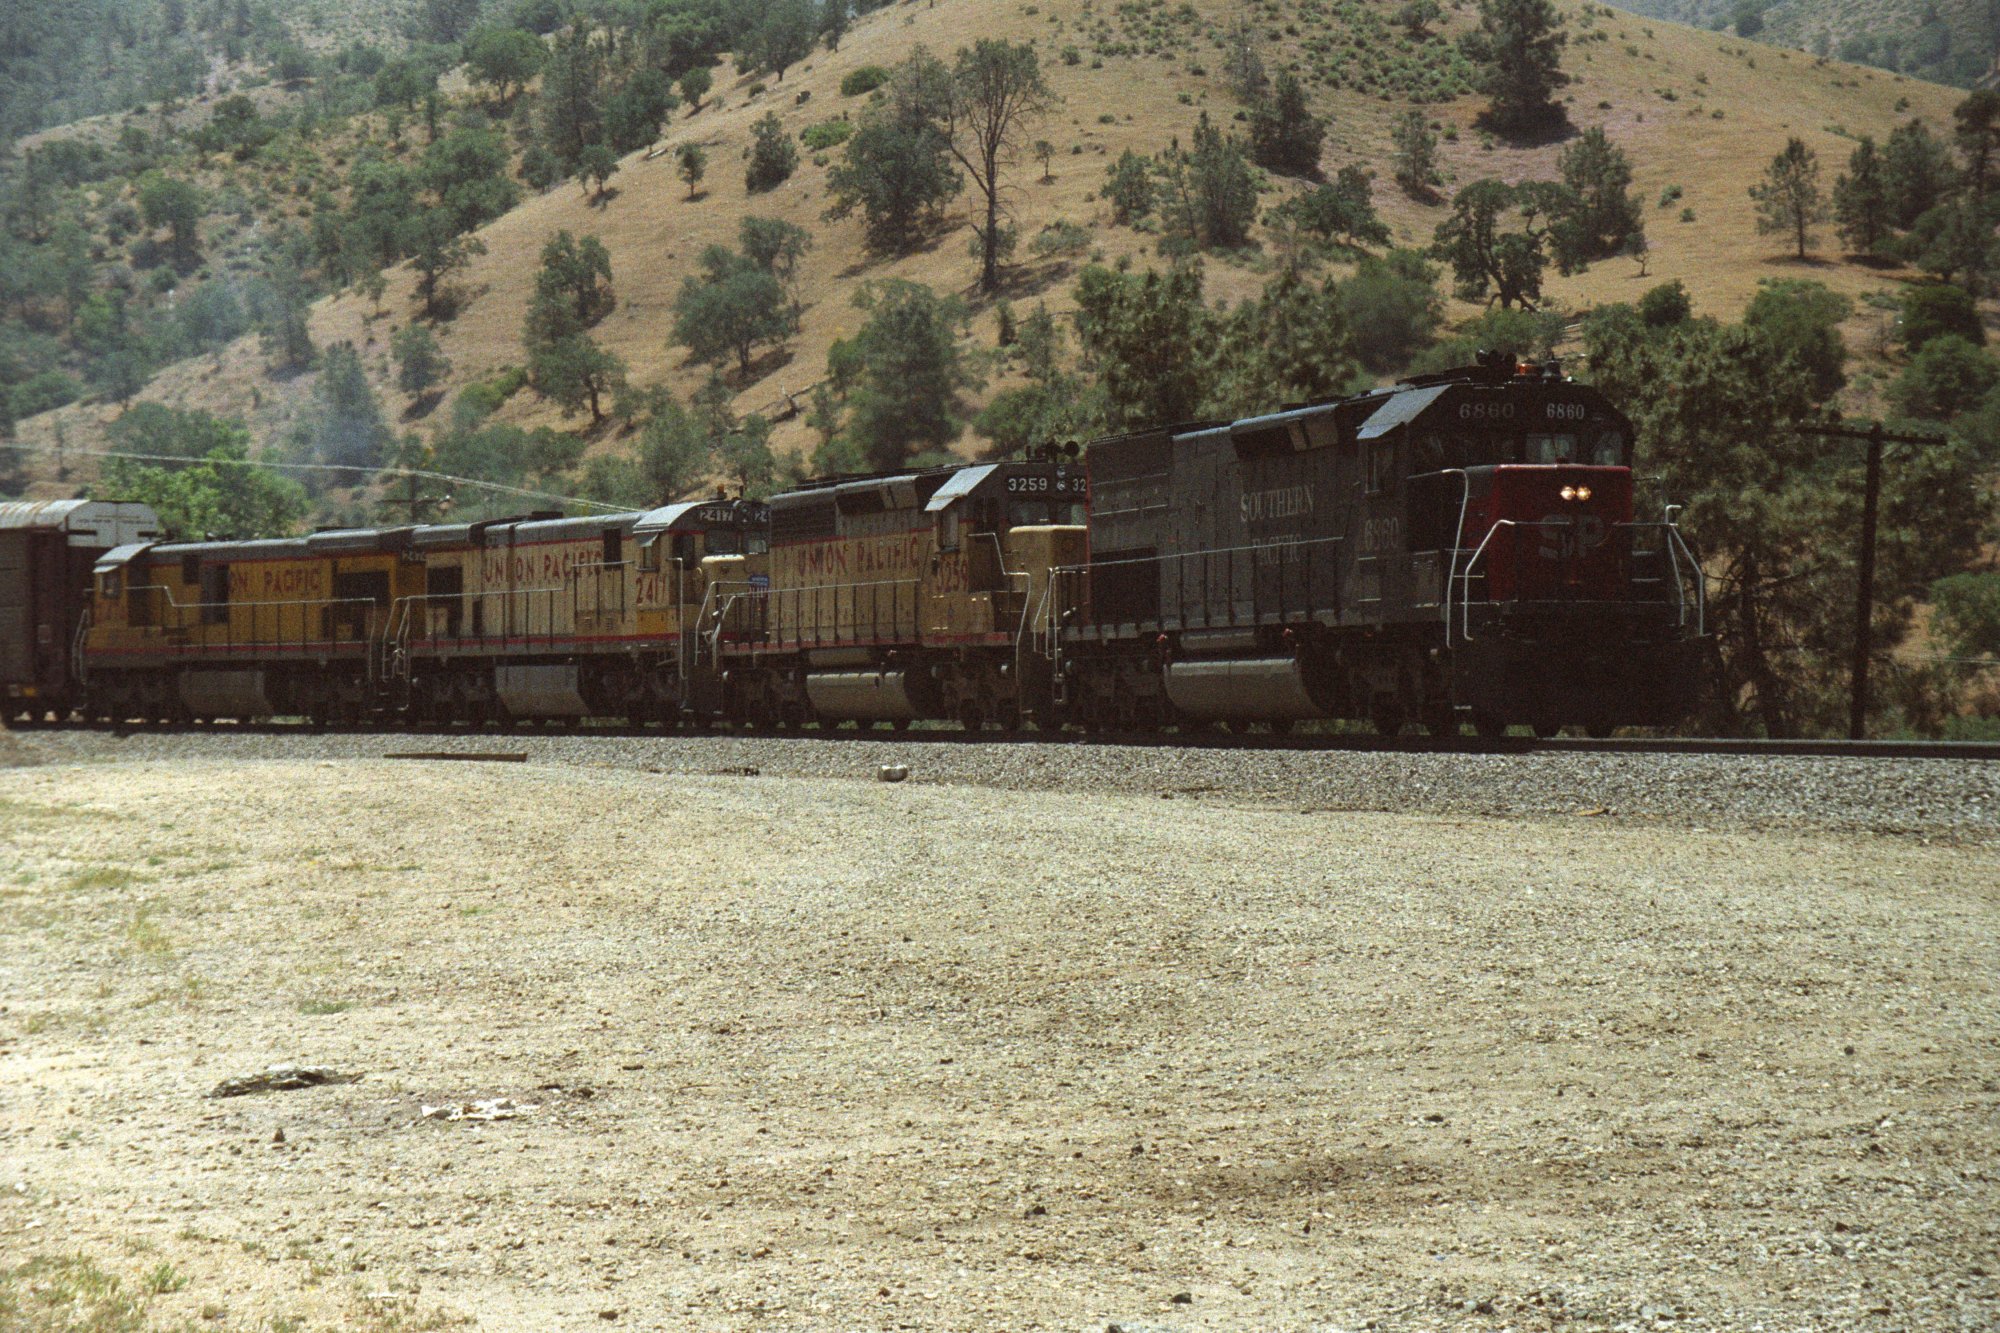
WM-108 -
there are 4 units up front |
WM-109 -
and 2 mid train helpers |
 |
 |
|
WM-110 |
WM-111 -
last photo of this SF EB train |
 |
 |
|
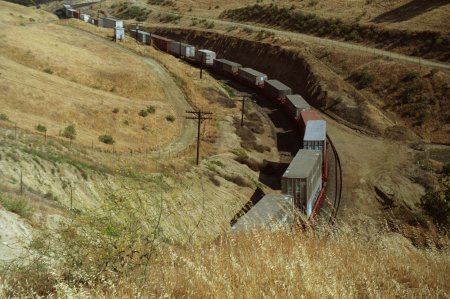
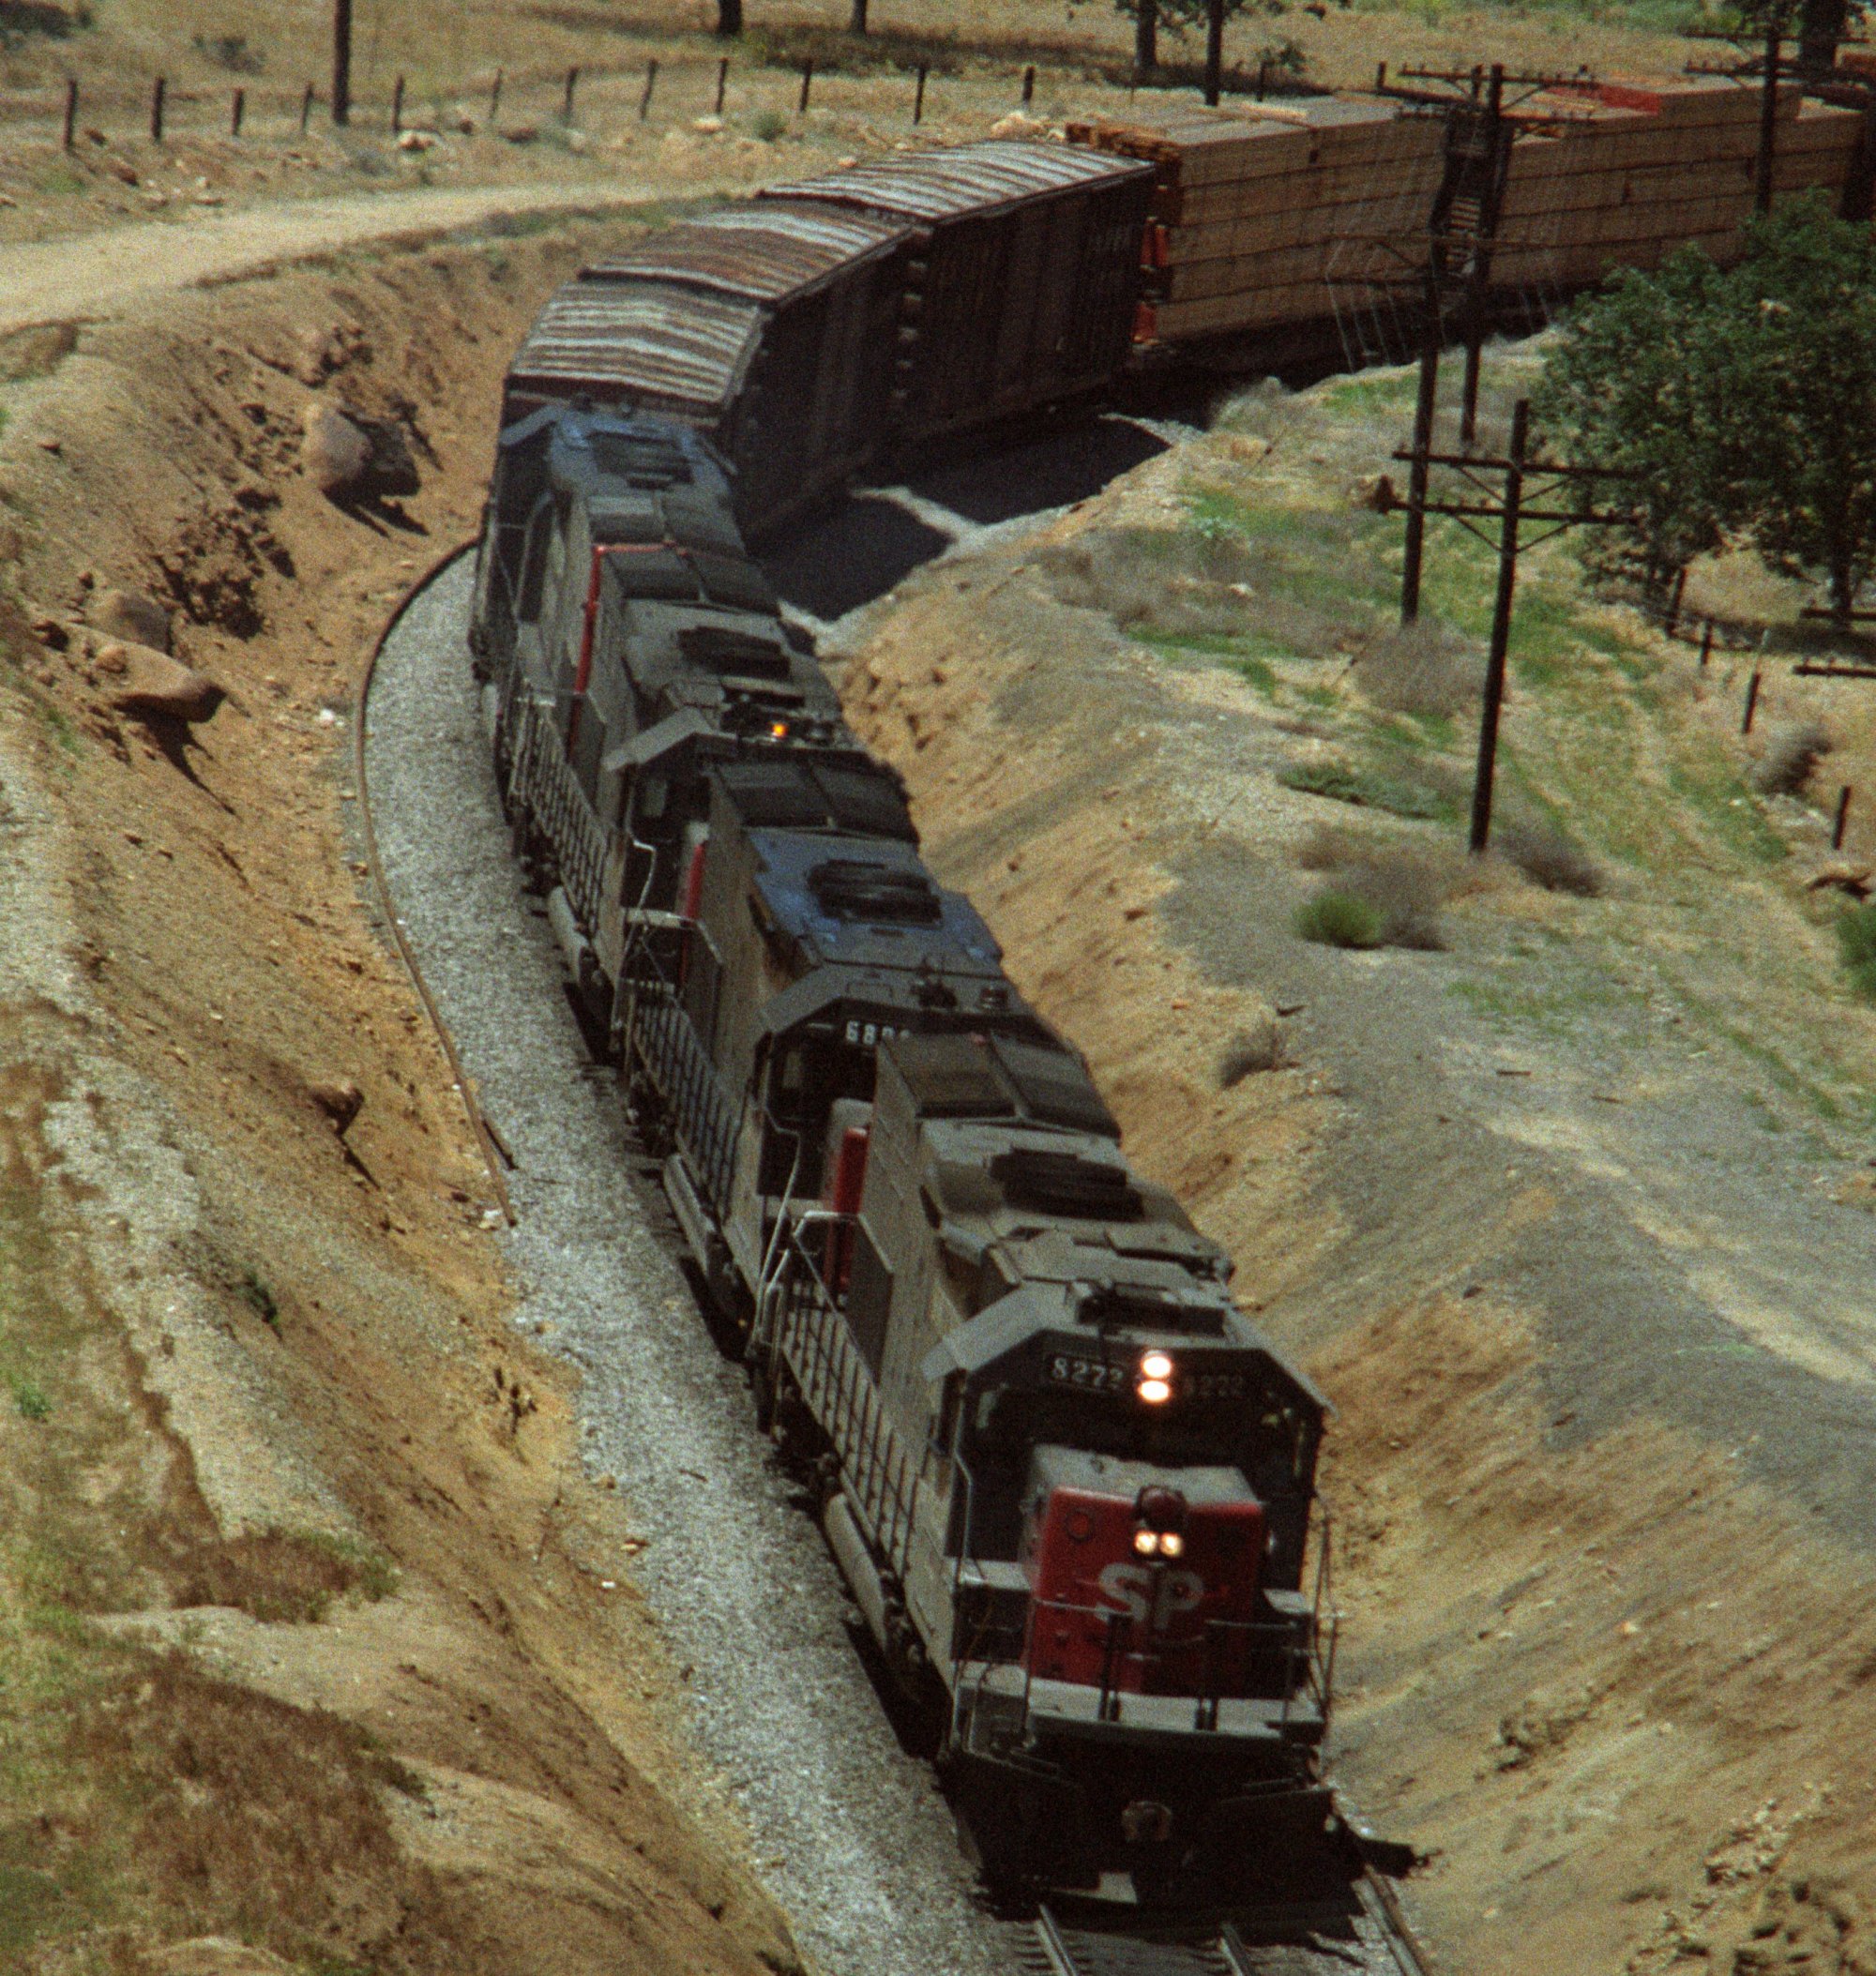
WM-112 -
SP SB at Cable after Tunnel 17 |
WM-113 -
this train is leaving Tunnel 17 |
 |
 |
|
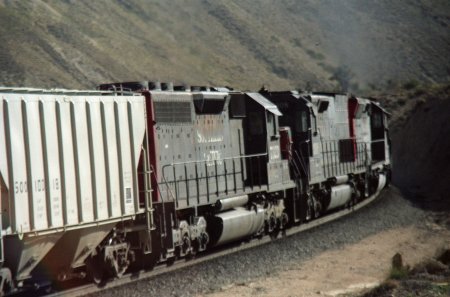
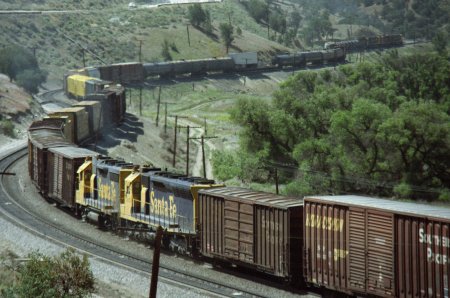
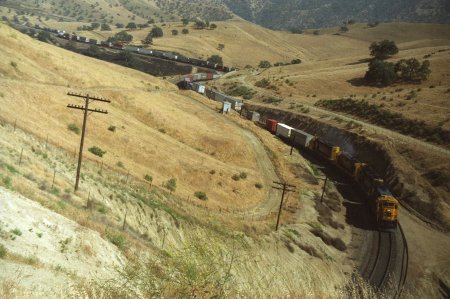
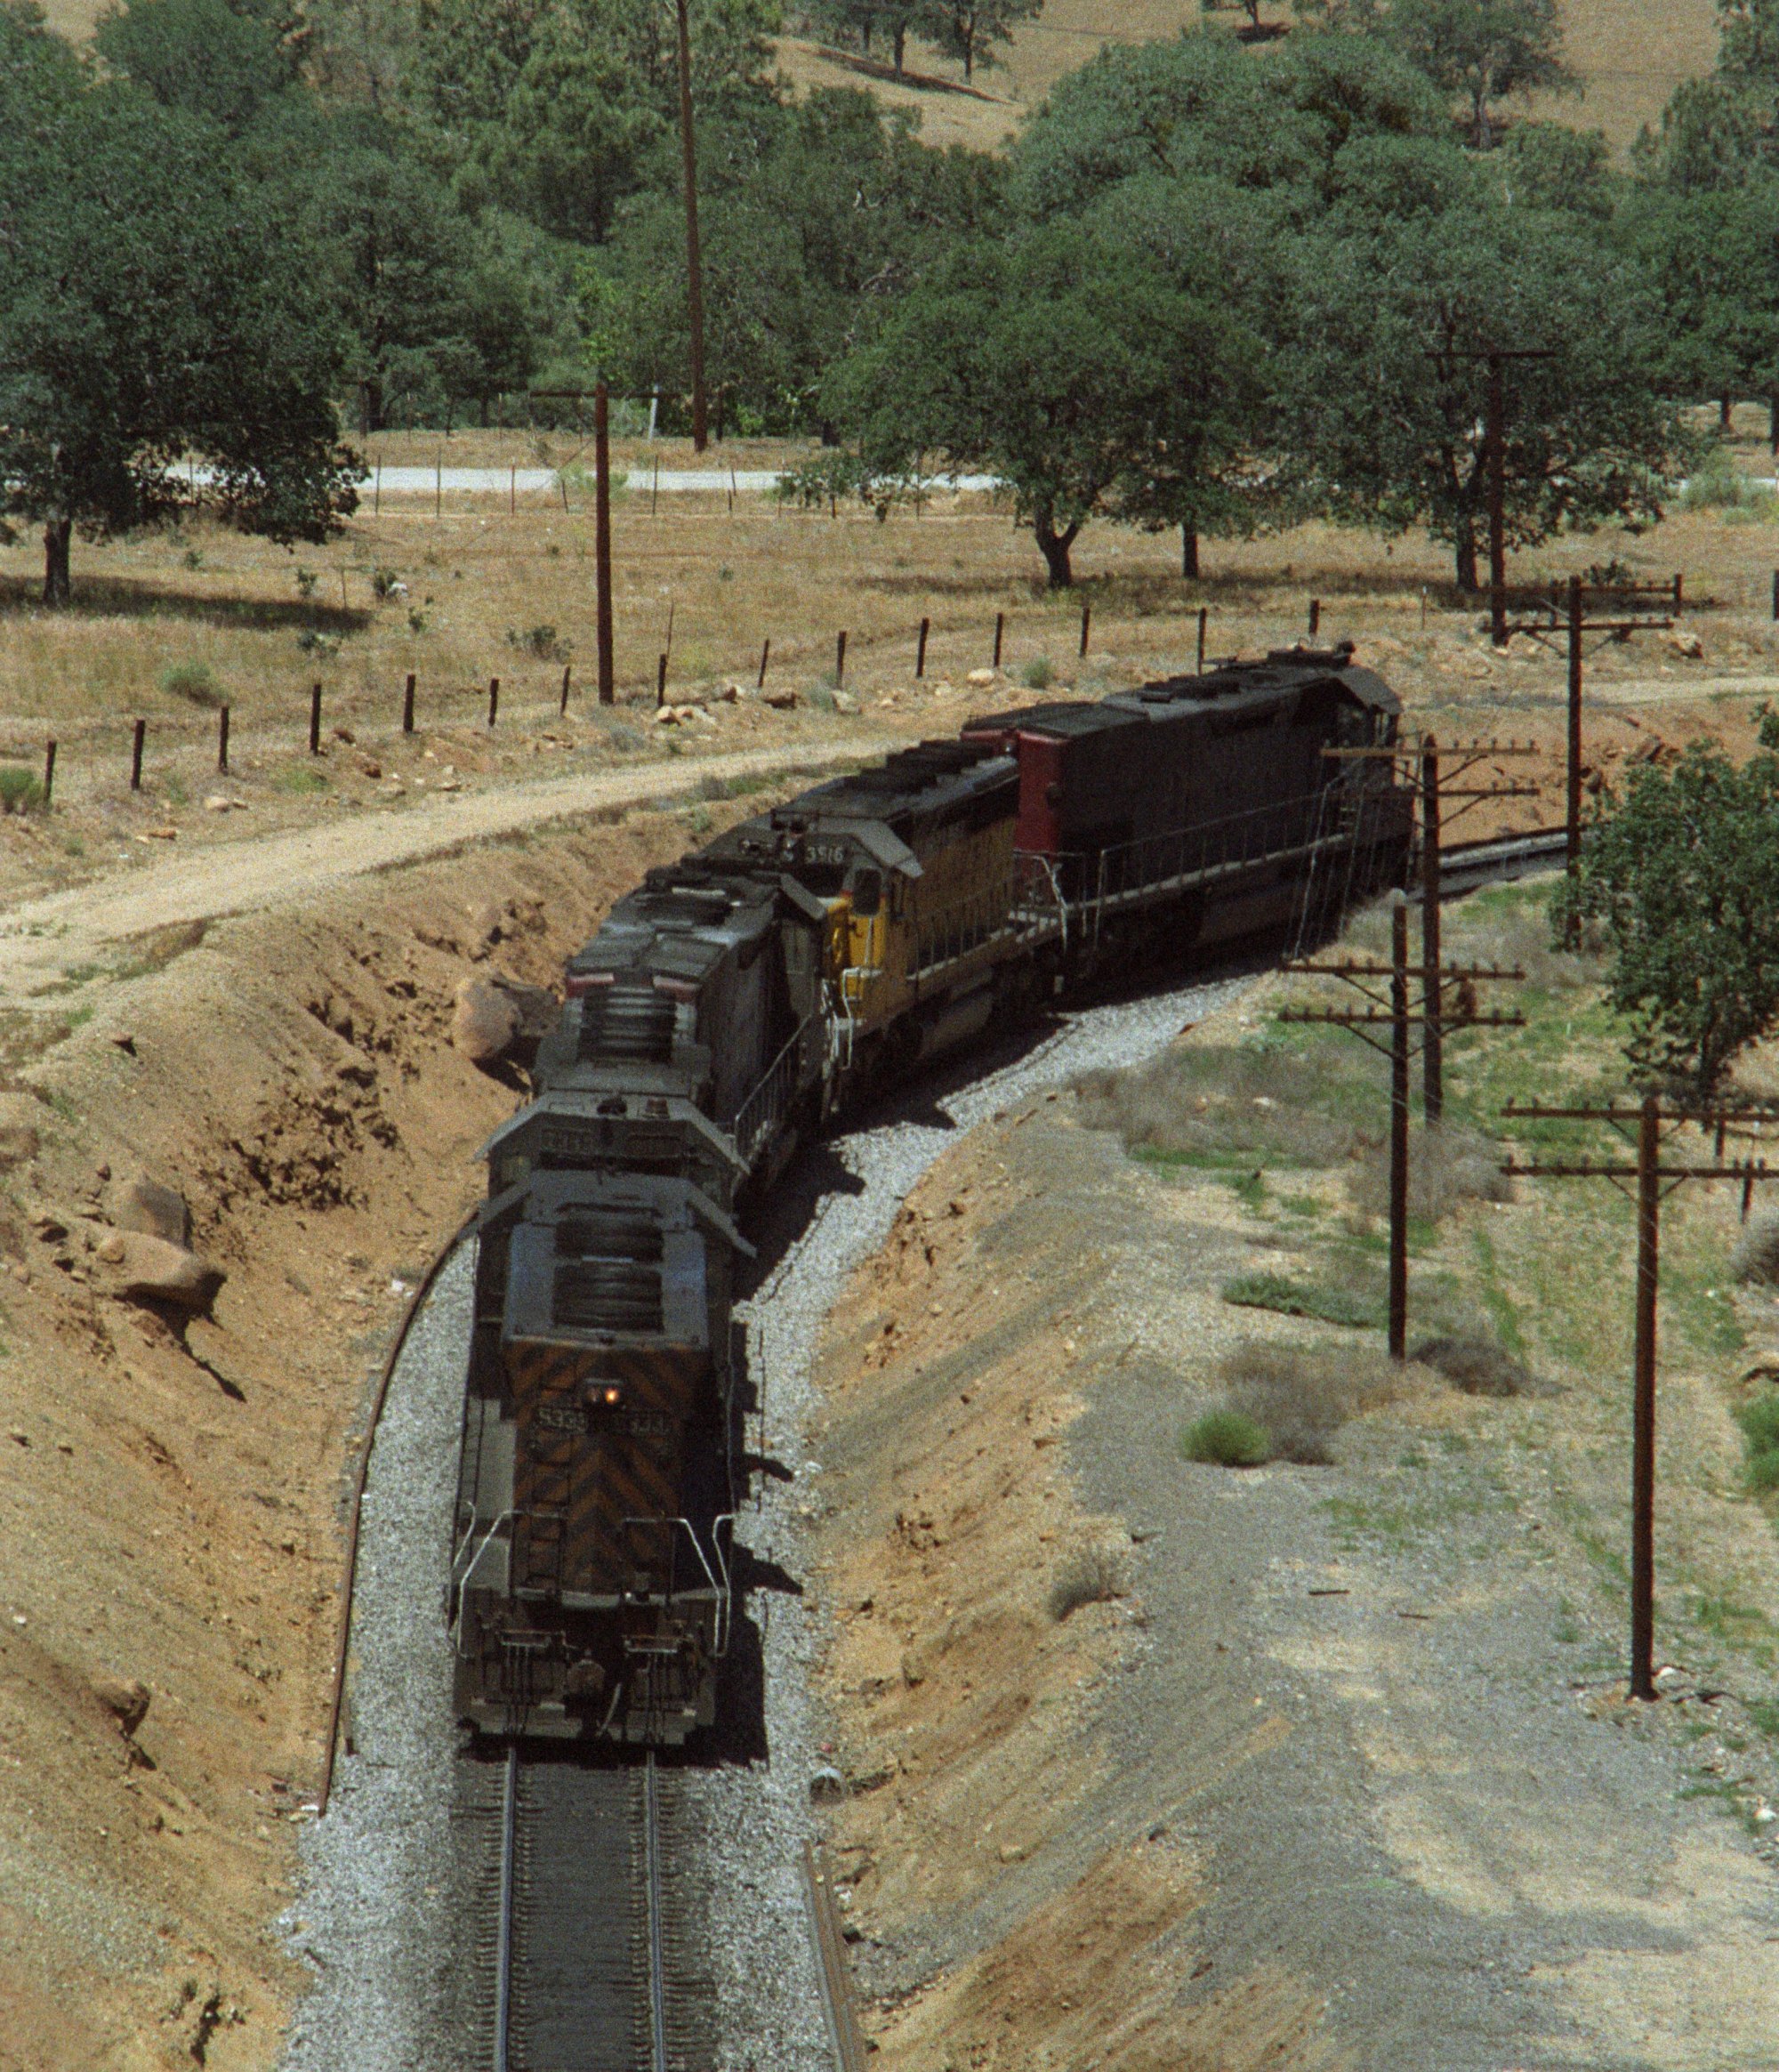
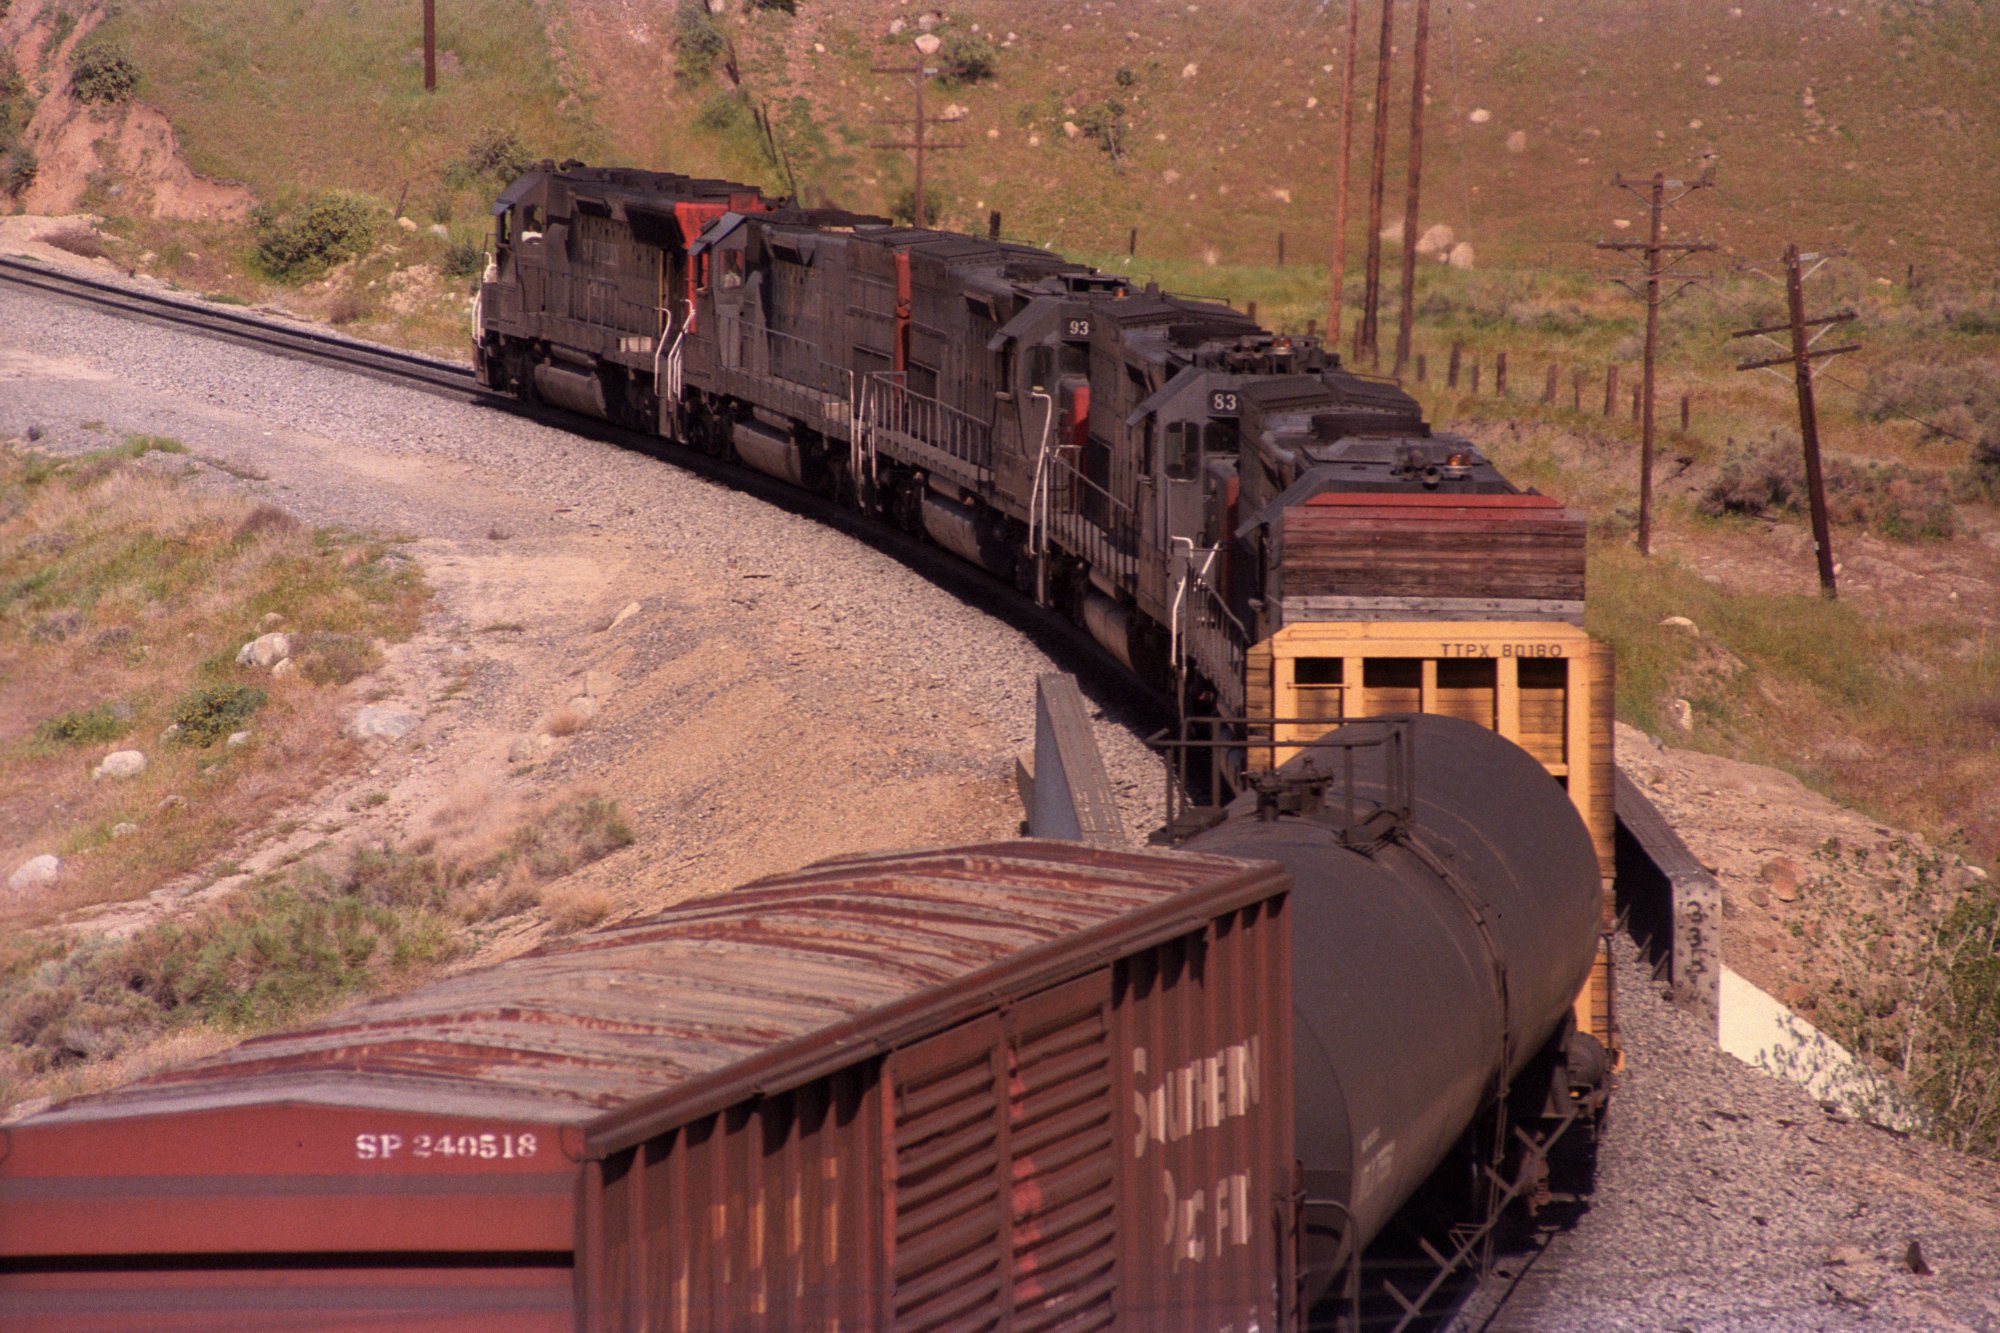
WM-114 -
there are 5 mid train helpers |
WM-115 |
 |
 |
|
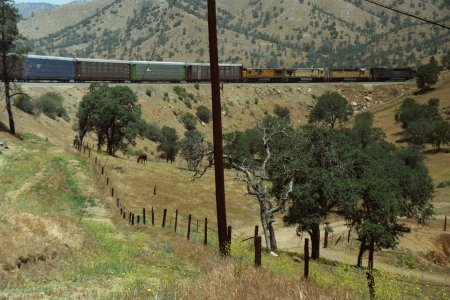
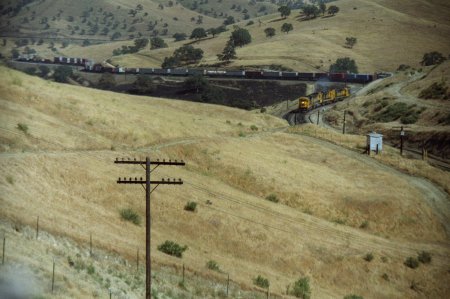
WM-116 -
we are just across Hwy 58 |
WM-117 -
last photo from this location |
|
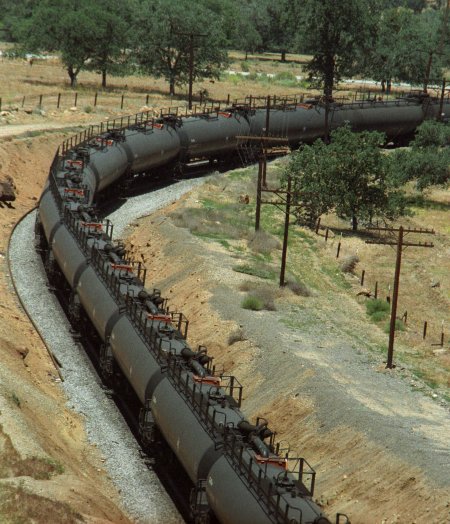
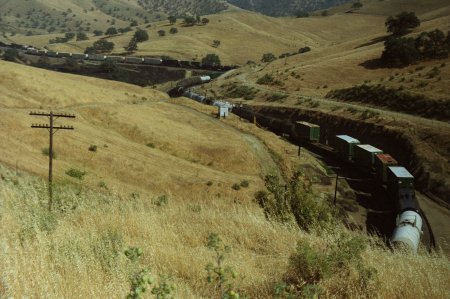
We finally made it to the famous Tehachapi Loop |
 |
 |
|
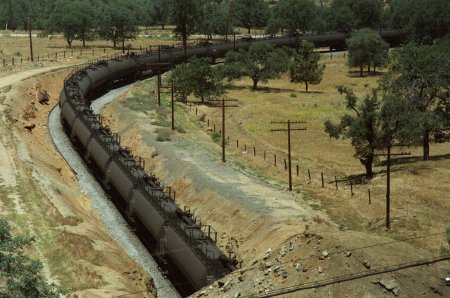
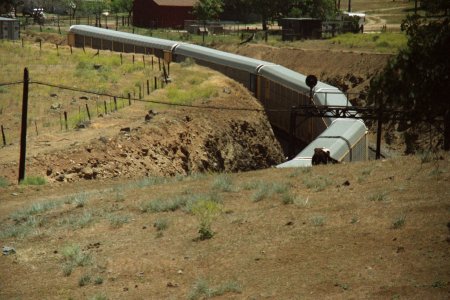
WM-118 -
SP NB Tank Train at Walong (the Loop) |
WM-119 -
detail of Tank Train connection |
 |
 |
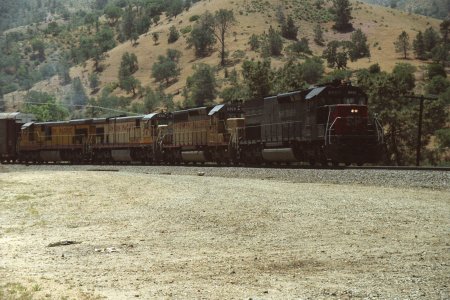
|
WM-120 -
we are standing on top of Tunnel 9 |
WM-122 -
already coming out of Loop Tunnel 9 |
 |
 |
|
WM-123 -
last photo of Tank Train |
WM-124 -
SP helper set going downhill for the next job |
 |
 |
|
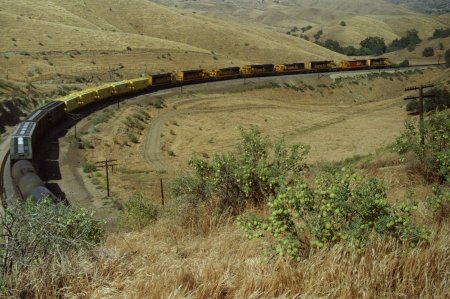
WM-125 -
SP NB all Auto Rack train on the Loop |
WM-126 -
going around the Loop Hill |
 |
 |
|
WM-127 |
WM-128 -
last Auto Racks are entering Loop Tunnel 9 |
 |
 |
|
WM-129 -
SP SB will enter the Loop Tunnel |
WM-130 -
End of this SP SB train |
|
afterwards, we went down to Bakersfield |
 |
 |
|
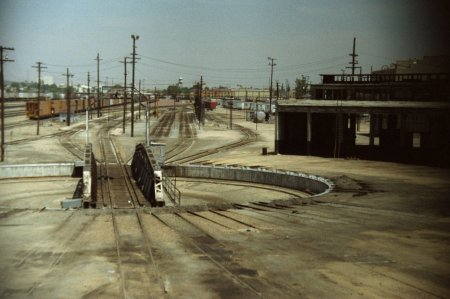
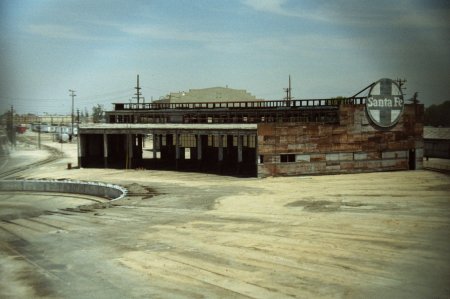
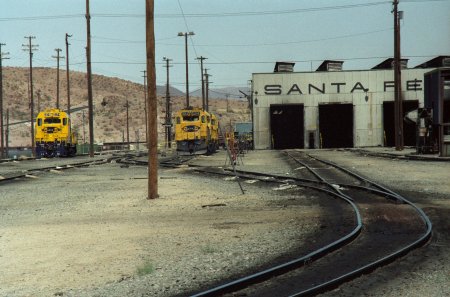
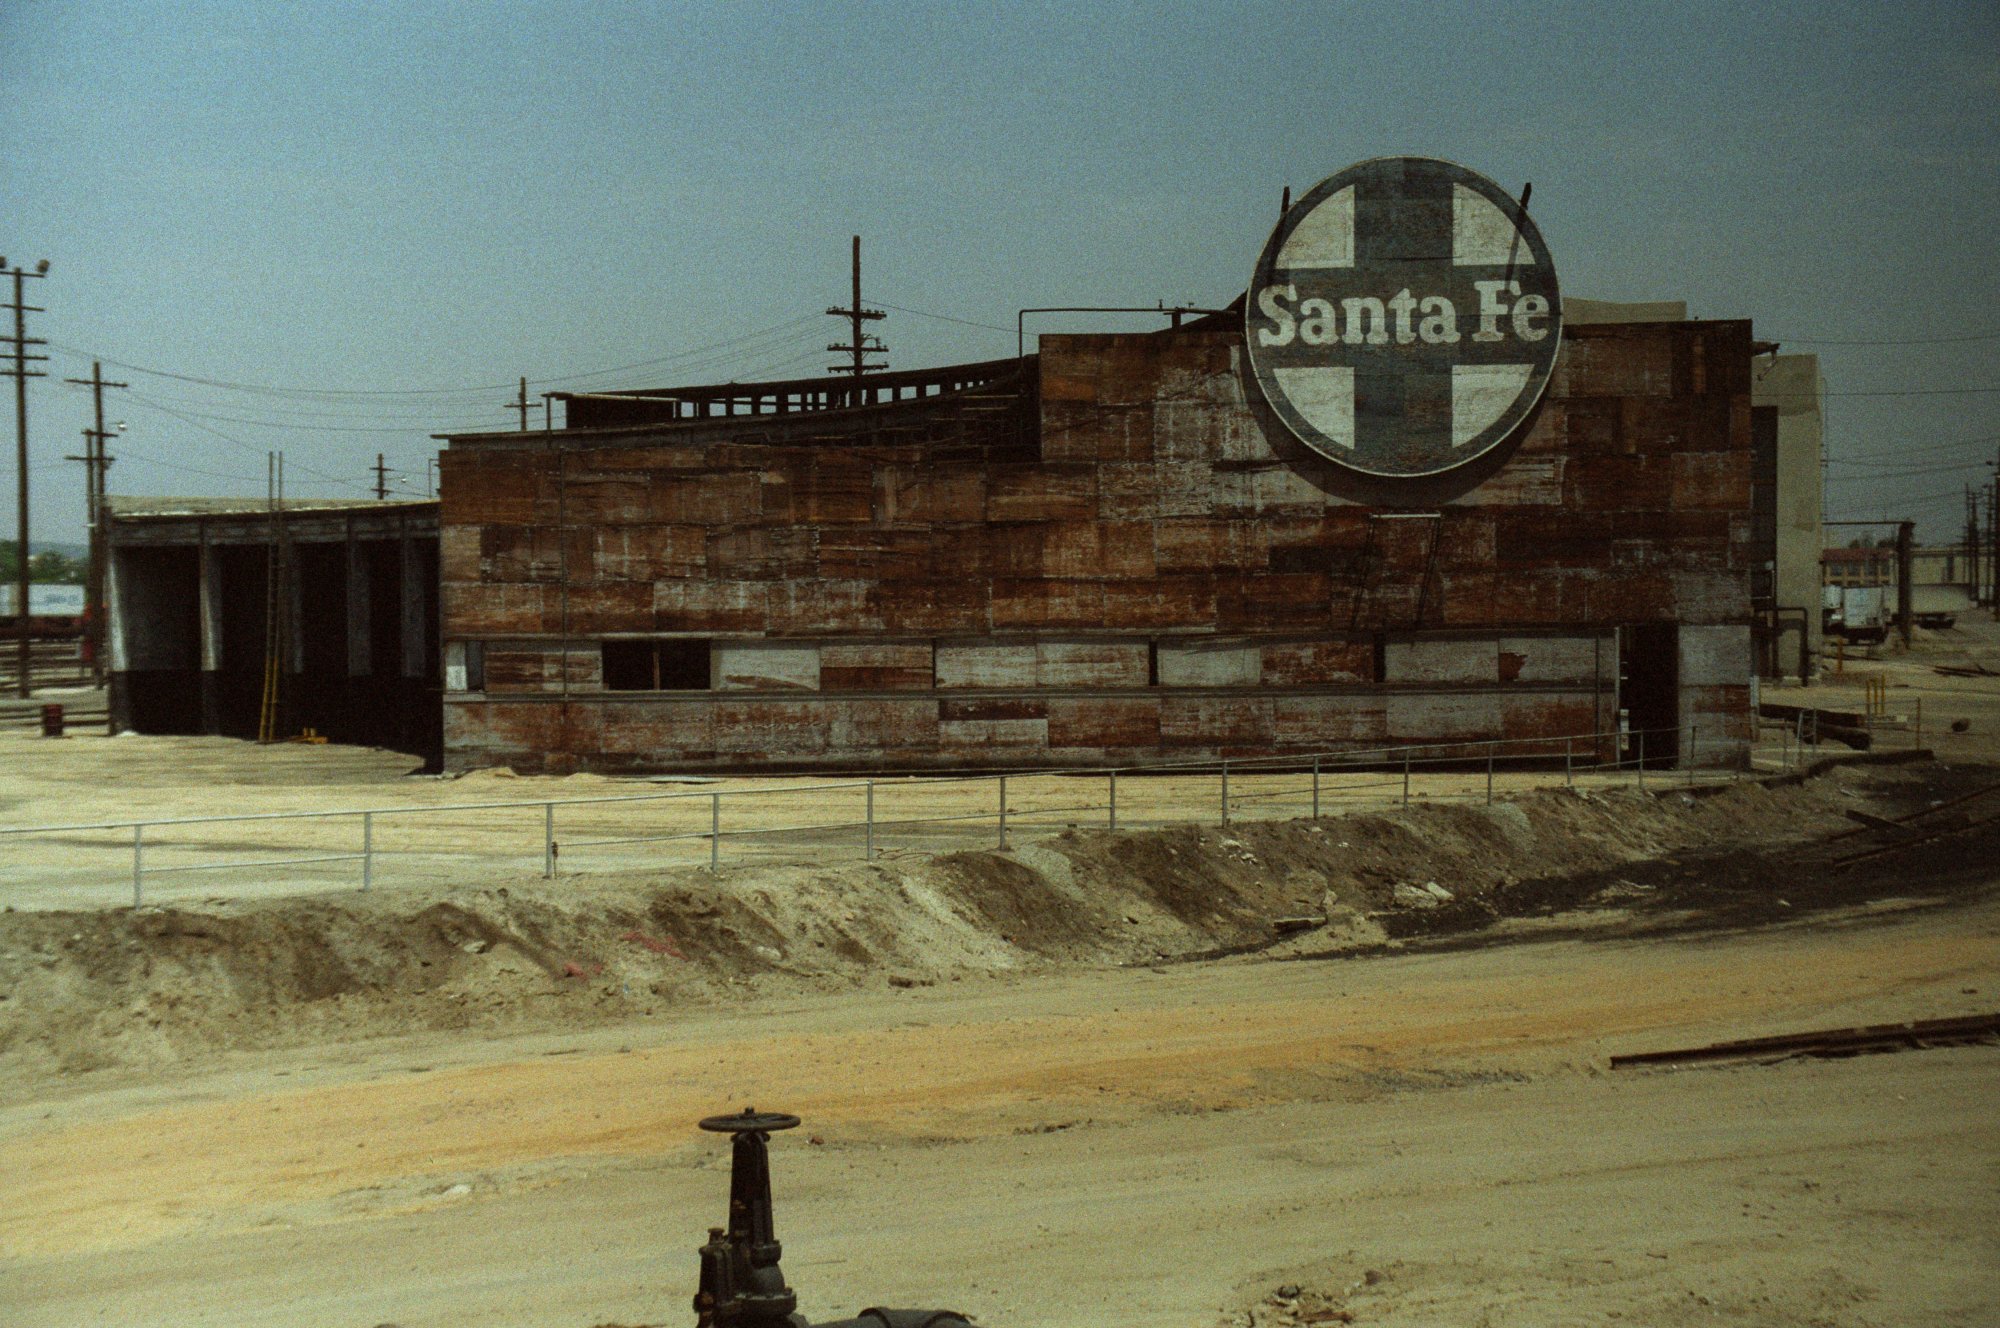
WM-131 -
Santa Fe Roundhouse and Turntable |
WM-132 -
Roundhouse |
 |
 |
|
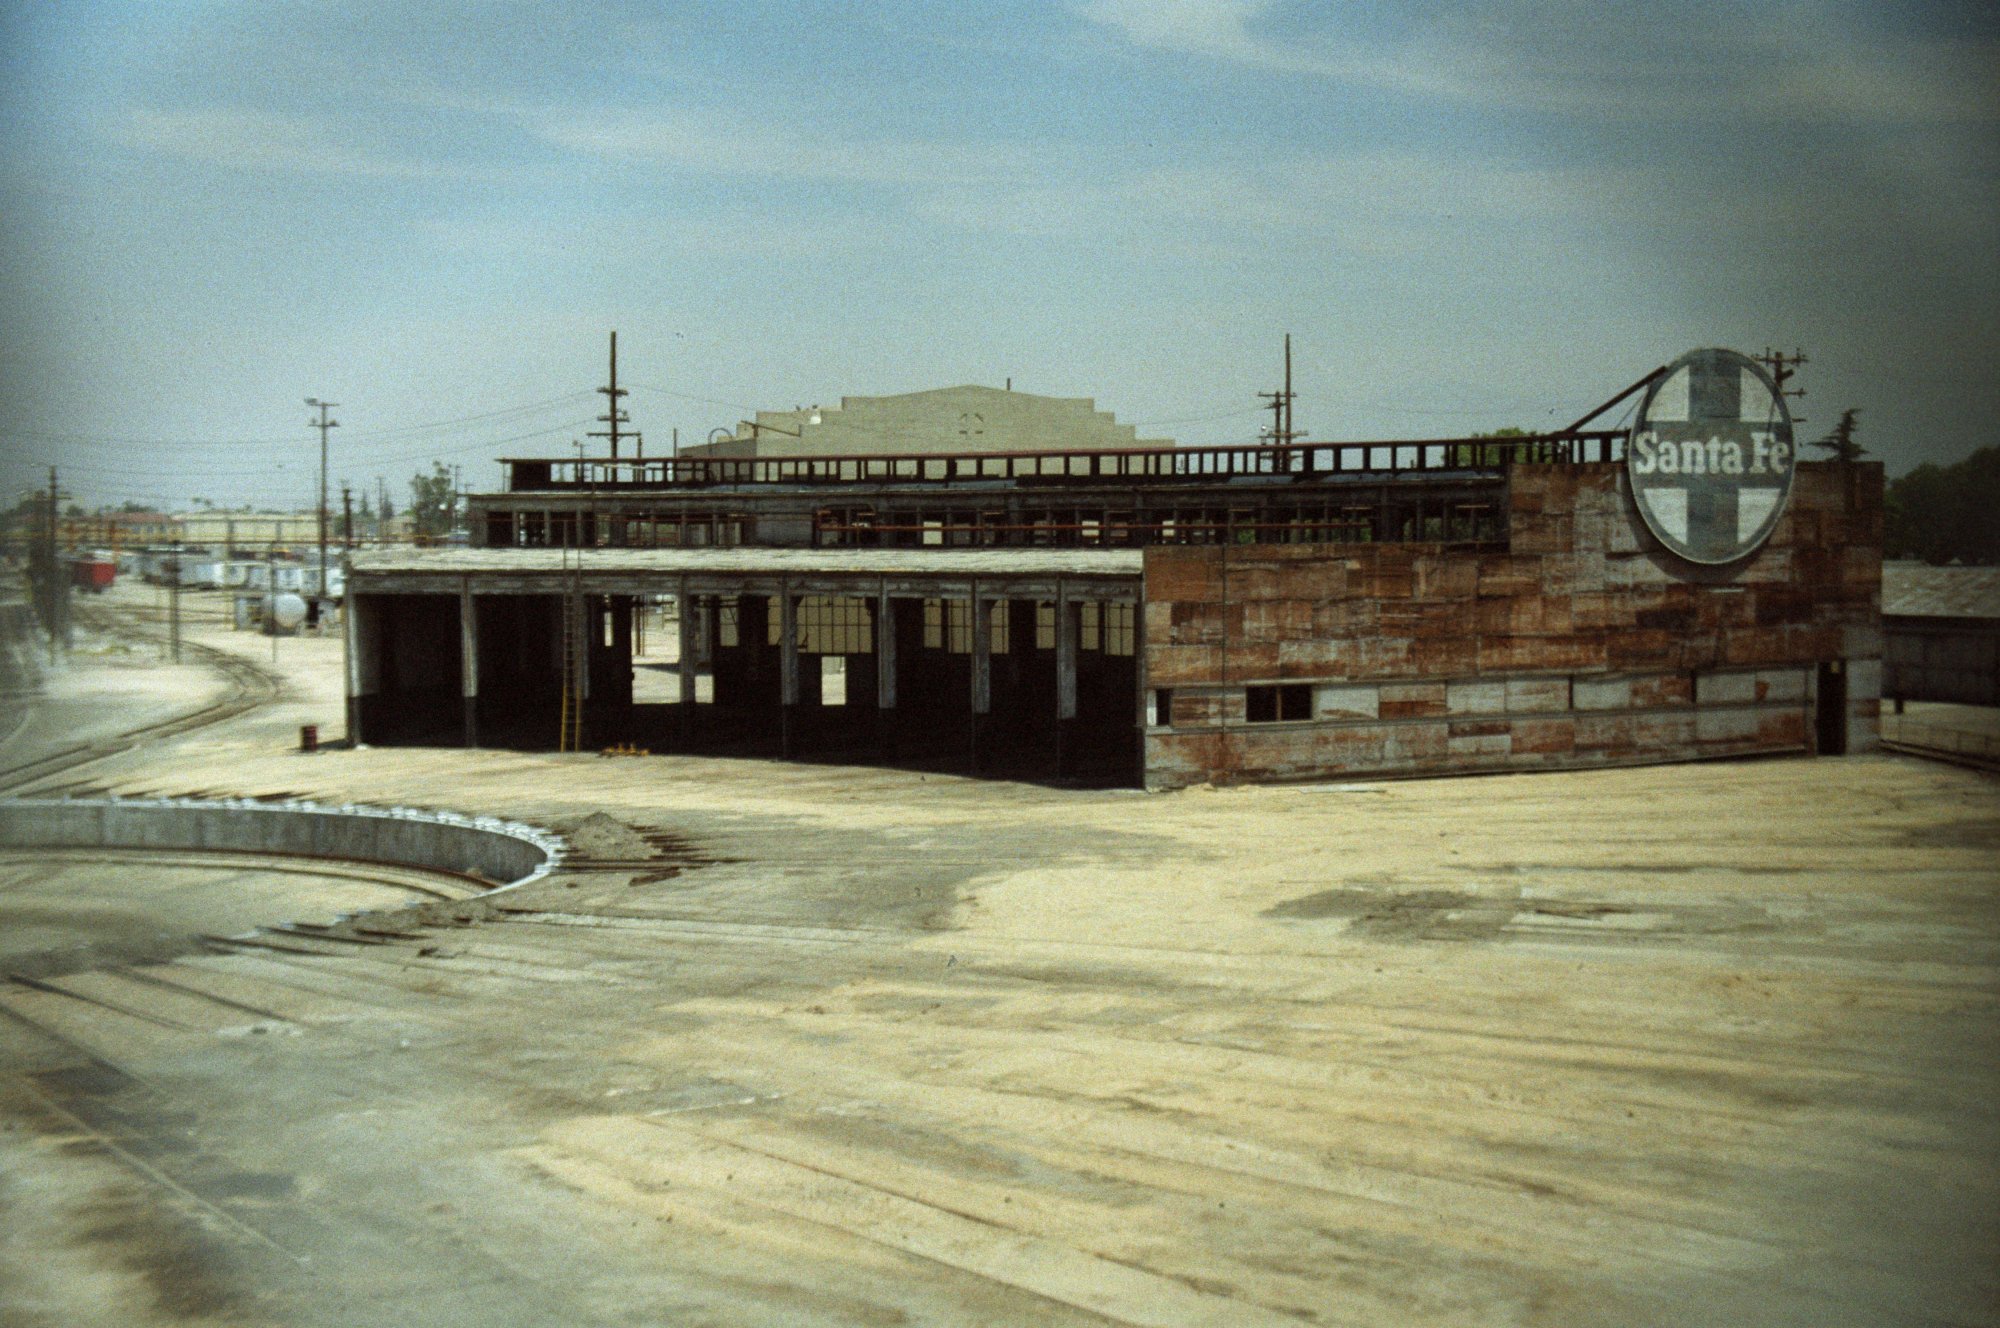
WM-133 -
Turntable |
WM-134 -
Roundhouse |
 |
 |
|
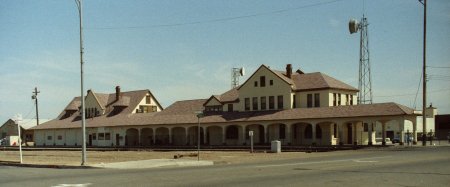
WM-135 -
Bakersfield Depot |
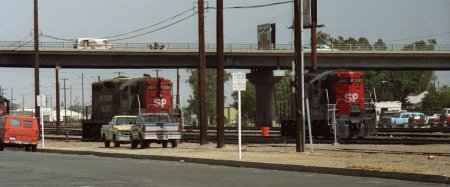
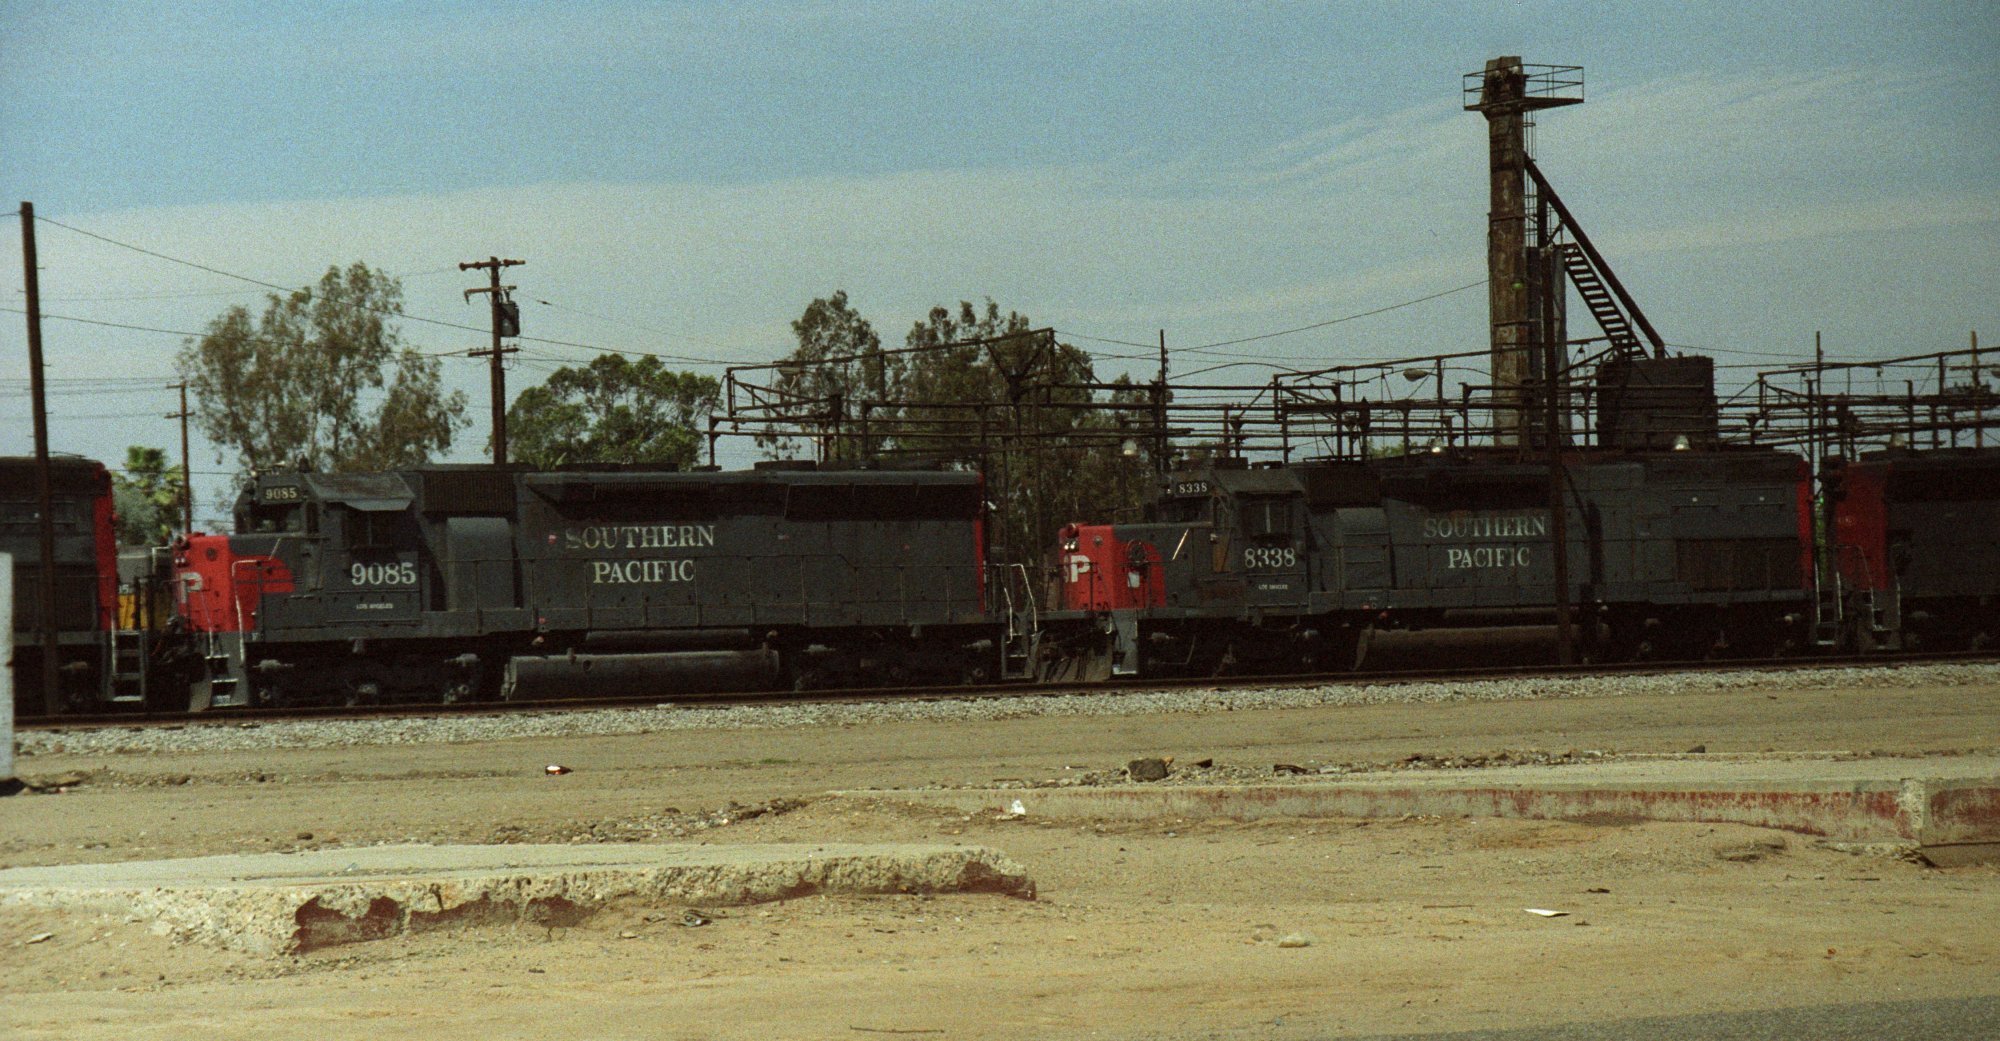
WM-136 -
Bakersfield SP Yard |
 |
 |
|
WM-137 |
WM-138 |
 |
 |
|
WM-139 |
WM-140 -
SP Yard (last photo) |
|
from Bakersfield, we are going toward Tehachapi and
follow some trains before the grade will start |
 |
 |
|
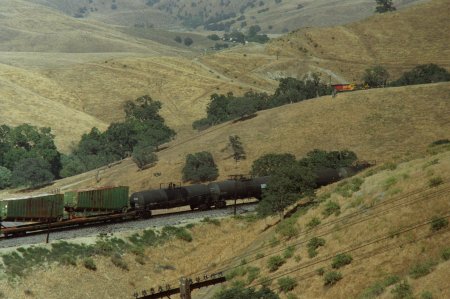
WM-141 -
first is a SF EB |
WM-142 -
this SF train is at Bena crossing the Caliente Creek |
 |
 |
|
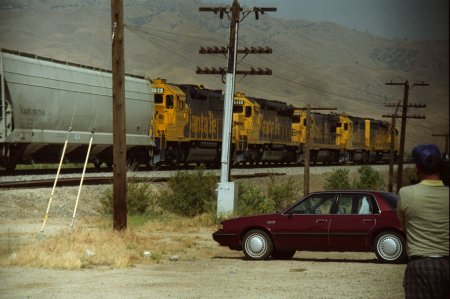
WM-143 -
of course, our rental car is always nearby |
WM-144 -
there was a MoW car in between |
 |
 |
|
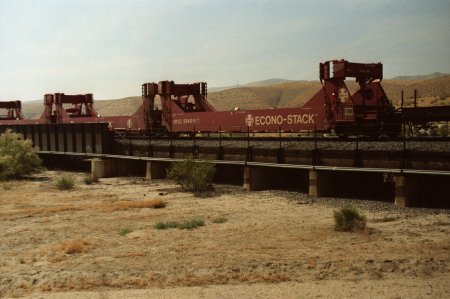
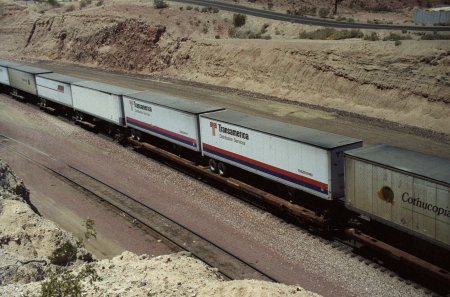
WM-145 -
SF Gunderson Twin Stack well cars w/o load |
WM-146 |
 |
 |
|
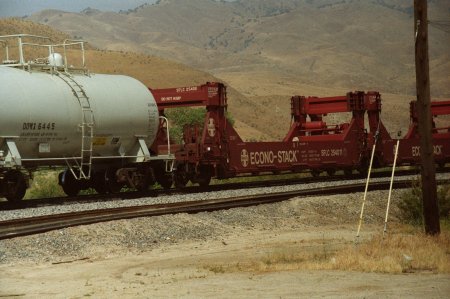
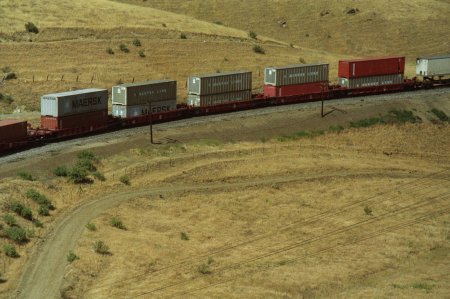
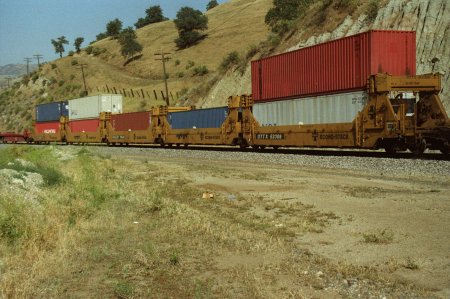
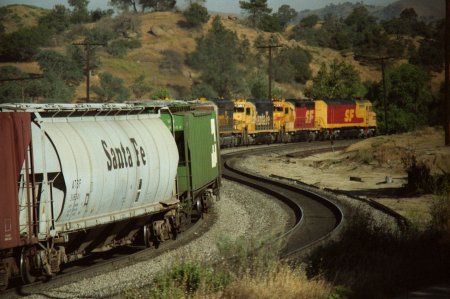
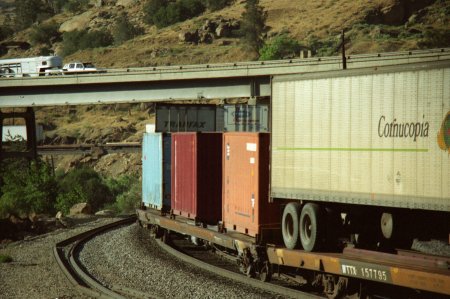
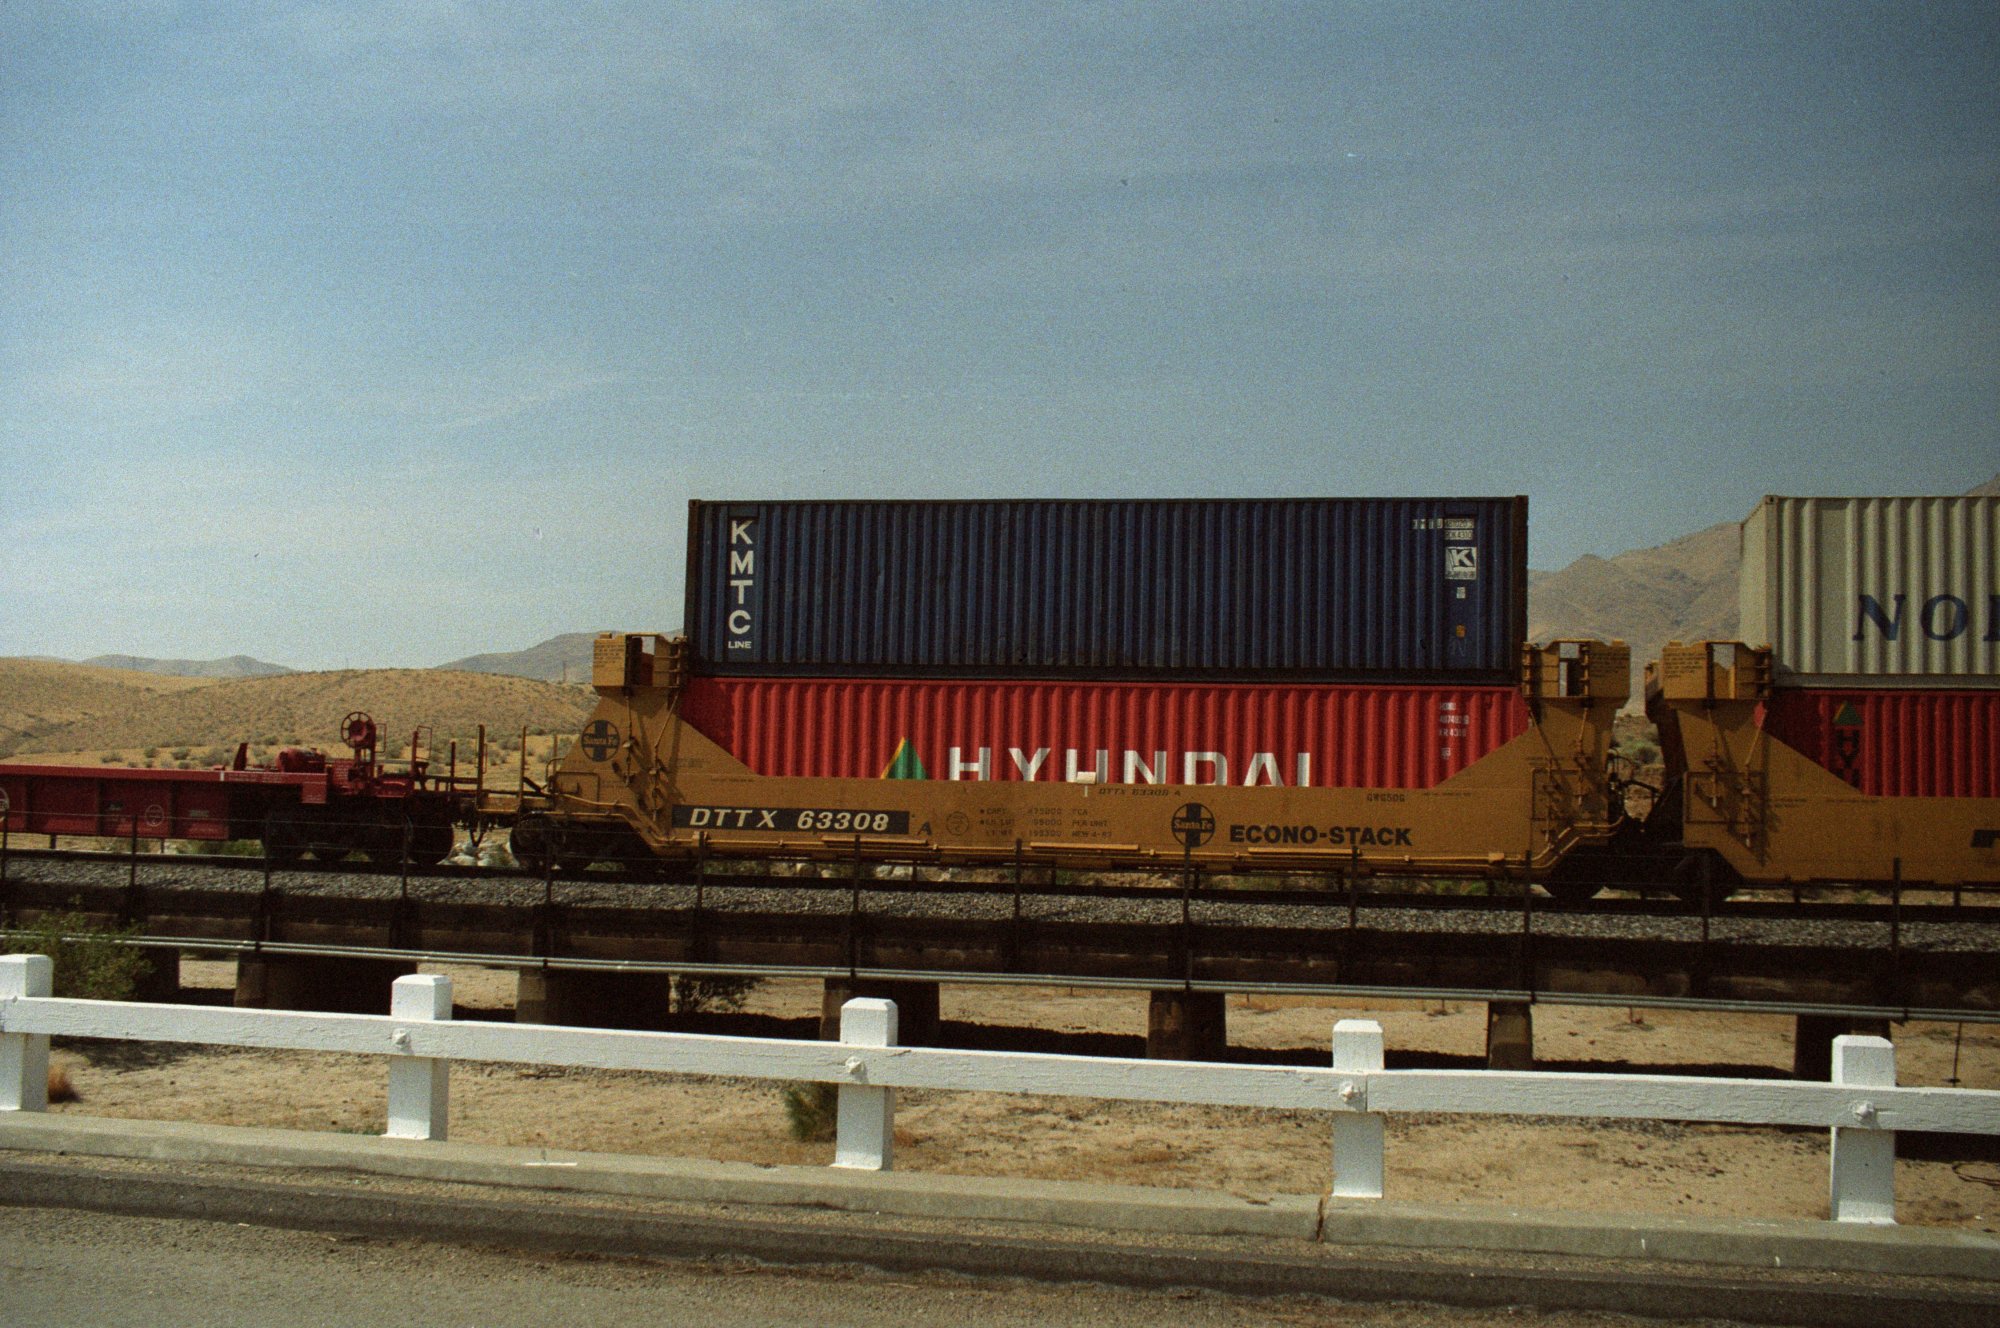
WM-147 -
TTX Gunderson Twin Stack w/Containers |
WM-148 |
 |
 |
|
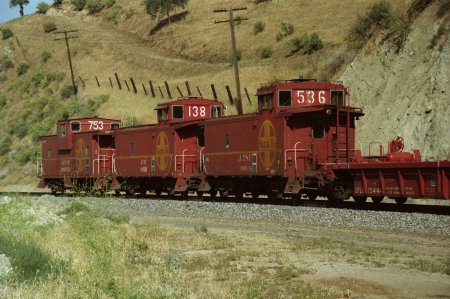
WM-149 -
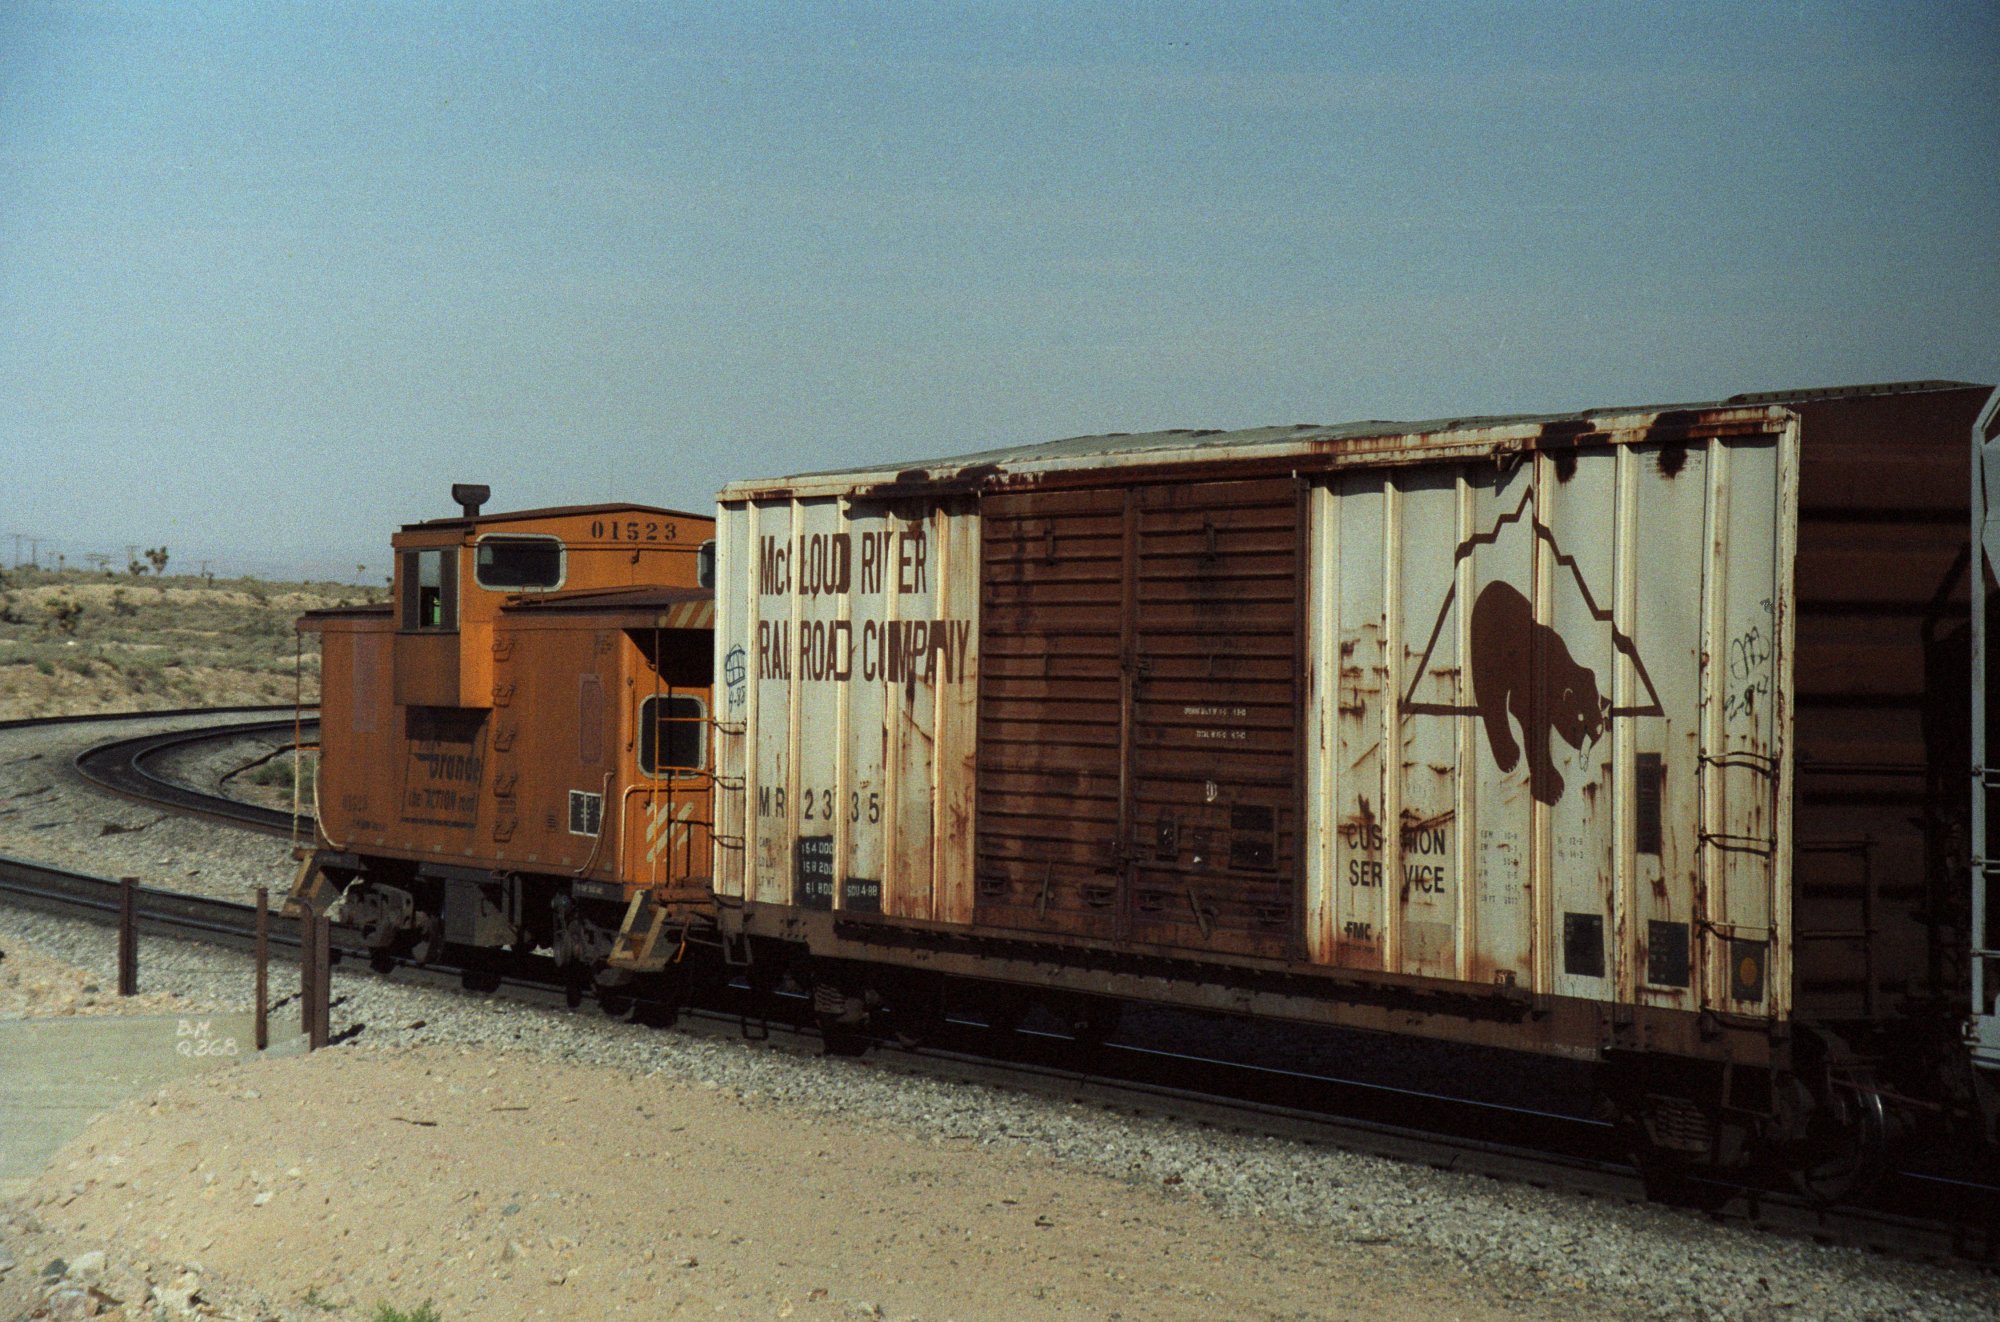
at the end are 3 SF Cabooses going to storage |
WM-150 -
soon, there are no more Cabooses in service |
|
now, we are on top of Tunnel 2 |
 |
 |
|
WM-151 -
SF NB intermofal train coming from Bealville |
WM-152 |
 |
 |
|
WM-153 |
WM-154 -
the engines will enter Tunnel 2 |
 |
 |
|
WM-155 -
the engines just left Tunnel 2 |
WM-156 |
 |
 |
|
WM-157 |
WM-158 -
last photo of SF NB just below Tunnel 2 |
 |
 |
|
WM-159 -
next NB SF train is coming from Bealville |
WM-160 -
the 8 Locos did already pass thru Tunnel 2 |
 |
 |
|
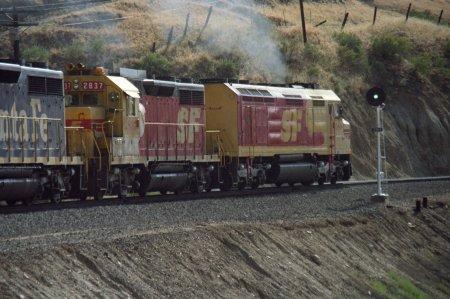
WM-161 |
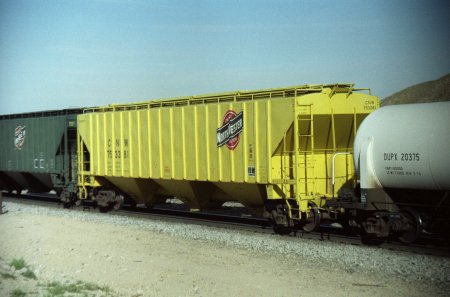
WM-162
note the C&NW Hoppers behind the locos can be seen on photo 165 |
 |
 |
|
WM-163 -
in the distance we can see the Kodak loco of this train |
WM-164 -
end of train is with a Caboose |
 |
 |
|
WM-165 -
our NB train is passing the Caliente Curve |
WM-166 -
at the same time is a SB train going uphill |
 |
 |
|
WM-167 -
we can see the Kodak loco of the NB train again |
WM-168 -
the SB train is passing Caliente Curve |
 |
 |
|
WM-169 -
getting closer to our photo location |
WM-170 -
we are actually not far away from the Caliente Curve |
 |
 |
|
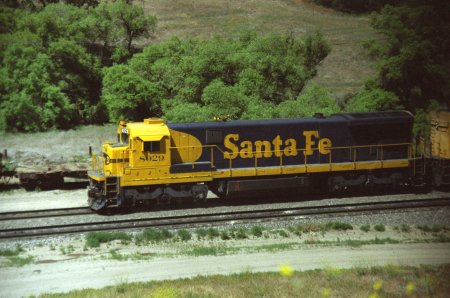
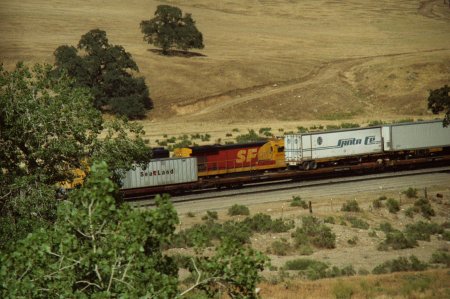
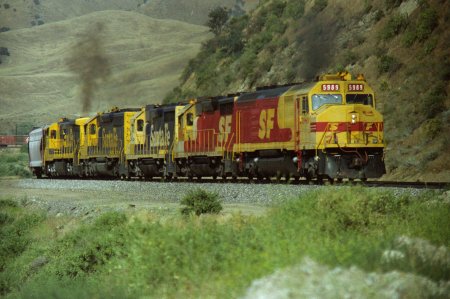
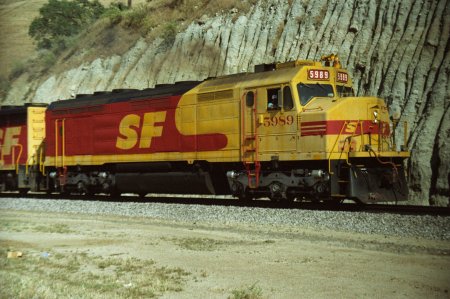
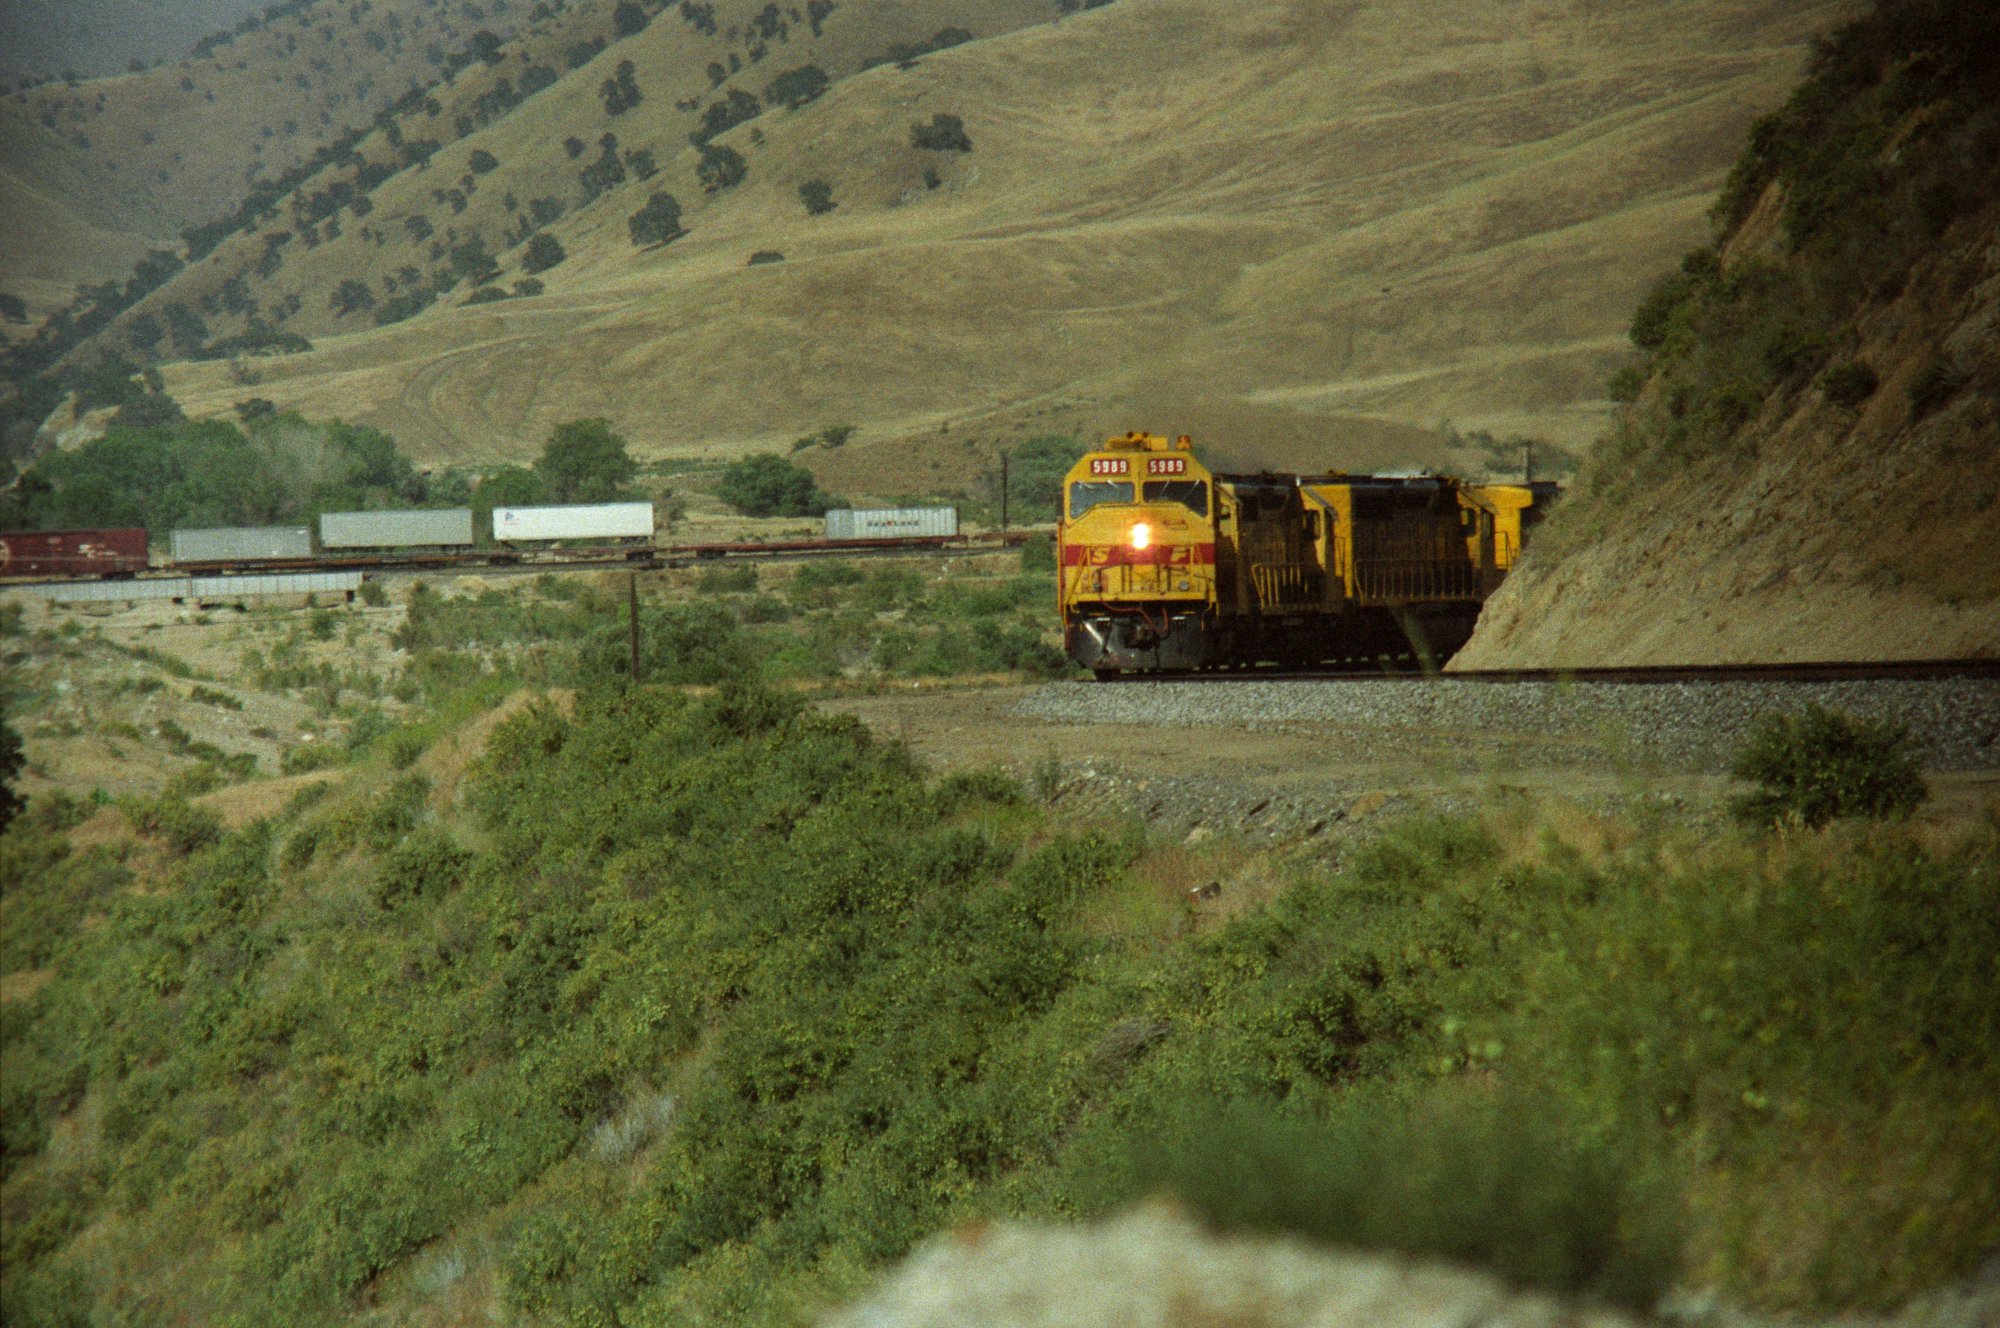
WM-171 -
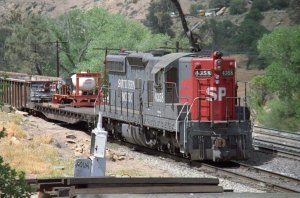
SF 5989 SDF45 is leading this SB train |
WM-172 |
 |
 |
|
WM-173 |
WM-174 |
 |
 |
|
WM-175 -
full throttle toward Tunnel 1 |
WM-176 -
last photo of this SB train |
 |
 |
|
WM-177 -
SB (EB) Santa Fe train as seen on photo 141-150 |
WM-178 - I
did not expect to see the same train from Bena again |
 |
 |
|
WM-179 |
WM-180 |
 |
 |
|
WM-181 |
WM-182 |
 |
 |
|
WM-183 -
Balz is taking a video |
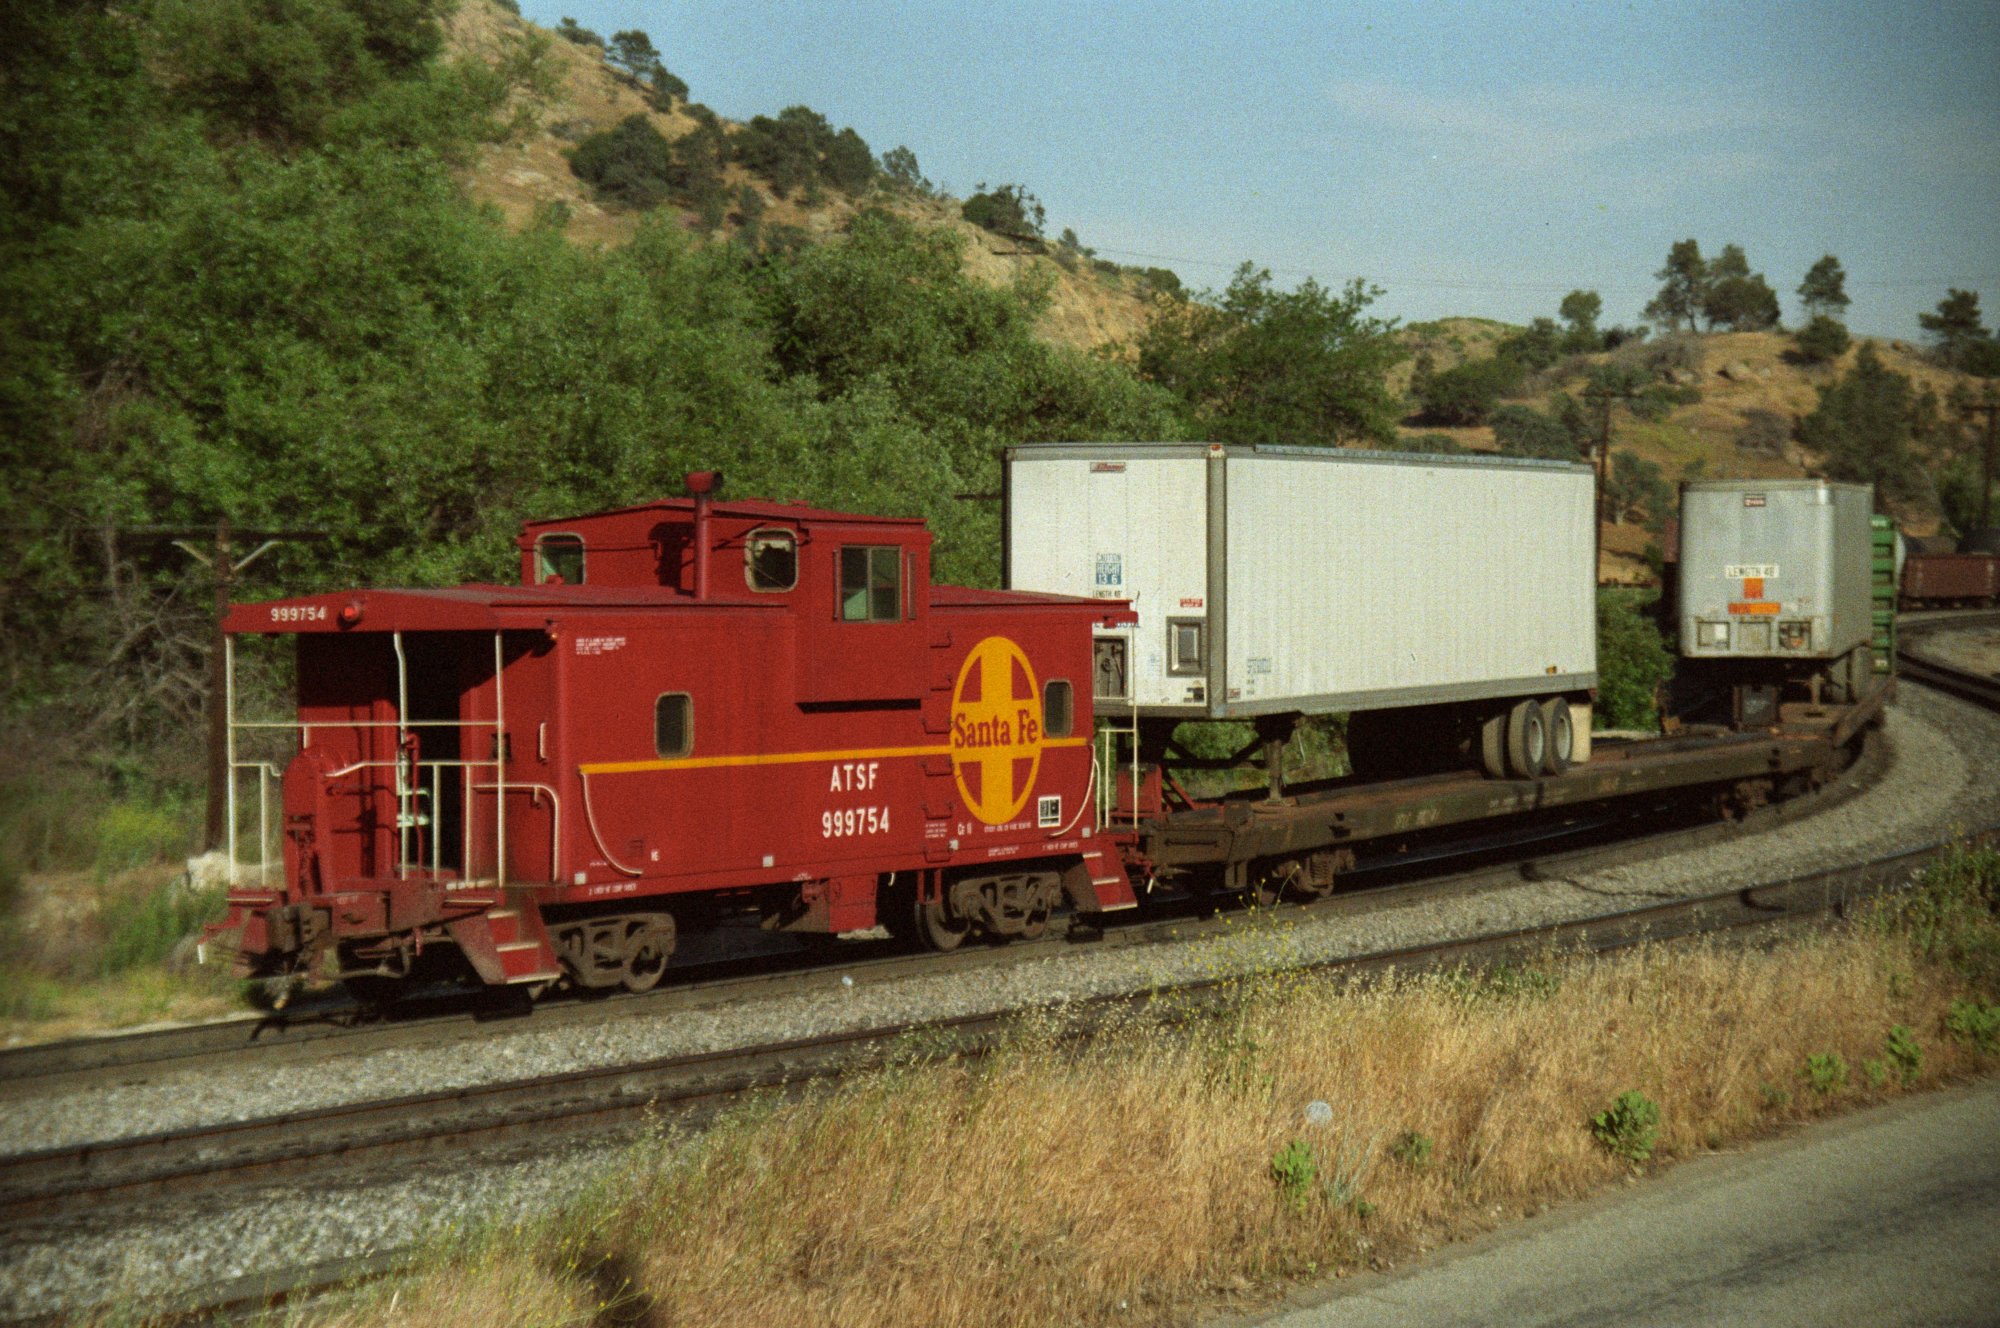
WM-184 -
did you notice these 3 Cabooses on photo 149 ? |
 |
 |
|
WM-185 -
SF 5989 is now at Keene (see photos 169 - 176) |
WM-186 |
 |
 |
|
WM-187 -
from Keene to Woodford |
WM-188 -
definitely the last photo of this SF SB at Woodford |
 |
 |
|
WM-189 -
SF NB near Keene and Hwy 58 |
WM-190 -
going downhill toward Bakersfield |
 |
 |
|
WM-191 -
Hwy 58 is always busy |
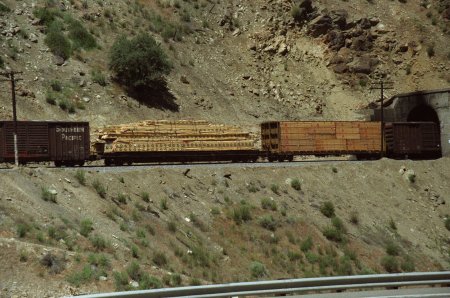
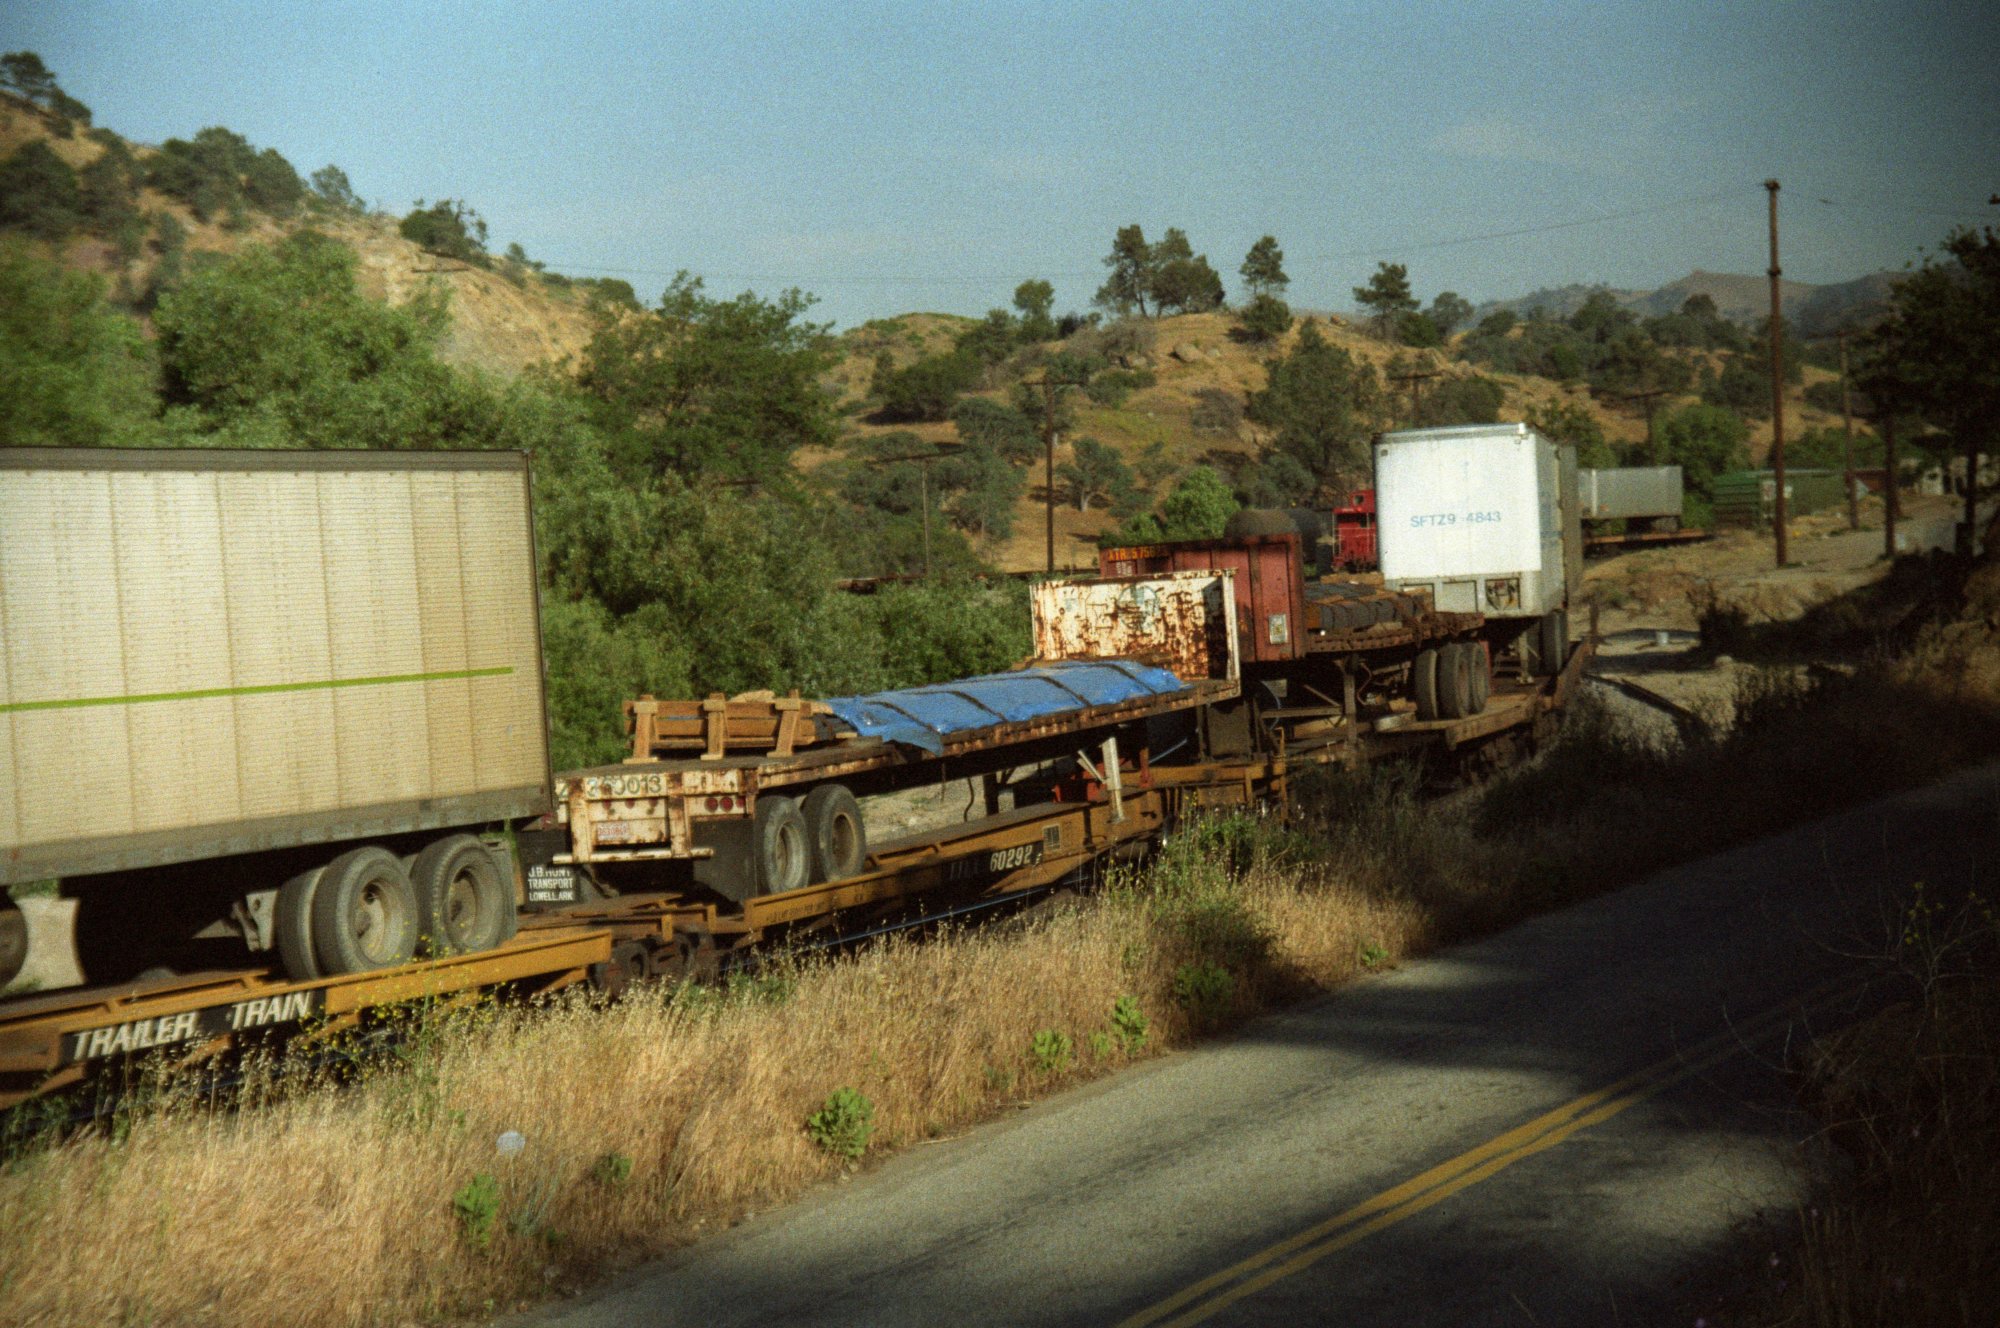
WM-192 -
special load on flat car |
 |
 |
|
WM-193 -
last photo at this location |
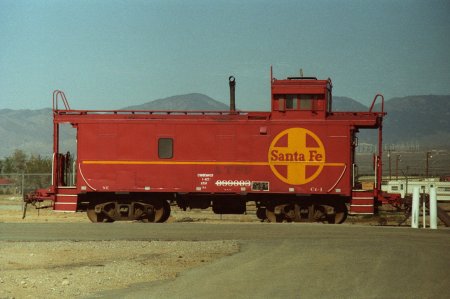
WM-194 -
the final frame - SF Caboose at Tehachapi |


